

Better photos in poor light
You can't always choose the light. I have a few simple tips for the most common unfavourable situations.
You want to take a photo right now. The light is bad, but you can't just put it off until later. For example, because you want to capture a very specific moment. So you have to make the best of the bad light.
What does bad light actually mean? It usually means either harsh midday light or dull grey under an overcast sky. I have a few tips for you on how to make the best of it.
Bad light no. 1: midday sun
The hours in the morning and evening, when the sun is very low in the sky, are considered good light for photography. Conversely, the light around midday tends to be poor. Especially in summer.
Midday sun creates a hard light. This creates extreme differences in brightness between light and shadow. Because digital cameras are unable to cope with this, the shadows become extremely dark and at the same time bright or reflective surfaces become too bright.
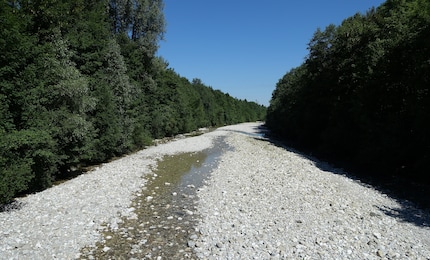
As underexposure, i.e. an image that is too dark, can be corrected much better than overexposure, you should turn the exposure compensation slightly into the minus range (-0.7 EV or -1.0 EV) in the midday sun. Also choose the RAW format so that you have more room for manoeuvre in post-processing.
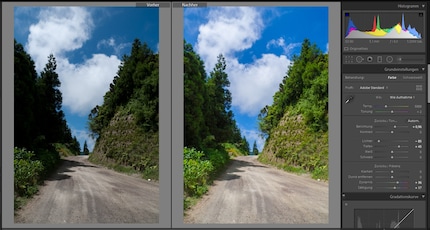
The correction in the RAW editor - for me it's Lightroom - then consists of increasing the shadows and exposure and reducing the highlights as required.
The other problem with midday sun is the almost vertical incidence of light. This doesn't look particularly good for most subjects. In portraits, this leads to pinched faces and unfavourable shadows, for example under the eyes.
Countermeasures:
- Go into the shade
- If you want to take a picture in the sun: Sunglasses prevent ugly eye areas and support the image statement.
- Dampen the harsh light with a parasol or diffuser.

Bad light no. 2: Grey skies
Grey skies have the advantage of not casting any hard shadows. However, this tempts you to ignore the direction of the light, i.e. the position of the sun. This results in subjects that are too dark. In addition, everything remains somewhat monotonous and not very colourful in overcast weather.
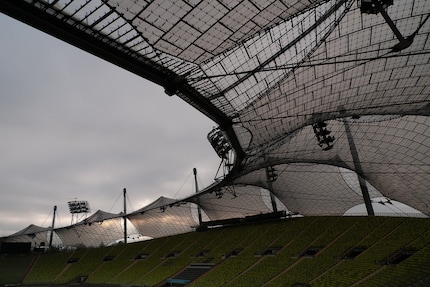
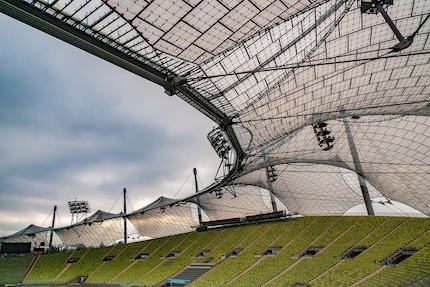
If you shoot in RAW, you can spice up such dim images quite well afterwards. Increasing brightness and saturation is a good start. But don't overdo it, otherwise the image will look unnatural.
Also always pay attention to where the sun is positioned, even in bad weather. Even in diffuse light, faces become too dark if you take photos against the light.
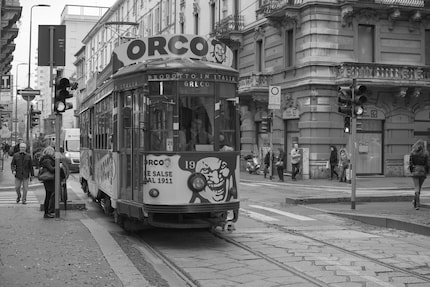
Another option is to make a virtue of necessity and create a real black-and-white image.
However, there's no reason not to take photos in poor light. Except, of course, if you can wait until the light improves.
My interest in IT and writing landed me in tech journalism early on (2000). I want to know how we can use technology without being used. Outside of the office, I’m a keen musician who makes up for lacking talent with excessive enthusiasm.
Practical solutions for everyday problems with technology, household hacks and much more.
Show all

