
Homematic IP: open your roller shutters using your smartphone
I'd like to make my home more intelligent by fitting a roller shutter control. Let's see if I can install one and operate it on a daily basis.
I'm sitting in the S5, my AirPods in my ears, on my way to the office. Suddenly, I realise that the blinds in my bedroom have remained closed. No big deal, as I won't be home for another ten hours or so. But my cacti need sunshine, and I'd like the room to see some daylight today. If I'd installed the Homematic IP products, I'd be able to open my blinds from my phone. Let's give it a go.
Homematic IP or Homematic?
The Homematic and Homematic IP systems are as similar as their names suggest. They can both be used and programmed from a smartphone. Homematic IP, however, is easier to commission. It works on the cloud, but these technical features are more limited.
The Homematic solution is much more extensive from a technical point of view. It does not depend on the cloud and can be used from a smartphone even in the event of a network failure. I opted for Homematic IP, mainly for its ease of installation and use. As you'll see below, it was a wise decision.
The hub is essential
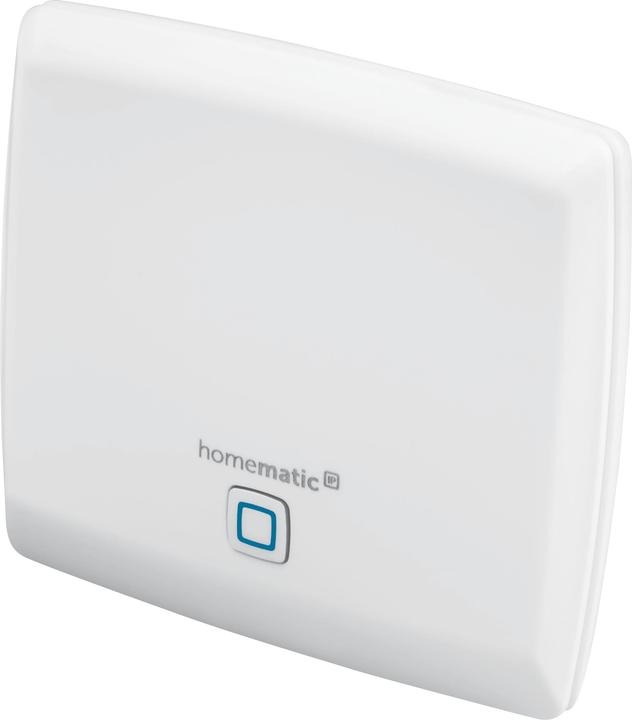
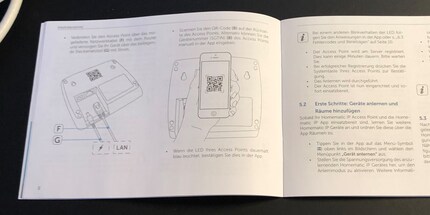
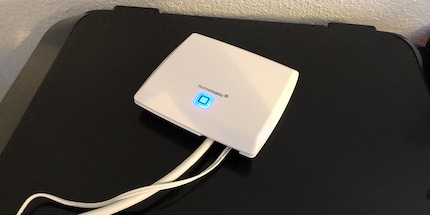
I start by getting the Homematic access point, which acts as a hub for all the other devices in the Homematic IP universe. Then I download the Homematic IP app (available for iOS and for Android). I then connect the hub to the router using the network cable supplied. All I have to do now is scan the QR code on the back of the access point, and the device is ready to use. Everything works fine. The blue indicator light stays on from the first try. Perfect.
Two blind actuators and a hallelujah
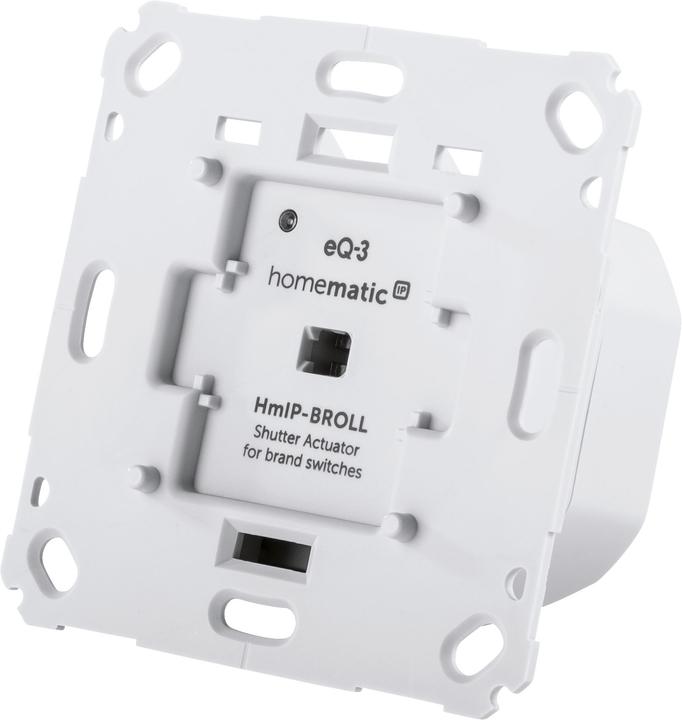
The next step is to order two actuators: one will completely replace the switch for my blinds, and the other will act as an intermediary between the existing switch and the motor for the blinds.
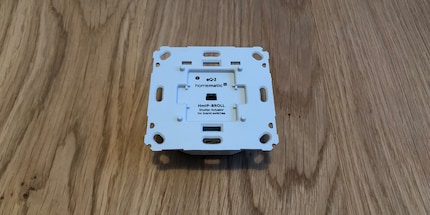
I need to order an additional Feller riser to fit the first actuator into my triple combination, which also includes a light switch and socket. I've chosen the right socket, yet something isn't quite right. I'm afraid I'll bend or break something if I insist. So I asked my contact at my distributor, Alltron, if this was normal. He explains to me that forcing it a bit isn't serious, but he recommends that I use the flush-mounted actuator.
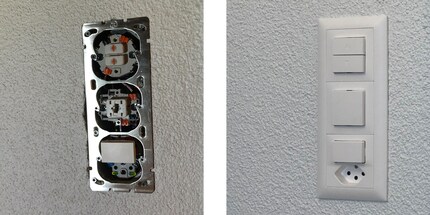
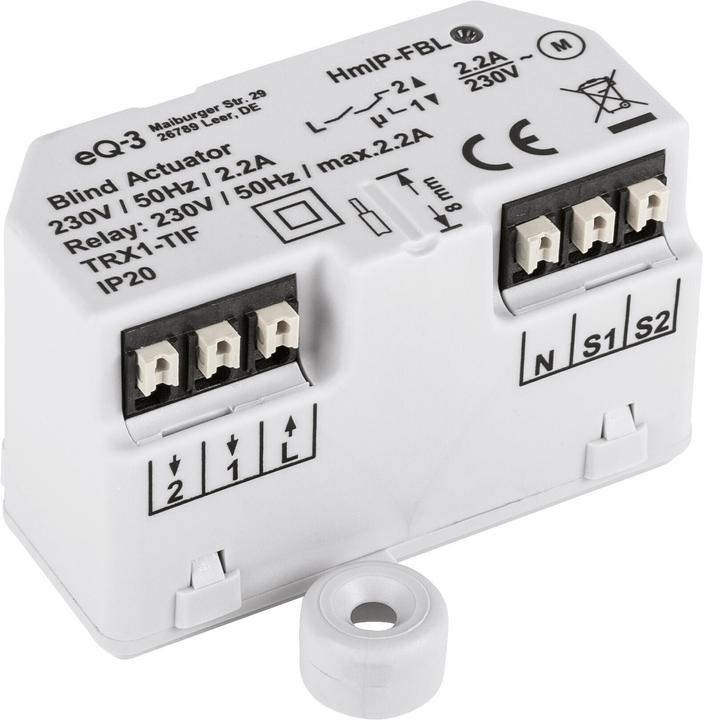
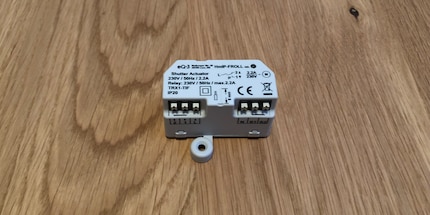
The recessed actuator is a little smaller. That's the idea, as it sits behind the switch that's already installed. So I don't need any adapters or risers for my Feller switch combination. However, I do have to reposition some cables and add some connections. It's probably a bit more complicated than changing the whole switch, but I'll manage. If only I'd known what was in store for me!
You don't have to be an electrician, but you'd better have some basics
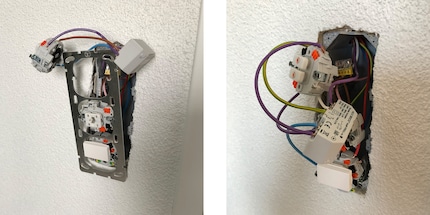
I start unscrewing and dismantling my combination of switches. It's not as easy as it sounds, because it also has two light switches and a socket. But dismantling is always easier than assembling, and it all goes relatively smoothly.
Now I need to integrate the grey actuator box into my installation. The instructions supplied with the flush-mounted actuator and the replacement actuator resemble those of electricians: very detailed... and incomprehensible. Which doesn't make my job any easier! I studied the text and illustrations, to no avail. It's impossible to decipher them.
I don't give up though; I start to connect the cables differently and place the recessed actuator in a logical way... or so I think. No matter how I connect and disconnect the cables, nothing happens. The control light on the actuator doesn't come on. I can't add a device to the app, even though the access point is ready. I'm on the verge of a nervous breakdown.
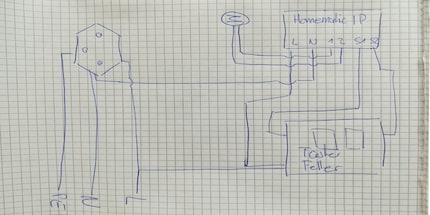
Despairing, I contact my distributor again. My first doubts are about the product, not about my electrical skills, you'd think. Tobias, my contact at Alltron, finally opens my eyes. There's nothing wrong with the Homematic IP devices, of course, it's more a case of Bibi not knowing whether to take them... He patiently tries to explain everything to me and even draws me a picture. Nice!
I put all the elements back in their starting position before making a second attempt. I congratulate myself on having taken a good photo of everything, otherwise I'd have had to call an electrician. I'm Tobias' variant. I've rarely been so nervous as when I put the safety back on and waited for the control light to come on. Incredibly, it works!
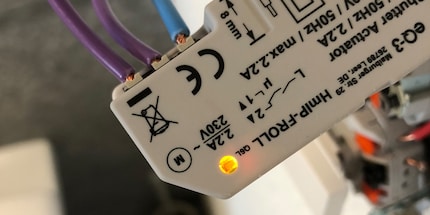
I've tried hard to figure out what mistakes I've made (probably several), but I can't. The experts among you will no doubt recognise them. In any case, Tobias Bucher's version was easier to follow for laymen like me. Thank you Tobias, you saved my test and my pride!
My first foray into the world of Homematic IP
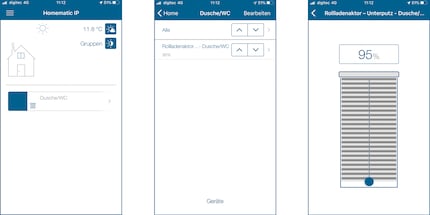
I connect the installed blind actuator to the app. It works straight away. Several configurations are available to me: if I'd installed a smart thermostat, I could have commanded the actuator to automatically lower the blinds when the indoor temperature rises above 20 degrees, or simply when the sun is shining. I start with the simplest: raise and lower the blinds by simply pressing a button in the app. It works!
The next day, I try to raise my blinds from the office. I leave them closed in the morning, then open them from my workstation and check their position when evening comes. The roller shutters are well mounted. As I recently installed a Google Home assistant in my home and it supports this Homematic IP system, I could even open my blinds without touching my smartphone. All I'd have to do is give voice commands (as long as Mrs Google understands them).
Summary
Thanks to Homematic IP, I can control my roller shutters from my smartphone, wherever I am. When is this useful? When the temperature rises during the day and I've forgotten to close the shutters in the morning. When I'm going on holiday for several days and want to give the impression that someone is at home. Or in combination with an intelligent thermostat. Installation requires some basic technical knowledge or the help of someone who knows about electricity. If you don't understand anything, get help, otherwise you won't succeed. Sure, it's great to fiddle around and learn from your mistakes, but it's likely to waste a lot of your time!
I find the prices of the Homematic IP range to be fair, especially as the functionality, the system in general and the actuators in particular are very useful on a day-to-day basis. If you connect them to smart devices like thermostats or window opening systems, your flat will only get smarter. As I've worked out how to connect all this up, I'll soon be installing actuators for my other blinds, and even venture to fit Homematic IP's smart thermostats!
When I'm not stuffing my face with sweets, you'll catch me running around in the gym hall. I’m a passionate floorball player and coach. On rainy days, I tinker with my homebuilt PCs, robots or other gadgets. Music is always my trusted companion. I also enjoy tackling hilly terrain on my road bike and criss-crossing the country on my cross-country skis.
