

How to clean your keyboard and mouse properly
Your keyboard and mouse get a lot of dirt when you're working from home or gaming. Even when you're not eating and drinking in front of the computer, dirt accumulates. I'll show you how to get them clean again.
You might be able to resist snacking in the office, but not at home. When crisps, fruit or chocolate are within easy reach, it's often difficult to resist the temptation. Numerous crumbs and other nasty little things end up in the depths of your keyboard. Your ten fingers also give off a lot of grease. After all, every time you move the mouse, you pick up dust and dirt that gets stuck on the underside and in gaps. With the following tips and a few minutes of your precious time, dirty computer peripherals will be a thing of the past.
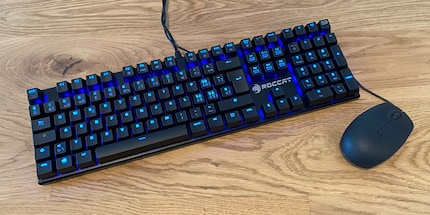
What you need for this
I recommend giving your keyboard and mouse a quick clean once a week and a thorough clean once a month. You will need around five minutes for a quick clean and at least half an hour plus a night to dry for intensive care.
To remove dirt from keyboards that is located under the individual keys or in the spaces between them, you need plenty of air. With the help of a pressurised air cleaner in spray form, you can easily remove most crumbs. I also recommend using a microfibre cloth to clean dirty surfaces. Denture cleaning tablets or not too aggressive washing-up liquid are also useful. For stubborn dirt, you should also have cotton buds and rubbing alcohol to hand. To remove the individual keys from the keyboard, a key lifter is an advantage for mechanical keyboards. This is supplied with more delicate and expensive keyboards in particular. But be careful: keyboards with membrane or scissor technology can be damaged if you try to remove the keys.
Short and painless
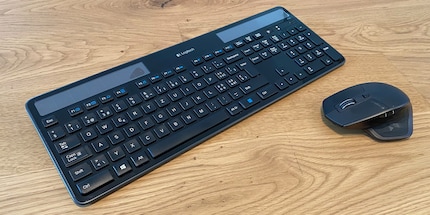
You should give your keyboard and mouse a quick clean once a week. Unplug wired devices and switch off wireless devices if possible. Then hold them upside down and shake out all the dirt. Then clean their surfaces - both buttons and gaps and any mini displays - with a microfibre cloth. The cloth should be dry or only slightly damp, but never wet or even dripping. You can also use compressed air to blow stubborn chunks out of the cracks. However, you may end up moving smaller pieces near the switches on your keyboard, which will be noticeable later when you press the keys.
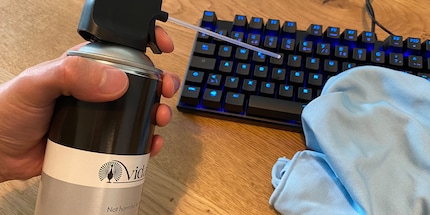
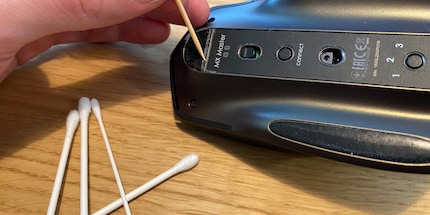
Wipe the mouse with a microfibre cloth to remove grease and other traces of dirt. If there are gaps, for example at the bottom of the battery compartment, blow them out with the compressed air cleaner. It is also worth checking the scroll wheel and around the joints for dirt. You should not use compressed air on the right and left mouse buttons. Otherwise you run the risk of particles getting stuck under the buttons, which you can then no longer press. If you have a modular mouse, you can take it apart and clean the parts individually. The feet of the mouse - and also those of the keyboard - can also be cleaned with a microfibre cloth. For stubborn dust or other crumbs, use either a cotton bud or a toothpick.
Pore-deep cleanliness for mechanical keyboards
If you neglect or neglect weekly cleaning, you will soon be unable to look at your peripherals because of all the dirt. You won't want to use them in this state anyway. Be it because there are too many crumbs between the keys, coarser pieces can no longer be removed from under the keys or the layer of grease that covers the devices can no longer be removed. These are all signs that a deep clean is essential. I only recommend the following method for mechanical keyboards where the keys can be removed. Other models could break when you try to remove the keys.
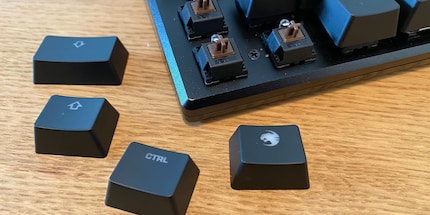
Use the key lifter supplied with the keyboard to carefully remove the keys one by one. This may take some time, but if you are not careful, you could damage the keys, stabilisers or switches. It is best to place the keys in a sealable plastic or glass box. A bowl will also do if you don't have anything else suitable lying around. Then fill the container with warm water and either two or three denture cleaning tablets or a few squirts of washing-up liquid. Close the box and move it gently back and forth for a few minutes. If you use a bowl instead, wipe through the water a few times by hand. Then leave it to work for at least 30 minutes.
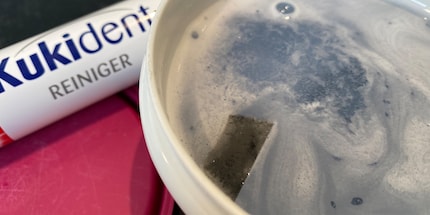
While the keys are taking their bath, use a cotton bud and toothpick to remove any stubborn dirt that has accumulated under the keys and that you were unable to remove by blowing. For sticky liquids, put some rubbing alcohol on the cotton buds and carefully try to remove the stains. Be careful not to touch any keys or other parts of the keyboard housing, as this could discolour them. Once the 30 minutes are up, shake the box again or run your hand through the bowl. Then rinse the buttons under running water until no more residue is visible.
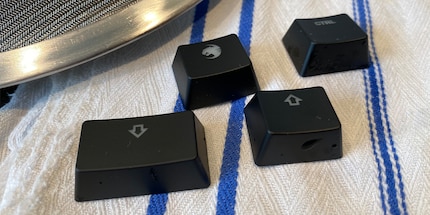
The best way to dry them is to put them in a pasta strainer, cover it with a towel and shake it. Be careful not to damage the buttons. If there is still a large build-up of water somewhere, blow it away with the compressed air cleaner. Finally, lay them out on a spread-out cloth to dry overnight. Once all the keys are dry, replace them one by one in the correct position on the keyboard. If you no longer know exactly which key belongs where, you can find corresponding keyboard layouts with a Google image search.
When I'm not stuffing my face with sweets, you'll catch me running around in the gym hall. I’m a passionate floorball player and coach. On rainy days, I tinker with my homebuilt PCs, robots or other gadgets. Music is always my trusted companion. I also enjoy tackling hilly terrain on my road bike and criss-crossing the country on my cross-country skis.
Practical solutions for everyday problems with technology, household hacks and much more.
Show all


