
How to make your own macramé bag
Mesh bags have expanded their territory from the supermarket to the swimming pool. Here’s how to make a surprisingly simple and stylish macramé bag yourself.
I’m sunbathing at the public pool, filling my nose with the scent of fresh grass, when my eyes wander to the person on the towel next to me. Two huge melons, a book and sunscreen. All stowed away in her mesh bag. I’m in love. Want!

Source: Instagram: @netty_ceskasitovka
I get my mobile out, search for net bags and keep coming across the term macramé, the oriental knotting technique. The internet claims it’s easy. Instead of knitting or sewing, you knot together the object in question using yarn or rope. I want to try it out and go for the model featured in this tutorial. One thing’s already clear: this summer, I’m wearing net.
A simple knotting technique for macramé beginners
The bag looks cute and is an easy piece to familiarise yourself with the macramé knotting technique. And if you, like me, don’t know a word of Turkish, I’ve translated the instructions from the video here:
Materials:
- 50 m macramé yarn (at least 4 mm thick)
- Adhesive tape (masking tape didn’t work for me)
- Scissors
- Hanging rod (makes knotting easier)
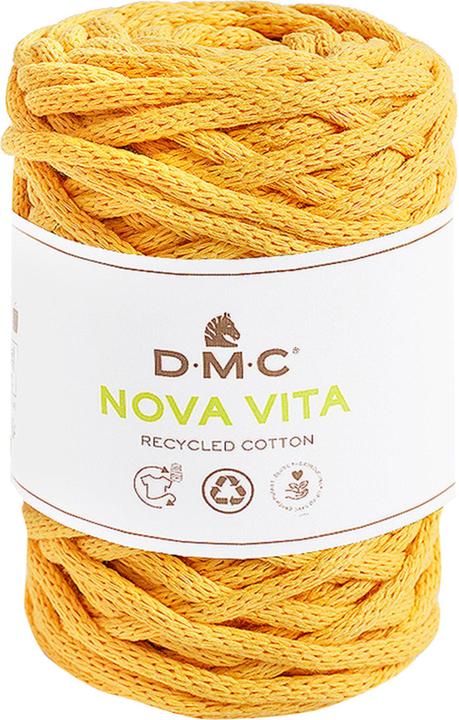
The yarn for your bag should be strong and tear resistant enough to carry some weight – think two watermelons? The tutorial recommends a yarn thickness of 4 millimetres. I chose yellow for the bag and purple for the handles, for a nice summer vibe.
The square knot
To make this bag, you only need to master the square knot. I’ll explain step by step how it’s done. With a little practice, you’ll soon get the hang of it. One bit of advice I would’ve appreciated before starting: pull on the yarn as hard as you can. This keeps everything in place. Also pay attention to the order in which you knot the yarn, so that all the knots are facing the same way.
Cut and hung
First, I cut 20 pieces of yarn into a length of 2 metres. I divide these into five bunches of four strings. I tie the first square knot in the centre of each bunch and place the bunches 10 centimetres apart on the table. Next, I secure the knots using tape, so they don’t slip.

Source: Stefanie Lechthaler
Forget me knot
Starting now, it’s all about tying square knots. I tie the first four rows on the table on both sides of the adhesive tape until the arrangement of the ropes no longer allows any more knots. To be able to continue, I need to hang the bag over a rod. I don’t have one, so I need to improvise.

Source: Stefanie Lechthaler
I jam the telescopic handle of my mop into the door frame, hang the bag on it and stick it down. Next, I knot the front and back together. After a while, I realise I didn’t tighten the first knots enough and that’s why my bag’s tightening towards the bottom. I’ll keep that in mind for the next time. According to the tutorial, I should keep on knotting up to row seven before taking the bag down and working on the handles. I decide I want a longer bag, knot two more rows and hope it won’t have a negative effect on the final result.


Source: Stefanie Lechthaler
Too hard to handle
All I have to do now is knot the handles for the mesh bag to be complete. This requires knotting the loose yarns into two bunches at the front and back, using the square knot again. I place them on top of each other and glue them together in two places. For the handles, I cut two 3-metre pieces of purple yarn and wrap them around the yellow ends that are glued together.


Source: Stefanie Lechthaler
After three painful attempts, the handles are finally done and my bag’s ready. I’ve fallen in love again, but this time with my own net bag. The bag’s incredibly fast and easy to make, with a size that can be adjusted according to your needs. I’ll soon be making a smaller one with narrower netting that’ll hold items such as a wallet or mobile. Then I’ll be truly ready for the swimming pool season – provided the weather is, too.

Source: Stefanie Lechthaler
Painting the walls just before handing over the flat? Making your own kimchi? Soldering a broken raclette oven? There's nothing you can't do yourself. Well, perhaps sometimes, but I'll definitely give it a try.


