
Keycap Kevin: this is how I mod the stabilisers
To have a good keyboard, the stabilisers play a decisive role. That's why you should mod them. I'll show you how.
When a keyboard clicks unpleasantly, it sends a chill down my spine. And it's the stabilisers that are responsible. These parts ensure that the long keys on the keyboard are pressed evenly and don't slip. They rattle because they are mechanical. In the case of the stabiliser, a bar connects two plastic pieces on the left and right and moves them up and down in another plastic piece. Here's an explanatory video:

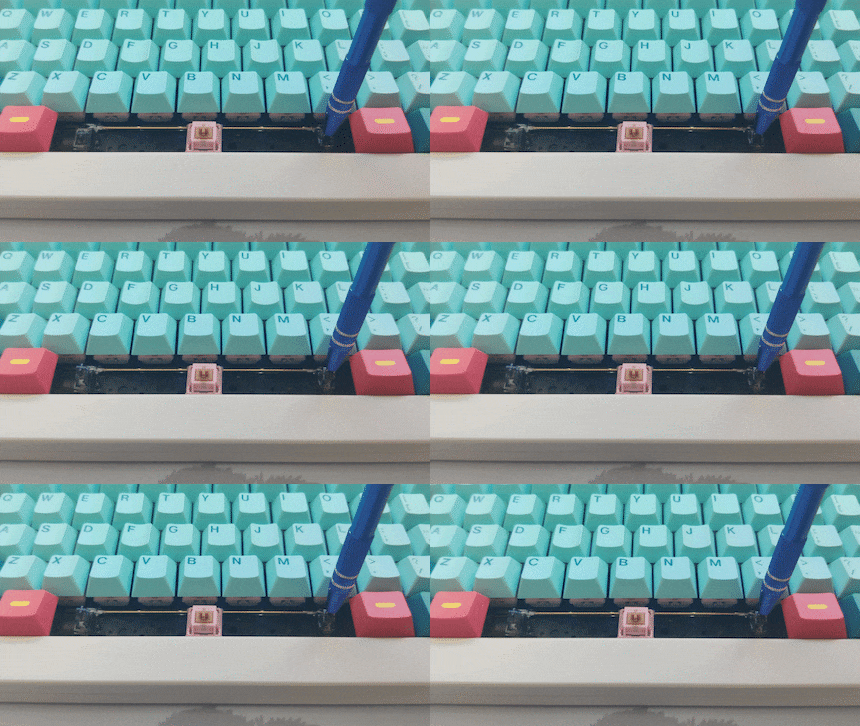
When they move, they can produce an unpleasant noise. To stop them doing this, I always lubricate my stabilisers. If you have a "ready-to-use" keyboard, this operation proves difficult. In most cases, you have to remove all the switches before you can access the stabilisers. It's even more difficult if your mechanical switches are soldered; you have to desolder them first. In that case, I'd advise another method: syringe greasing.
Taking apart the stabiliser
Before I can begin, I must first dismantle the stabiliser into its various parts. This varies depending on the type of stabiliser. But in most cases, I hold the stabiliser on one side of the body and push the bar up. As a result, it detaches from the plastic parts and I can access them. I do the same for the other side.
Before I start lubricating, I still have one important task to complete: levelling the wire.
Wire Balancing
As well as rattling, stabilisers can produce a 'tick' noise. To control this, the wire must be balanced with what is known as wire balancing. At their ends, stabiliser wires are bent at 90 degrees. Unfortunately, they don't always lie flat because of the bend generated by the machine.
I check this by placing the wire on the screen of my smartphone. Then I tap my fingers left and right at the end of the bend. If I hear a ticking noise, it means I need to bend the wire slightly downwards on that side. I have a special tool for this, but you can also just use two pliers. After bending, I check whether, by tapping the ends of the wires, the ticking noise has disappeared on both sides. If it hasn't, I improve it accordingly by bending it until it no longer makes a noise.
Lubricating the stabiliser housing
After the wire balancing, I take care of lubricating the plastic parts every time. For each stabiliser, I have four parts: two housings and two rods. The rods move up and down in the housing, like a piston in an engine. The grease has to reduce friction and therefore noise and the 'scratching' sensation when striking. I use Krytox 205G0 lubricant, which I buy from specialist shops. But the lubricant in our range works just as well.


Glorious PC Gaming Race G-Lube Switch Lubricant
To apply it, I use a fine brush. Don't apply too much grease. If the brush is white, there's too much. In fact, if you apply too much grease, the stem may not glide as well with it as without. I spread the product thinly on both sides of the stem, where it rises and falls in the case. The stem should glow slightly in the light. Using the rest of the grease on the brush, I coat the inside walls of the case. Only then do I go back into the grease pot with the brush for the second stem and the second housing.
Once the parts have been lubricated, I reassemble them. Here I have to be careful to insert the stem the right way round; only one is correct. Before reclipping the wire, I also lubricate it.
Lubricating the wire
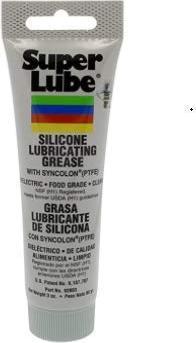
For the wire, I use a thicker lubricant than Krytox 205G0, the famous XHT-BDZ. Unfortunately, we don't have it in our range. At first sight, it may seem expensive. I bought ten grams about two years ago and still have some, so that's easily enough for well over 20 keyboards. I'm convinced by XHT-BDZ for the wire and I recommend it to everyone, even if it is expensive. But it's also possible to do it with the lubricants mentioned above or even with the following product.

Synco Lube Super Lube Silicone Lubricant with PTFE 85g white
Accessories
I apply a thin layer at the ends and a little beyond the bend of the wire. If you're not using XHT-BDZ, feel free to apply a little more; without overdoing it, of course. If you put too much on, the stabilisers will only move up and down slowly; the opposite of what you want when you lubricate them. As mentioned at the beginning, you can always add grease later with a syringe.
Next, I put the stabiliser back together - in the reverse order of disassembly. Now I can mount the stabiliser and test the noise it makes. If it continues to 'scratch', I add a little lubricant using a syringe; in this case, Krytox 205G0, as the XHT-BDZ is too thick for a syringe. If there's still a ticking noise, I need to get back to balancing the wire.
This is my method for modding stabilisers. What's yours? Tell me more in the comments.
From big data to big brother, Cyborgs to Sci-Fi. All aspects of technology and society fascinate me.
Practical solutions for everyday problems with technology, household hacks and much more.
Show all

