A game sorting box for on the go
Boredom doesn't stand a chance with this homemade game box. Whether at the swimming pool, during waiting times or on long car journeys - this box is guaranteed to keep your child entertained.
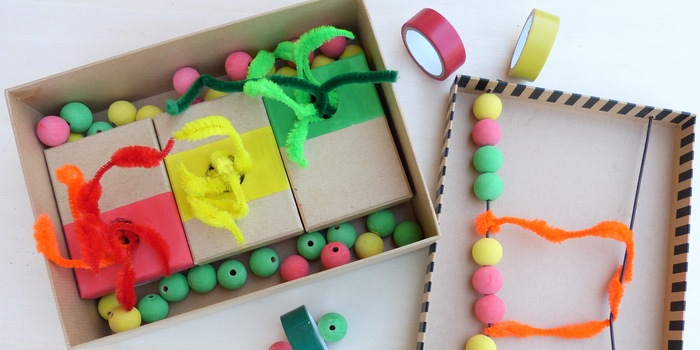
In summer, I often go swimming with my family. My small children want to stay in the water non-stop, even though they start to shiver after 15 minutes. So that I don't have to keep tempting them out with ice cream, I've recently started using a play box I made myself. My children can use it to sort wooden balls by colour, bend chenille wire into different shapes or make a necklace with the leather cord.
It has already got the odd water stain, but that doesn't do anything to the whole thing. My children now enjoy these quiet moments of play on the towel before the next pool round.
What you need
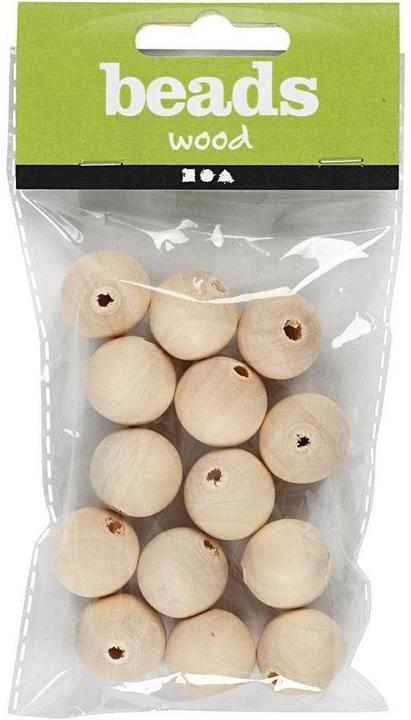
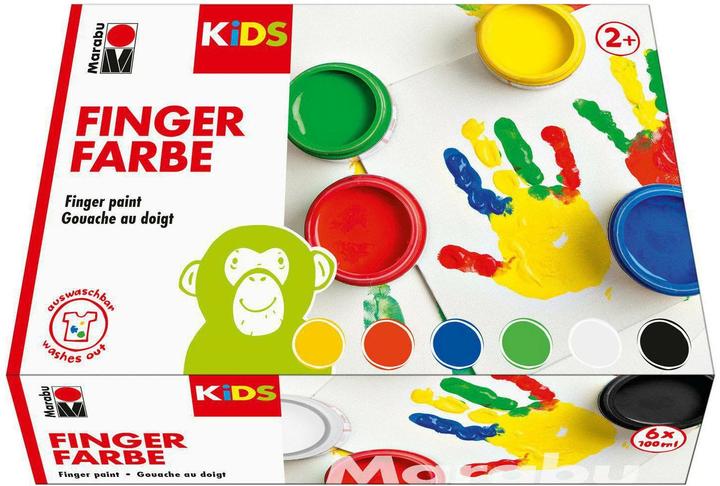
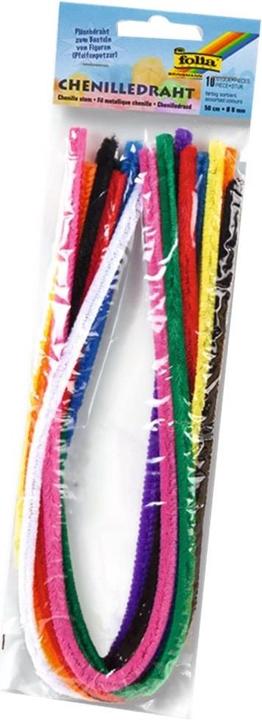
The basis for the game box is a simple cardboard box and three rectangular cardboard boxes that fit inside the large box. To breathe life into the box, you will need approx. 45 wooden beads (20 mm diameter), three different finger paints, a leather strap and optional chenille wire. You will also need tall containers, long shashlik sticks, a cutter, brushes, double-sided adhesive tape, a pencil, masking tape and a pair of compasses.
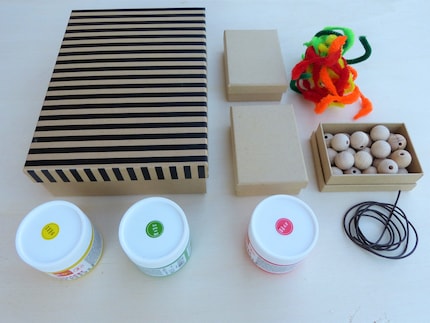
How to turn a simple cardboard box into a game box
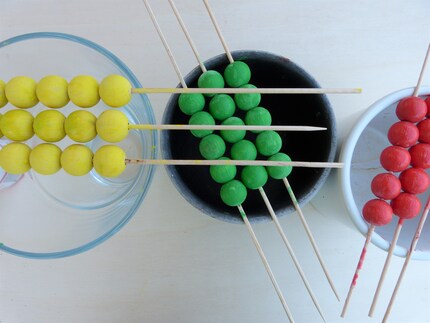
1. Thread the wooden balls onto the shashlik sticks. Paint the balls in three colours using a brush and finger paints (alternatively acrylic paints). One colour per skewer. Then place the balls and skewers on a container to dry so that the balls are hanging outside.
2. Turn the three small cardboard boxes into sorting boxes by cutting a hole the size of the wooden balls in each of the three lids. Draw the circles using a compass, cut out the edge with a sharp object (e.g. cutter) so that you can push the circle through at the end. Then use masking tape to mask off an area to the left and right of the hole, which you can paint with finger paint. Allow the paint to dry well.
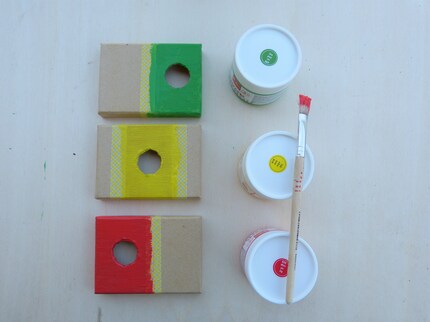
3. Once the cardboard boxes are dry, you can remove the tapes. Determine where on the bottom of the large box you want to attach the three boxes and lids. Then apply the double-sided adhesive tape to the bottom of the large box. Then peel off the film and attach it to the bottom of the large box.
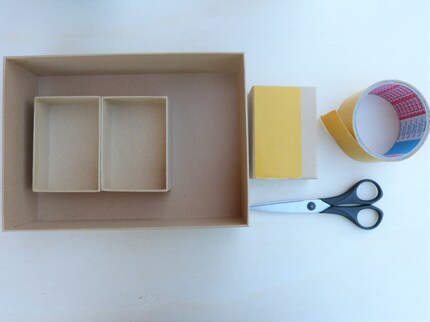
4. The last step is to attach the leather strap to the inside of the large lid. To do this, drill two holes in the short side of the edge of the lid, pull the strap through the holes and knot it at the beginning and end. Now you can fill the box with the colourful wooden balls and the chenille wire, put the lid on and the play box is finished.
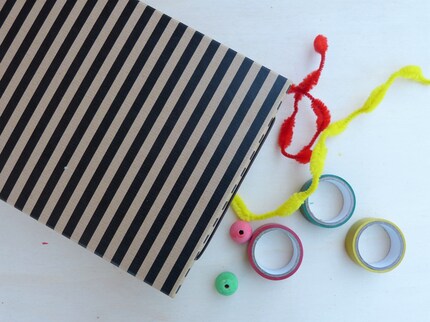
This play box invites lots of creativity and can be supplemented with other things. My children often pack Lego bricks or toy cars in it. Together with the small boxes, wooden balls and chenille wire, there is plenty of room for the children to play.
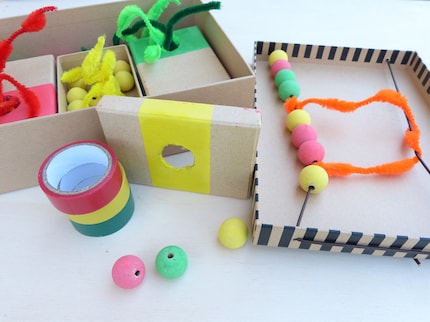
The wooden baubles can be threaded onto the leather cord. They can be sorted by colour or rolled around on the inside lid. The chenille wire can be squeezed into the boxes or wrapped around the leather strap. A lot of new things can be created.
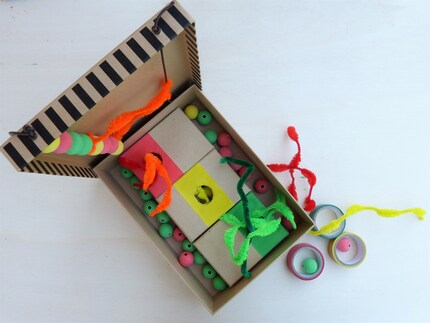
I don't know whether the game box will withstand all the water drops until the end of the season. But I like to make another one because it has a calming effect on the children. Just give it a try. <p
I'm more of a thinker than a doer. Yet I'm still always active: crafting, sewing, writing to-do lists, daydreaming, counting clouds, digging into soil, comforting my two little ones and collapsing into bed after a long day. If it were up to me, each day would have a few extra hours... I wonder if that would be enough.
