
Building a design gaming PC for your living room
Compact, water-cooled, fast and suitable for a living room: These were the requirements that my work colleagues Christian Seeholzer and Quentin Aellen defined for their latest project. Oh, and they also wanted the result to be pretty to look at. Sounds rather straight forward, but the case they chose turned out to pose a tougher challenge than expected.
It all started with picking a PC case. Team gaming and peripherals, that’s the team Christian and Quentin are in, got their inspiration from a strikingly pimped Phanteks Evolv Shift X. T. Phanteks really know what it takes to produce stunning hardware. For Christian and Quentin, this didn’t only give them inspiration for a challenge, but was also a great starting point for their new project.
It’s all about planning
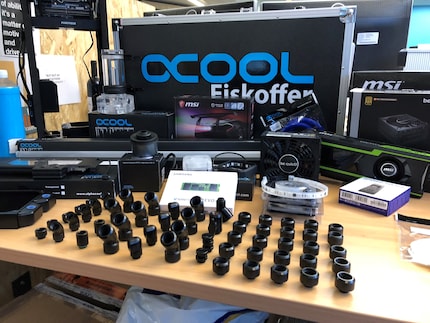
Installing a water cooling system isn’t an easy tasks and takes good planning. Especially if you want your tubing to look good. Christian and Quentin started off my drawing a plan of which parts to install where. «Our motto was: Measure twice, cut once,» Quentin explains. The internal power cables also had to be measured and ordered from Cablemod. They had to be custom-built due to the short distances.
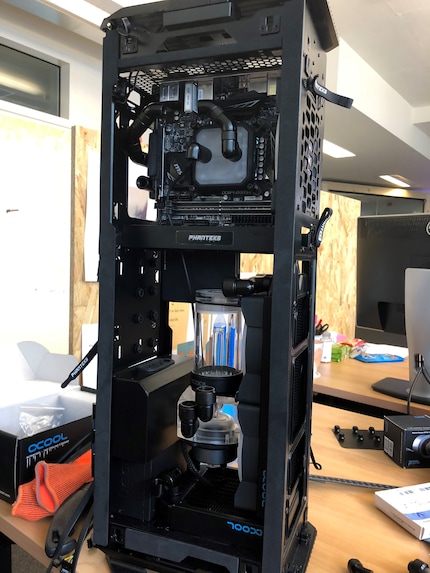
The remaining hardware was easy to pick, as Chris and Co. wouldn’t settle for anything but the best parts that are available on the market. Once everything had arrived, the next step was to put it all together. The special design of the Phantek turned this into a challenging task. If you’ve ever assembled a PC, you’ll know that it’s easier the bigger the parts are. But that’s an obstacle the two DIYers put in their own way.
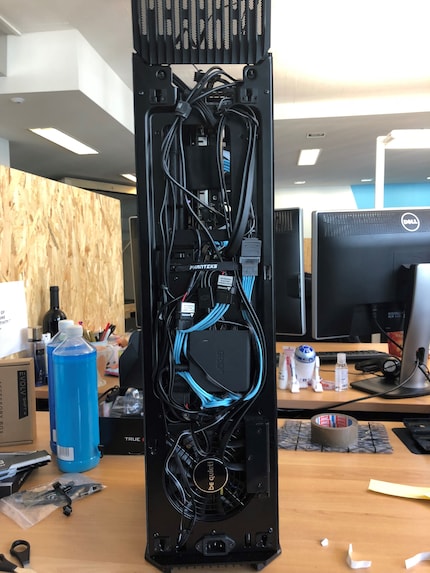
According to Quentin, mounting the pump and water reservoir was one of the trickiest bits – only installing the RGB fans and UBS controller was even more difficult. «There’s only limited space behind the cover and our plans to get fans and controllers in there was very ambitious,» Quentin admits. Christian suspected in advance that the lack of space might become an issue: «But it took even more effort than I expected – especially getting the cable management right.»
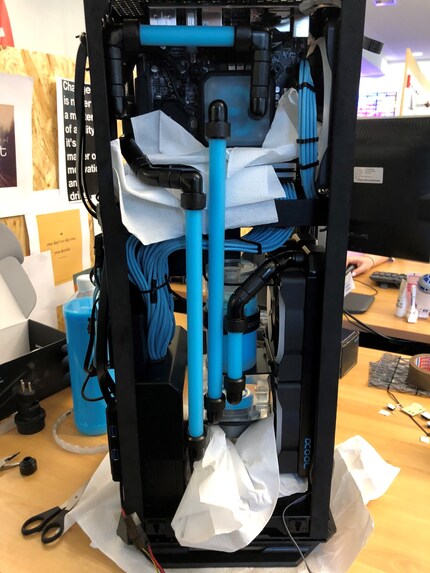
The next step required precision work: installing the tubing. First of all, Quentin and Chris measured out the tubes, cut them into roughly the right length, then measured them again and cut them into exactly the right length. They didn’t need to work quite as precisely with the bent tubes, as they were bent into the right shape later on (ideally using a hairdryer). «As soon as we’d installed the tubes, we checked again if they were still leak-proof,» Quentin explains. Then they filled the water reservoir and put their installation through an all-night leak test.
They used a water additive by Alphacool that’s not yet on the market, as it’s still in a beta phase. Chris and Quentin were allowed to test it: «It contains smaller particles than other ready-made kits, which means they don't get stuck in the tubes. At the moment, however, this isn't working perfectly yet,» says Chris. That’s why he recommends ready-made mixtures by Aqua Computer.
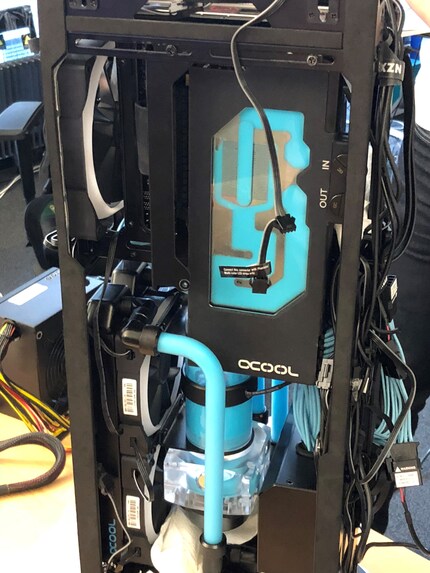
Having passed the leak test, the PC was ready to go. The cooling system made a happy bubbling sound and the PC with its bright blue tubing got the guys quite a few jealous looks. So far so good, right? However, the performance tests were rather sobering. Even the prettiest LEDs couldn’t hide the fact that the performance fell short of expectations.
Why? The components couldn't be the problem. A GTX 1080Ti in combination with an i7-8700K should make short work of every new game. A look at the CAM software that controls the NZXT fans revealed that the PC was getting much too hot. There just wasn't any efficient way to transport the warm air out. Christian's advice: If you have the option, drill holes into the aluminium wall to allow the air to escape. Their solution was to turn the fans to 100 percent or leave the case open at the front. But still, no extraordinary cooling performance could be expected from this construction.
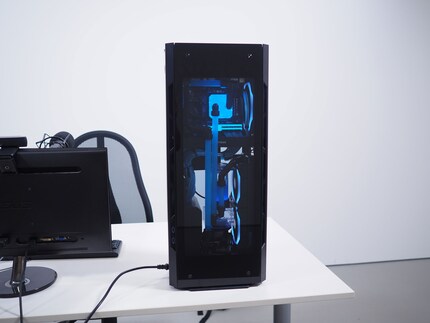
«If you’re not using a 1080Ti, you can only work with a 280mm radiator,» Quentin concludes. This doesn’t only create more space; it also prevents the radiators from blowing air at each other instead of transporting it to the outside.
Conclusion: A lot of PC on a small space
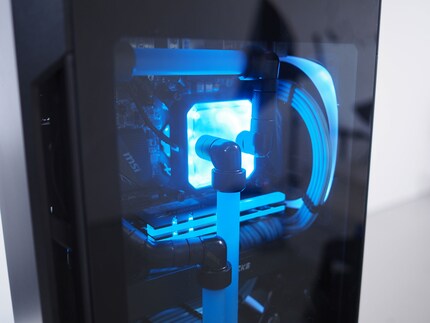
Quentin and Chris are proud of their project. «We've managed to assemble today's most high-performance parts in an extremely small space. The result is suitable for any living room and looks very good,» Quentin sums up. Careful planning and a lot of patience were key to making this PC project work. Would they do it again? «If I had the budget, sure, but I wouldn't install as many LEDs and fans.» Christian agrees: «This much power in such a small space is awesome. But next time I'd install proper giants of fans.» Let's see if they can get their hands on enough material to build this monster PC.
You'd like to recreate this PC? Here are all the components Christian and Quentin used.
As a child, I wasn't allowed to have any consoles. It was only with the arrival of the family's 486 PC that the magical world of gaming opened up to me. Today, I'm overcompensating accordingly. Only a lack of time and money prevents me from trying out every game there is and decorating my shelf with rare retro consoles.
Practical solutions for everyday problems with technology, household hacks and much more.
Show all