
DIY dry erase board
Draw, wipe, repeat. It’s guaranteed fun for your kids! And the best part is your kids can customise it as they please.
Sound familiar? Your child wants to draw a house, but can’t quite get it right. They get angry, grab the paper, crumple it up and throw it on the floor – with impressive gusto. I’ve been experiencing more than enough of these situations in recent times. My son always has a very specific idea of what he wants to draw. And when it doesn’t work out, he gets frustrated. To make things easier for him, we made a dry erase board together that he can use in a variety of ways.
Messed up a drawing? That’s no problem if you use whiteboard markers. Your kid can easily wipe the board clean and start over. It’s worked wonders for us. My son doesn’t get frustrated as quickly any more and can focus on drawing for longer periods of time. And my paper consumption has gone way down.
Here’s what you need
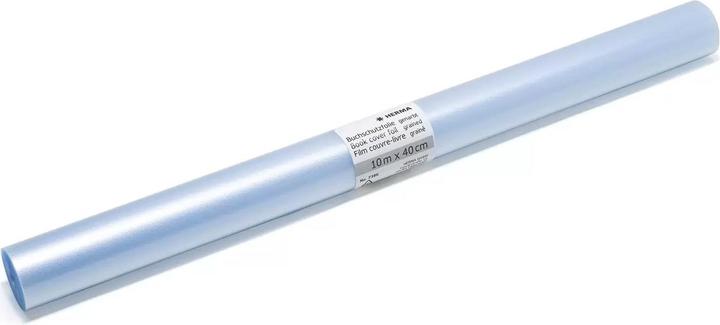
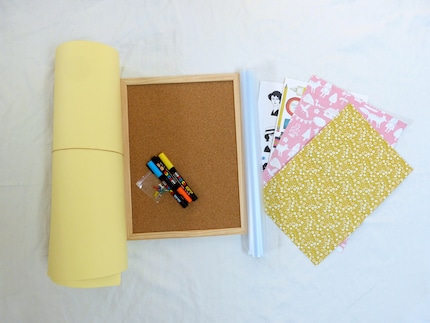
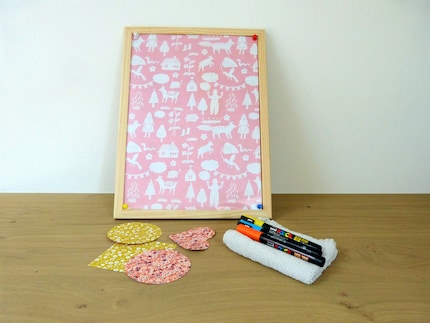
For the dry erase board, you need a cork pinboard for the base (ideal size: 30 x 45 cm), cardboard or thick paper, clear book protection foil, whiteboard markers and wrapping paper or magazine pictures. In addition, you need a pencil, ruler, glue stick and scissors.
Three steps to get drawing
1. Measure the inner dimensions of your pinboard, then cut a piece of cardboard or thick paper to the same size. This serves as the drawing pad.
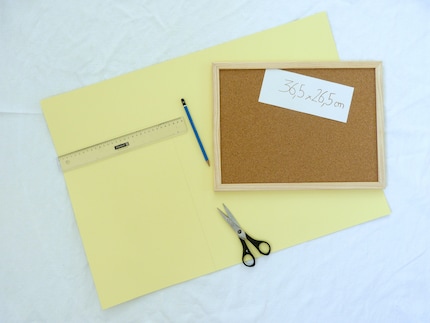
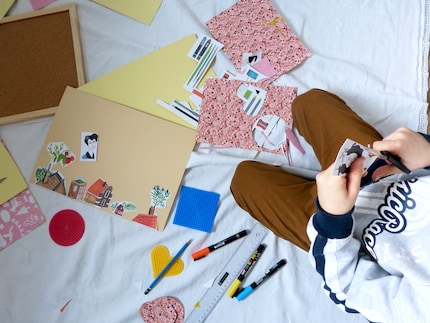
2. Cover the drawing pad as you please with pictures, patterns, wrapping paper, etc.
3. To finish, cut the book protection foil to size and place it over the drawing pad. You can simply pin it in place with a thumbtack in each corner. That way, everything’s secured and you can easily switch out the background. Your child can have fun with different templates, and you can easily go back to using the pinboard as an actual pinboard any time.
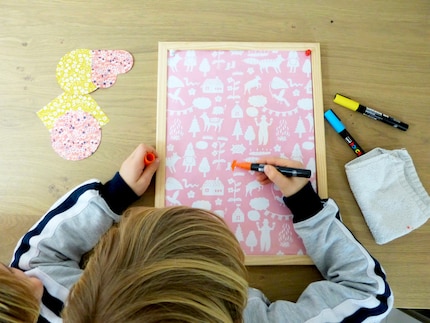
The great thing about this board is that kids can use a cloth or paper towel to remove what they've drawn. They can fully experience the joy of painting because a «mistake» is no longer forever – they can just wipe it away.
Depending on the age of the child, you can also put numbers or letters on the drawing pad. They can learn to write by tracing the numbers and letters. The same goes for different motifs. I wish you many creative moments with your child(ren) and loads of fun with this DIY dry erase board!
I'm more of a thinker than a doer. Yet I'm still always active: crafting, sewing, writing to-do lists, daydreaming, counting clouds, digging into soil, comforting my two little ones and collapsing into bed after a long day. If it were up to me, each day would have a few extra hours... I wonder if that would be enough.
Practical solutions for everyday problems with technology, household hacks and much more.
Show all