Background information
Drone, the first - smells a bit burnt, doesn't it?
by Manuel Wenk
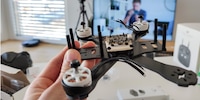
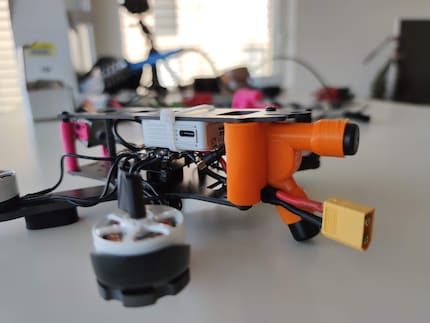
I have to 3D print a mount for my colleague Manuel's DIY racing drone. Not easy, as we can only communicate digitally. Errors are programmed.
Building his own racing drone got off to a bumpy start for Manuel. After just a short time, he set the part on fire. And now he faces the next problem: the camera and antennas need a mount, otherwise they can't be attached. One that you can't buy, but have to make yourself.
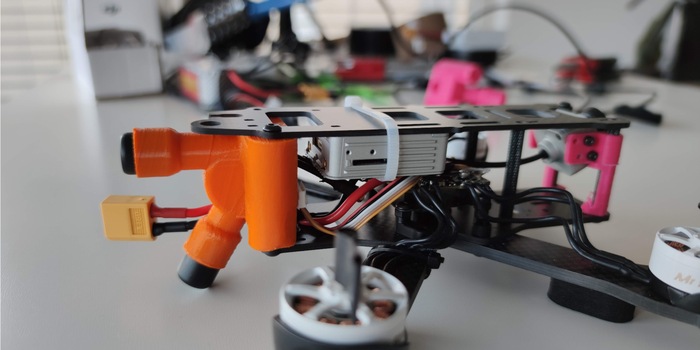
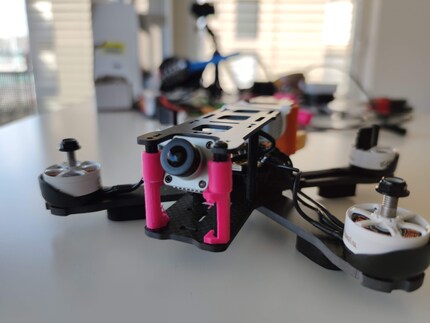
Luckily, I have the PlaySmart 3D printer from Polaroid to test - my private printer is once again under repair. Manuel and I search for suitable parts together on Thingiverse. After a while, we think we've found the right mounts. We use this part for the camera and this for the antennas. I print the parts and send them to him by post.
The camera mount fits, but Manuel has to drill out the holes a bit. The antenna mount, on the other hand, does not fit. The distance between the two fastening screws is not large enough. He can't screw the part on. We have to come up with something else. I suggest to Manuel that I design the part for him true to size using CAD and then print it. A back and forth begins with digital communication from the good old post office.
We're meeting for a Teams conference. This time we do everything right from the start - or so we think. We discuss what Manuel needs to measure so that I have the correct dimensions for my CAD programme Fusion 360. Although the bracket is not particularly complex, it will be a challenge for me. So far, I've only designed very simple things.
We based the design of the bracket on the template from Thingiverse, which didn't fit. Another thing Manuel noticed was that the tubes for the antennas are far too long. They should be shorter so that the antenna cables are long enough to connect them to the brain of the quadcopter. With the correct dimensions, I set to work.
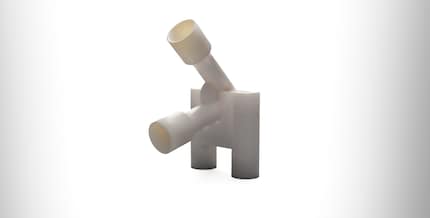
The most difficult thing for me is to construct the tube for the lower antenna at a 60-degree angle to the upper antenna. I've never done anything like this before. I succeed, but the cross-section of the tube changes from a circle to an ellipse. That's not a problem in this case, the hole in the tube is still wide enough for Manuel to pull the antenna cables through. After about four hours of work, I'm finished. I send him the design via Teams and we discuss it again via video conference.
He looks at my design as a 3D model on the PC and compares it with the part I have already printed for him. He notices something: The antenna bracket, which points upwards, butts up against the quadcopter frame. He can't use the bracket like this. On his quadcopter, one antenna mount must point forwards and one downwards.
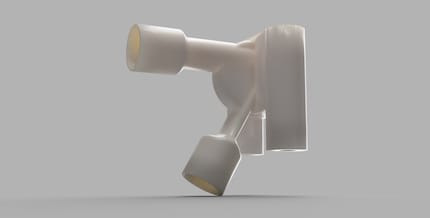
I have to go back to the books. For the bracket to be compatible, both antenna mounts have to come out towards the front. What wasn't a problem before is now becoming one: because the upper bracket is now facing forwards and no longer upwards, I have to direct the angle of the lower bracket further downwards. This makes the elliptical cylinder extremely narrow. It is only possible to construct a small hole through which the antenna cables have to pass. We're not sure whether the cables will fit through there at all. I push the wall dimensions to their limits and make them extremely thin. We decide to print the part like this.
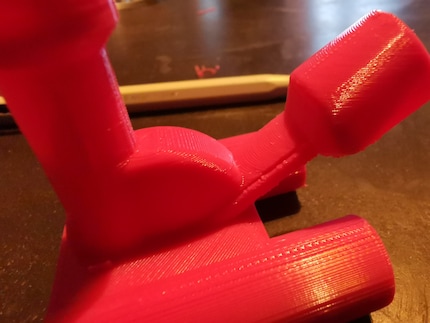
We have pushed the boundaries of what is possible with the 3D printer: Cracks formed on the outer sides of the elliptical tube during printing. The part is still holding and I'm sending it to Manuel by post.
The problem with the elliptical tube gives me no peace. It can't be that there's no other option. Since I forgot to save my project anyway ...
. I sit down again at Fusion 360. Four hours of work for nothing. I don't let that get me down and thanks to the experience of the previous day, the part is reconstructed within a short time - this time even better. I discover a function that allows me to actually create the cylinder in a cylindrical shape. I print the part and send it by post.
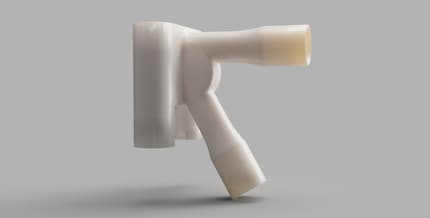
Manuel tries to fit the bracket. Several things don't fit. Firstly, the distance between the holes for attachment to the quadcopter is too large. He would have to drill out again. Secondly, the antenna tubes are still too long. He can't connect the cables to the brain of the drone. Thirdly, the bulges for the antenna heads, where the transmitter and receiver units are located, are too deep. The heads disappear completely into it, which they shouldn't. And fourthly, he measured the height of the bracket incorrectly. It needs to be one centimetre shorter. I need to revise the model again.
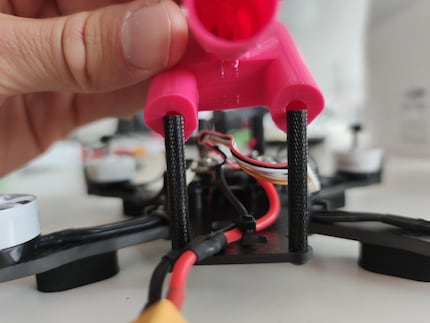
The adjustments are quickly made and as my CR-10S Pro is now back in operation, I print the part with my printer. A new parcel goes into the post. I now know Manuel's address by heart.
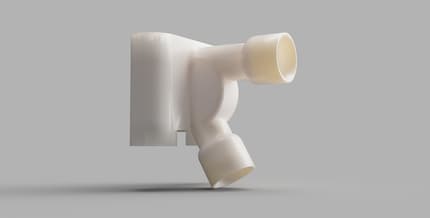
"That too!" Manuel writes to me on WhatsApp. Shit, what's wrong now? A picture follows shortly afterwards.
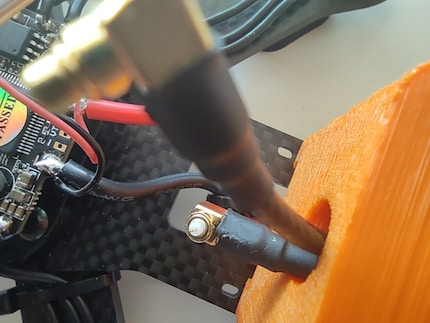
Hmm... The antenna cables fit. What's the problem? The explanation: He had to bend the cable to connect it in such a way that the connector broke off. Everything else is fine with the printed part. It fits perfectly.
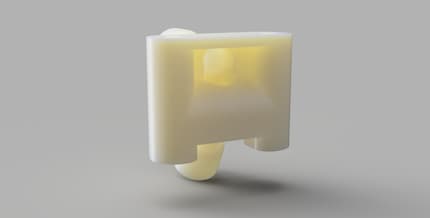
We discuss the situation briefly via Teams. He orders new antennas and I make the part again. This time I enlarge the exit for the cables and round it off. This makes it easier to guide the antenna cables.
My work is done - and so am I. Prototyping at a distance and without experience is really tedious. Nevertheless, I'm proud that the part finally fits and that I was able to help Manuel.
From big data to big brother, Cyborgs to Sci-Fi. All aspects of technology and society fascinate me.