
Gaming components in a (beautiful) shoebox: The Osmi 3.1 tested
With a volume of 8.6 litres, the Osmi 3.1 from HG Computers is about the size of a shoe box. According to the manufacturer, it can even be used as a gaming PC. This works quite well if you don't want to install high-end components.
The Osmi 3.1 looks stylish and I really like its white shell with rounded corners. The black stand, which makes the housing look like it's floating, is a real eye-catcher. At 180×180×255 millimetres and 1.88 kilograms, the Osmi is not only compact, but also a lightweight.
- Dimensions: 180×180×255 millimetres
- Outer shell made from aluminium
- Weight: 1.88 kilogrammes
- Vertical airflow with slot for a 140 mm fan at the bottom (not included)
- Supported motherboards: Mini-ITX (all sockets from AMD & Intel)
- Supports dual-slot gaming graphics cards up to 17 centimetres in length
- SFX or SFX-L power supplies and two 2.5-inch data carriers
- Space for CPU coolers with a maximum height of 70 millimetres

A first look
The Osmi 3.1 looks very well made. There are no gaps or other openings anywhere that are not due to the design or airflow. After loosening four screws on the back, the white outer shell can be lifted off. Nice detail: HG Computers uses hexagon socket screws for the outer shell. This looks more elegant to me than a Phillips screw.

Once the outer shell is removed, I can see the entire interior at a glance. At the top, the housing is vented via a black grille. At 10×10 millimetres, the gaps between the grille are relatively large. This means that a lot of dust can get into the housing, especially as it doesn't have a dust filter. However, the attention to detail is also evident here: the shape of the holes is based on the housing, meaning the corners of the squares are rounded.

A case fan can be attached to the underside. This draws fresh air into the case through the 1.3 millimetre cut-out between the stand and the underside of the case. The fan must be 140 millimetres in size; you cannot attach a smaller one without drilling. There is also no dust filter on the underside.
The Mini-ITX mainboard is mounted on the side, with a dual PCI slot for compact graphics cards punched out at the bottom. These can be up to 170 millimetres long. A riser cable is not required for installation. However, the placement of the graphics card is not optimal, as the test will show.

Fiddling with the fan
I decide to install a fan so that I can get enough fresh air into the case during testing. HGC has provided holes with threads on the underside for this purpose. This means you can screw the fan on from above using the screws supplied and don't have to unscrew the stand to get to the holes. In my case, however, this is not quite so easy. The head of my screwdriver from iFixit is too thick. I can't get it through the top hole of the fan.

That's why I quickly drill out the holes so that I can mount the fan. Every time I drill out a fan like this, I'm thrown back to my childhood: The smell that comes from drilling reminds me of the capsule guns I used to love to fire. Unfortunately, drilling out the hole is not enough for me to screw on the fan. I don't manage to attach the fan to the underside because there isn't enough space inside the housing. I therefore unscrew the underside including the stand and mount the fan like this.

I also remove the top. My reasoning: If I only have the three inner sides of the case, mounting the PC components is easier because I can get to them easily everywhere. A misconception, as I later realise, as the top and bottom are screwed on from the inside.
The rest is relatively simple
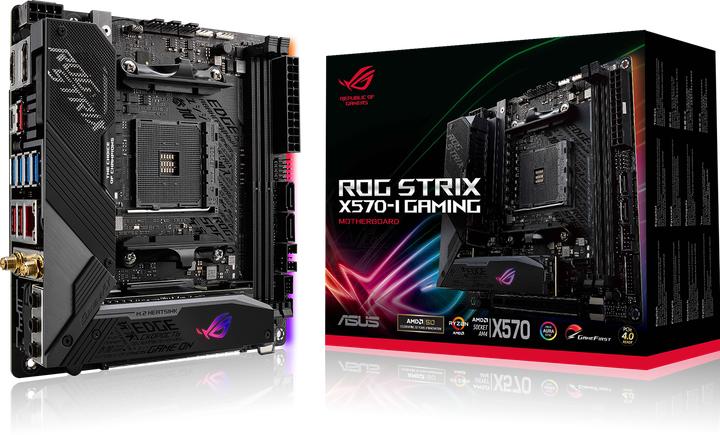
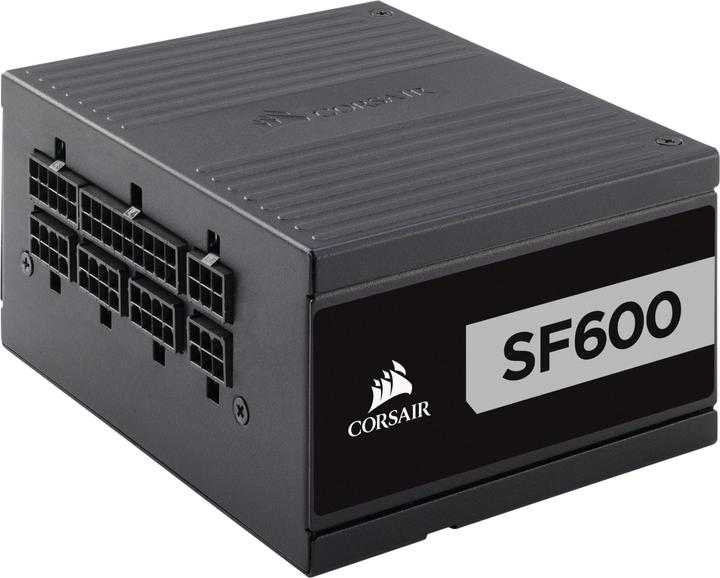
I set about installing the following components in the housing:
Since I have unscrewed the top and bottom, it is easy to connect the mainboard to the pre-installed components. Before I do this, I connect the power button and its LED to the mainboard. The cable is long enough and it is very easy to install. If everything was already in the case, it would probably be an act of patience. You won't find any front connections on the Osmi. Only the connections on the mainboard are available to you. I only connect the other cables after the mainboard has been installed. Despite the limited space available, this works quite well. I attach the power supply unit above the mainboard and plug the graphics card into the PCIe slot at the bottom. Once I've installed everything, I want to screw the lid and base back on. This doesn't work, of course, as they are screwed on from the inside. The mainboard and graphics card are now in the way. So I have to remove everything again and start from scratch. What sounds annoying in my case makes perfect sense from HGC's point of view: as everything is screwed on from the inside, no screws are visible from the outside. Thanks to details like this, the Osmi 3.1 looks so stylish.

Although space is tight with the base and lid on top, assembly is very easy. HGC has apparently thought of everything: there are cut-outs all over the inside of the housing to make assembly easier. For example, there is a large recess on the opposite side of the I/O connections so that I can insert the mainboard into the case. All the edges are also machined. I don't cut myself anywhere. After about ten minutes, everything is back in and this time even the lid and base are on. Only the graphics card is a fiddle. The 1660 Super from PNY still has a DVI connection. This protrudes at the back. The graphics card is therefore slightly longer than the permitted 17 centimetres. I have to pull the housing apart a little so that I can insert it.

On the whole, the assembly works well once you understand the structure of the housing. The Osmi 3.1 is very well made, has no corners or edges that I can cut myself on and everything is well thought out.

Test setup and method
The Osmi 3.1 is unlike any other case I have tested to date. Apart from the H1 from NZXT, I have only tested midi towers so far. Nevertheless, I use a similar method to the other case reviews
The most important thing about a case is the airflow. In other words, how efficiently is fresh air transported into and out of the case? To test this, I subject the components installed in the case to the HeavyLoad (for the CPU) and FurMark (for the GPU) stress tests.
I run the stress tests for 20 minutes. I use HWiNFO64 to measure the temperature of the CPU, GPU, SSD, motherboard and chipset. Unfortunately, I can't provide any information on the VRAM, as the sensor is apparently missing here. At least HWiNFO doesn't give me any values. I'm currently testing at home. It's not always equally hot in the home office, especially when I'm doing stress tests like this. The temperature in the office is 25.1° Celsius before the test and 26.5° Celsius after twenty minutes. I leave the fan control set to standard in the BIOS. I note the temperatures after every two minutes.
The results
When assembling the case, one thing in particular caught my eye: The intake fan at the bottom is a great idea, but the graphics card above it blocks the airflow. If I hold my hand over the lid during testing, the lukewarm air from the CPU cooler blows into my hand at best. I measure around 50° Celsius there with the thermometer.

The result of the graphics card is remarkably good. It reaches a maximum temperature of 67° Celsius. In the review of the card, I measured between 60° and 65° Celsius - and that on the open test bench. However, the good result is only surprising to a limited extent: the card benefits from the entire airflow of the 140-millimetre intake fan, which blows directly onto the 1660 Super.

Unfortunately, the entire airflow is blocked by the card. The mainboard and the SSD get relatively warm at 55° and 62° Celsius. The chipset also gets quite warm at 74° Celsius. When I reviewed the H1, I measured 49° and 63° Celsius for the mainboard and chipset respectively. That's six and eleven degrees less respectively.
The 95° Celsius of the CPU is due to the combination of the installed CPU and the fan size. The Ryzen 9 3900X is oversized for the fan and its cooling performance. Although I only achieved slightly lower temperatures with the Wraith Prism cooler from AMD in the review of the Define 7 from Fractal, the result is not comparable. The much smaller Noctua NH-L9i reaches its limits much faster with the 3900X. The Ryzen 9 3900X in the Osmi reaches the temperature limit of 95° Celsius after just a few minutes. While the CPU initially clocked at 4.1 GHz, it continuously clocked down further over the course of the test so as not to exceed the 95° Celsius limit. After just two minutes it was only 3.5 GHz, after ten 2.7 GHz and after 20 minutes 2.6 GHz on all twelve cores. Normally, however, your CPU will rarely be so heavily utilised for such a long time. Only intensive rendering tasks such as in Blender present the CPU with such challenges. However, such utilisation is rare when gaming. Lower temperatures can be expected with a smaller CPU such as a Ryzen 5 3600X or an i5-10600K.
The noise emission is kept within limits for the open design of the case: From a distance of thirty centimetres, I measured 41.5 dB with my dB meter. We humans perceive that as quiet.

Conclusion: stylish case with airflow deficit
With the Osmi 3.1, HGC delivers a beautifully designed case that impresses with its good build quality. In terms of workmanship, the only thing to criticise is the lack of dust filters at the top and bottom.
However, the case reaches its limits when it comes to airflow. The intake fan at the bottom is a good idea, but the airflow is disrupted by the GPU and the mainboard, RAM and other components receive almost no airflow. A sandwich design with two chambers, one for the CPU and one for the GPU, might have been better here. However, a riser cable would then be necessary to connect the GPU to the mainboard.
The Ryzen 9 3900X test CPU is simply overkill for the Osmi. With a smaller CPU, such as an i5-10600K or a Ryzen 5 3600X, the case would easily cope with the heat development. If you want to install a gamer PC in it, I would rather see one of these CPUs in combination with a GTX 1660 Super. As the airflow of the GPU is very good, you could even install an RTX 2060.
At 228 francs (as of 10 August 2020), the Osmi is expensive for what it is. Especially when you compare it with the H1 from NZXT. Although it costs 379 francs, you also get an AIO water cooling system and an SFX-L power supply. In return, the Osmi is available now, while the delivery time for the H1 is several weeks or even months.
From big data to big brother, Cyborgs to Sci-Fi. All aspects of technology and society fascinate me.


