Google on Huawei Mate 30: Retrofitting the Play Store in 7 Steps
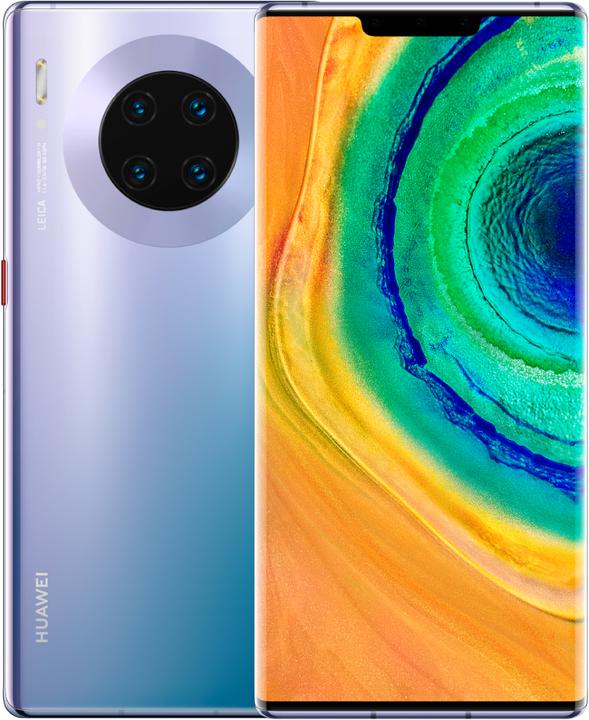
The Huawei Mate 30 is being shipped without Google Services. But a short hack will bring back the Play Store, Youtube and all the other apps on your phone.
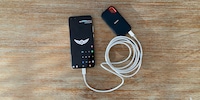
Let's make this quick: You can retrofit Google Mobile Services on your Huawei Mate 30 Pro. All you need for this is a USB drive that you can attach to your phone directly.
My setup:
You're most likely going to need a new USB memory stick, because it needs to be compatible with USB-C. An ancient drive you've got lying around probably won't work. The USB connector needs to be round, not rectangular.
Enough with the intro. Let's get this going and make the Android experience on your Mate 30 the experience you're familiar with. Because if Trump can't behave we'll have to get our hands dirty.
- The entire procedure below you'll have to do only once
- If you have no idea what you're doing, then make sure you've got about half an hour during which you do nothing but this
- If you know what you're doing, then you'll be done with this in ten minutes
- My personal best time in doing this is 3:32
- Required skill level: Grandma
Preparation: The USB Drive
In order to make anything happen, you need a USB drive, a PC and data.
- Download this file: googleMobileServicesHuaweiMate30Pro.zip
- Copy the ZIP file to your USB drive
Now put the drive away and unbox your Huawei Mate 30 Pro.
1. Format Your Phone
I recommend executing this hack on a freshly formatted phone. You're not interacting with the core systems directly, but it's entirely possible that network config and other random stuff could interfere with the procedure, when apps want to undertake configurations and whatnot.
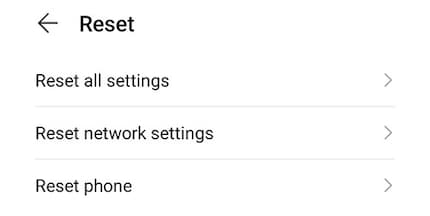
Alternatively: Hack the Google Services into your phone right after you unbox your phone.
2. Basic Setup: Do not go Online
During the intro, there are a few key points. You know, your regular dialogue where you set up your phone. Whenever possible, hit «skip». Do not put your SIM card into your phone and don't connect it to Wi-Fi.
All the security settings and personalisation will be done once Google Services are up and running.
The most important bit is this: the phone must not be connected to the Internet. So hit «skip» at the Wi-Fi list as well.
3. Enter the USB Drive
Now, let's get cracking. Plug the USB-C drive into your Mate 30 Pro.
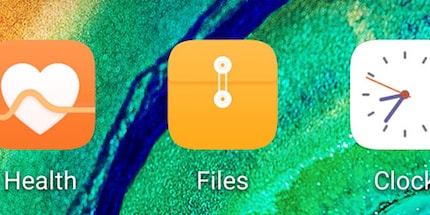
- Go to «Files». The app can be found on the second home screen to the right of your default homescreen.
- Press «Categories» at the bottom.
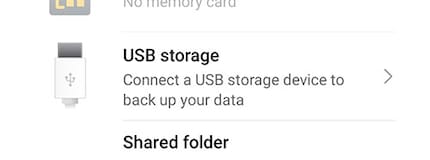
- Press on the entry for your USB drive. Mine's called «SanDisk USB Drive». Yours may have a different name.
- Scroll to the bottom. You'll see a ZIP file called googleMobileServicesHuaweiMate30Pro.zip
- Long press the ZIP until a menu appears at the bottom of the screen.
- Select the three dots with the word «More» underneath.
- «Extract To».
- «Current Directory».
- «OK».
- The Mate 30 Pro unpacks your data and creates a new folder that opens right away.
With this, we have all data where we need them in order to work. But for the system to recognize the backup – we'll get to that in a second – we'll need to move the data.
- In the folder that has opened, there are two more folders. One is called «gms» and the other is called «Huawei».
- Long press «gms» until a blue checkmark appears to the right of the screen.
- Press «Huawei» so that both folders are selected.
- Select «Move» at the bottom of your screen.
- Press the name of your USB drive at the top left of your screen.
- Select «Move».
4. Restore the Backup
Now here's where things get exciting, because we're misusing the phone's backup functionality in order to sideload an app including its configuration.
- Go back to your home screen.
- Go to «Settings».
- «System and Updates».
- «Backup and Restore».
- «Data Backup».
- «Next»
- «Agree».
- «External Storage».
- «USB-Storage».
- There is a backup dated 18 October 2019. Select it.
- «Restore».
- The password is a1234567890.
- Wait a second.
- «Done».
Now go back to your home screen. You'll notice a new app with a purple G and a Chinese name.
5. The Purple G
Now let's get Chinese. Basically, we're now activating your local administrator rights, if I understood this correctly.
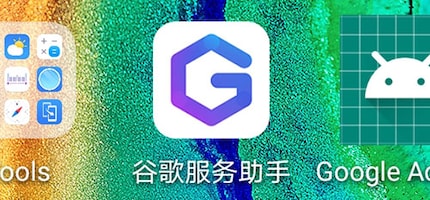
- Open the app with the purple G.
- «Activate».
- «Allow».
- Go back to your home screen.
6. Google A-Go-Go
Time for Google. Finally. From here on out, everything is super easy.
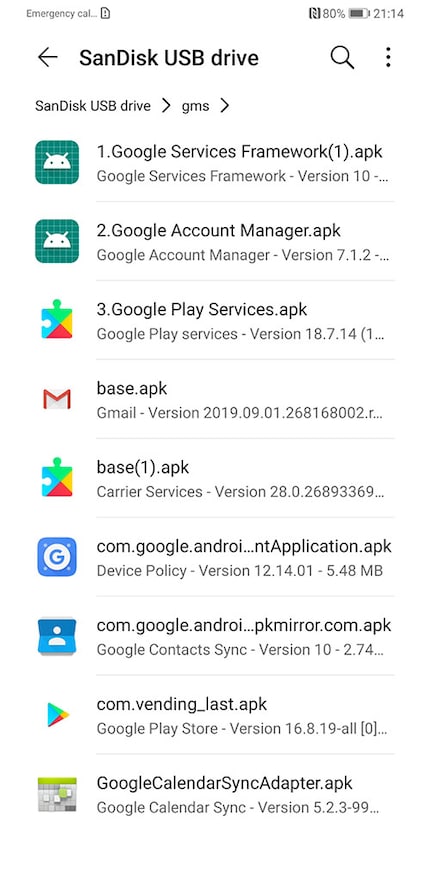
It's important to mention that you should not open any of the apps you're about to install just yet.
- Open «Files».
- Look for the folder «gms» on your USB drive.
- Install all apps in that folder.
- When installing the first app, put a checkmark into the box next to «Check App from external sources...» and «Don't ask me again».
- «Allow».
- «Install».
- Wait.
- «Done».
Do this for every app in the «gms» folder. Never press «Open».
7. Done: Connect to the Internet
Now, all Google Apps have appeared on your home screen just like you're used to from any other app you've ever installed. This means that your phone's setup is now complete and you can connect to the Internet.
Once you're online, open the Google Play Store and log in with your account. That's it. You can now use your phone the way you're used to. Gmail, Youtube, Google Photos and the Google Play Store all function the way you're used to. The Play Store will automatically update your apps like it does on any other phone. The Mate 30 Pro is now a phone like any other.
Alright. Done. Don't forget to add a PIN, a fingerprint and a facial scan under Settings → Biometrics and Password. Because this is now your phone.
Journalist. Author. Hacker. A storyteller searching for boundaries, secrets and taboos – putting the world to paper. Not because I can but because I can’t not.

