Homemade beef jerky. It's that easy!
Beef jerky is a wonderful source of protein and also tastes amazing. I'll show you how to make your own beef jerky and the steps you need to take to get the best results.
As the name suggests, beef is used for beef jerky. However, you can also make chicken jerky or salmon jerky by dehydrating chicken or salmon. Game is also ideal for this type of preservation. However, it is important to ensure that you use low-fat meat or cut away the fat before drying. As fat does not dry, the shelf life of the beef jerky is considerably shorter as a result.
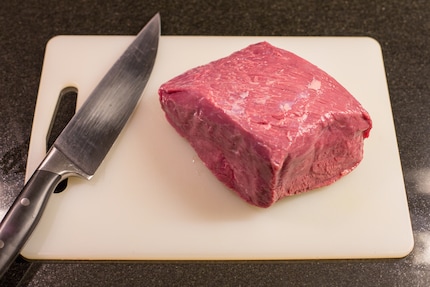
The most suitable cut of beef for beef jerky is the leg or the upper and lower rind. This part is often used as a steak, roast or roulade. I bought a beef roast from the supermarket for my experiment. However, your local butcher will usually have a larger selection and you can also have the meat cut into suitable strips. This saves you time and stress. Another thing to consider when buying your meat is the weight. The meat loses about ⅔ of its weight during the drying process. In my case, I obtained around 300 grams of beef jerky from one kilogram of roast beef.
Cut into strips and marinate
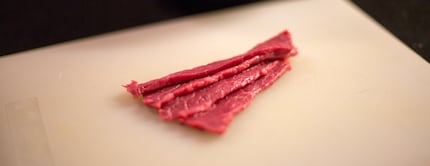
Before you can marinate the meat, you must first cut it into strips of equal thickness. I recommend making thin strips and not too thick. Please note that the thicker the pieces, the longer the drying process will take. For the cut, you should use a sharp knife with a long enough blade to cut the meat in one go. To make it easier to cut the meat, I put it in the freezer for about two hours beforehand. This makes the consistency of the meat firmer and you can guide the knife better. You can cut the meat either in the direction of the grain or against it. With the grain, the beef jerky becomes tougher and you need more force to bite it off. If you cut against the grain, the beef jerky is easier to eat. I cut the meat with the grain. Personally, I prefer beef jerky when there's a bit of bite to it. :)
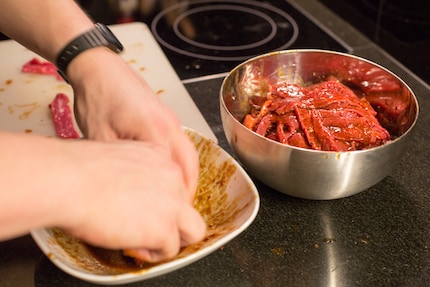
After you have cut the meat, it's time for the marinade. You can let your imagination run wild with the marinade and try anything you like. For my first attempt, I chose a fairly simple version that I knew would taste good. I used the following ingredients for one kilogram of beef:
- 8 tbsp soy sauce
- 8 tbsp Worcestershire sauce
- 2 tbsp ketchup
- ½ tbsp pepper
- ½ tbsp garlic granules
- ½ tbsp onion granules
I actually wanted to add a liquid smoke flavouring, but couldn't find it quickly. This would have given the beef jerky a pleasant smoky flavour
Once you have combined all the ingredients for the marinade, briefly coat each strip of meat and place it in a bowl or freezer bag. The marinated strips are then placed in the fridge. I left the meat to marinate overnight for about 12 hours. The longer you give this process time, the more intensely the meat will absorb the flavour of the marinade.
Drying in the dehydrator
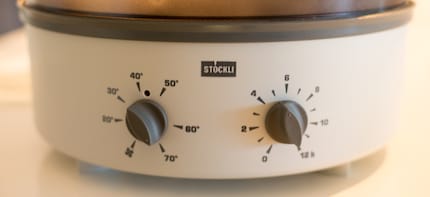
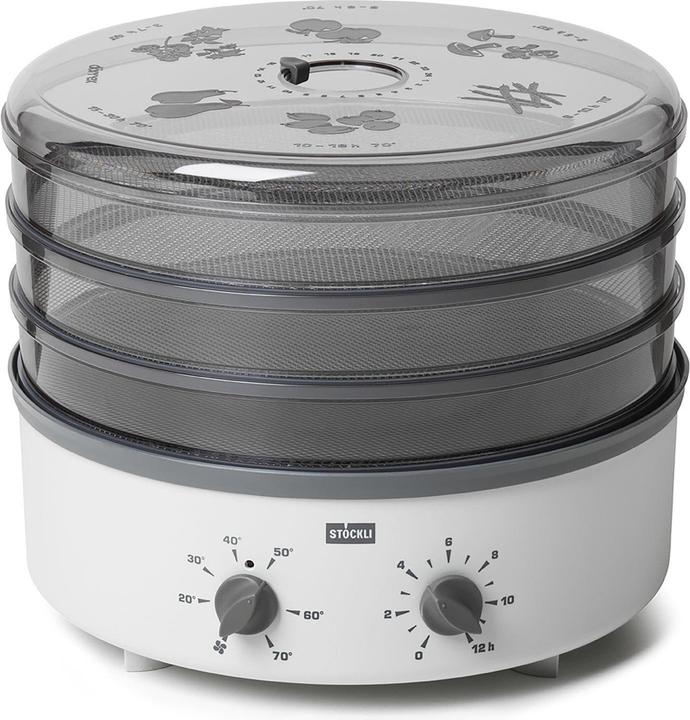
To make my beef jerky, I used a dehydrator with a built-in temperature controller and timer. This appliance is actually more suitable for vegetables or herbs, but is also great for beef jerky. I opted for the slightly more expensive version with the timer as it means I don't have to leave anything to chance. There are also cheaper dehydrators without a timer, but you have to be present to switch it off in time.
It is also possible to dry the beef jerky in the oven. However, you must ensure that the oven door is always left ajar. This allows the moisture to escape and the meat to dry properly. The best way to do this is to wedge a small piece of wood or something similar in between. The oven is a good choice for trying out beef jerky. However, if you want to try out different recipes or dehydrate other foods, it is worth buying a dehydrator. They are easy to use and also require less electricity than the oven.
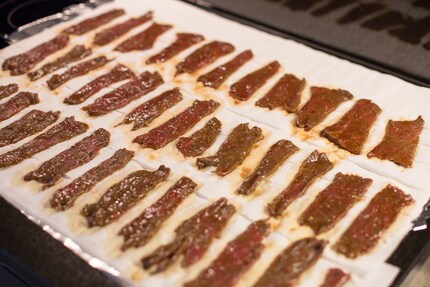
Before we start the drying process in the dehydrator, however, we must first dab off the marinade. If you skip this step, the drying process will take a lot longer. It is best to lay out a layer of kitchen paper and place the individual strips on top. Then cover the meat with another layer of kitchen paper. You can briefly dab it all over with your hand. You can then remove the paper towel again. Make sure that no residue remains on the meat. After all, you don't want to eat paper. :)
At this point, I sprinkled a generous amount of pepper over the meat again. You have to press the peppercorns into the meat a little afterwards, otherwise they will fall off again as soon as they have dried.
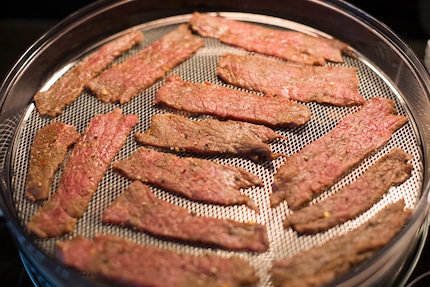
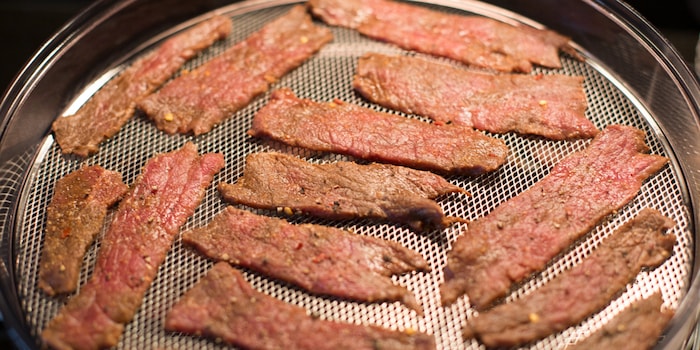
Now place the meat on the metal grids of the dehydrator. Make sure that the individual strips do not touch each other. This ensures that the warm air can circulate freely between the meat. My dehydrator has three metal grids, which are stacked on top of each other. I was able to place about 250 grams of meat on each metal grid. So about 750 grams on all three. However, as I had a kilogramme of meat, I would have been happy if I had had a fourth rack to hand. These can be bought separately. Up to ten such grids can be stacked on top of each other per appliance.
All the preparatory steps are now complete and the actual drying process can begin. I switch on the dehydrator and set the temperature to 70 degrees Celsius. I set the timer to 5 hours. As the hot air flows from the bottom to the top, you should swap the individual metal grids from time to time. In other words, move the bottom one up and the top one down. However, every one to two hours is completely sufficient. After two hours, I also set the temperature back to 60 degrees Celsius. During this time, all the bacteria should have died, which means that such a high temperature is no longer required.
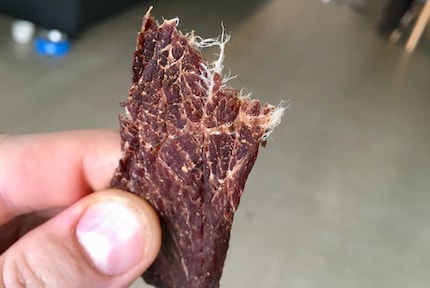
As my strips are unfortunately not all exactly the same thickness, I check their consistency bit by bit. The beef jerky is ready when slight cracks form when the strips are bent, but the meat does not break. My thinnest strips were ready after just three and a half to four hours, whereas the thickest pieces had to spend up to six hours in the dehydrator.
The result is impressive
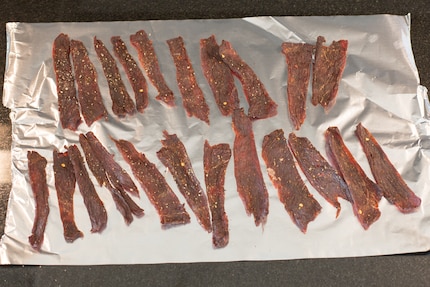
Once the beef jerky has reached the desired consistency, you should allow it to cool briefly. I spread some aluminium foil on my kitchen counter and spread the pieces of beef jerky on it. The meat doesn't need long to cool down. A quarter of an hour is enough. However, I had to be very careful not to bite into it while it was still warm. But what does 15 minutes waiting time matter compared to the hours that have already passed. In the end, the wait was more than worth it. The result simply looks amazing. Perfect consistency and a fantastic flavour on the tongue. However, the marinade is almost a little too salty. Next time I try it, I'll probably add a little sugar to the marinade to tone down the salty soy sauce a little.
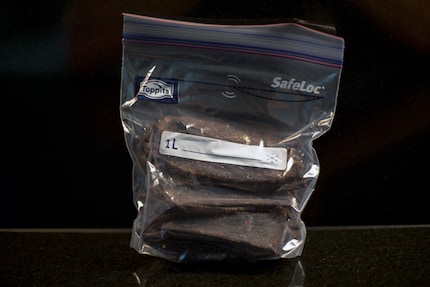
Now we come to the packaging of the beef jerky. Provided you still have some left over and haven't eaten it all. :) I bought a few freezer bags for the packaging. They seal well and don't take up much space. Your meat will keep for different lengths of time depending on how you store it. If you simply put them in your cupboard with the bag, your beef jerky will keep for about one to two weeks. If you put it in the fridge, it will keep for a good month. However, I can assure you that you will never need to keep it that long. My beef jerky was completely eaten after just a few days. :)
Another option is to vacuum seal the beef jerky. You can use a vacuum sealer to remove all the air and preserve the meat for much longer. Vacuum-sealed and stored in a dry and dark place, you can easily preserve the beef jerky for a year. However, once the airtight packaging has been opened, you should consume the meat within a week.
So, now off to the butcher, buy some meat and make your own. It's worth it and tastes great. En Guete!

I get paid to play with toys all day.
From the latest iPhone to the return of 80s fashion. The editorial team will help you make sense of it all.
Show all