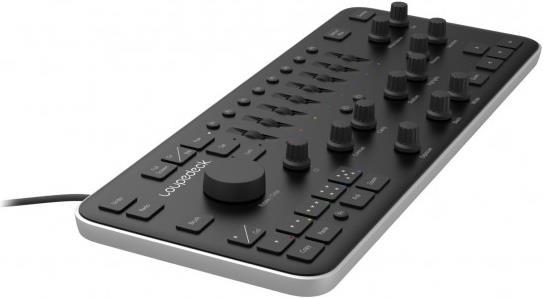
Loupedeck tested: What is the Lightroom controller good for?
Adobe Lightroom is one of the favourite image editing programs of many photographers. A controller is now available specifically for this programme, which is designed to make it much easier to use - for a hefty price. This test shows whether the investment was worth it.
If you do a lot of photography and prefer to spend your time outside on set rather than at your computer, you'll be glad of every minute you can save on the screen. The Loupedeck - a console with which you can operate Adobe Lightroom more efficiently - promises exactly that. Reason enough for me to take a closer look at the Loupedeck.
The scope of delivery of the Loupedeck contains little that is superfluous:
There's the control unit itself, a note with a link to the Loupedeck website where you can download the corresponding installation software and a booklet with legal information. That is all. If you still want to see an unboxing video, here you go:
The installation works without any problems, but requires that you are connected to the network. The whole process is self-explanatory. You download the appropriate software for your operating system, install the software and start Lightroom. And that's it. The control unit is always active when the programme is open and already pre-programmed, but can also be customised to some extent.
At first glance, the Loupedeck makes a good impression. Simple and attractive design and, more importantly, it feels good in the hand. You want to get started straight away. However, I noticed something negative right after the first few steps: Some buttons are slow to respond and you have to exert some force to press them. A little disappointing for the proud price of 399 francs. But if the tool actually saves me the time I hope it will, it will have been worth every cents.
It's getting down to the nitty gritty
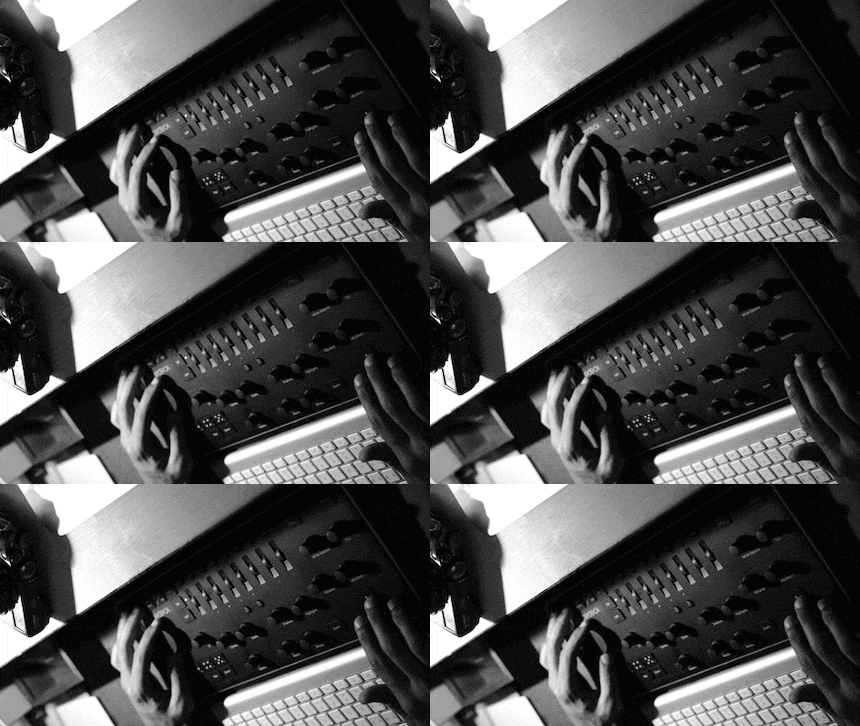
The deck has sliders or buttons for almost all Lightroom functions, so you don't have to use the mouse. At least that's what the manufacturer claims. In fact, I need the mouse much less often and when I do reach for it, it's either out of habit or to adjust some settings that the deck doesn't cover.
Although I still have to look at the buttons every now and then to make sure I'm not pressing the wrong ones, I realise that editing is easier and, above all, quicker. By turning the knobs, I can pull up the blacks precisely, adjust the highlights exactly and literally get the hang of it pretty quickly. Employees enjoy working with the deck and the changeover from mouse and keyboard to a single element is not as great as I feared.
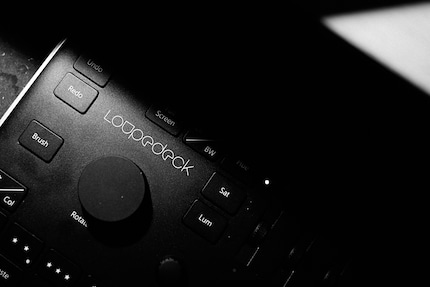
As with the normal keyboard, you have the arrow keys at the bottom right to navigate through the images. The rating system in the form of stars and colours also works really well. This allows me to quickly make a pre-selection and then concentrate on this when developing the image.
The individual photos can be corrected using the large wheel on the left of the deck, which is called "Rotate". It's a shame that Lightroom's upright function, which I usually like to use, wasn't included here. So I have to use the mouse again for some pictures with falling lines. Once I've done that, I can start editing the image content quickly and easily. No matter whether it is the general exposure, the shadows, the black tones or the highlights: Loupedeck has a slider for all values and corresponding sliders for all colours. Editing is particularly fun with the deck at this point and happens without any delays.
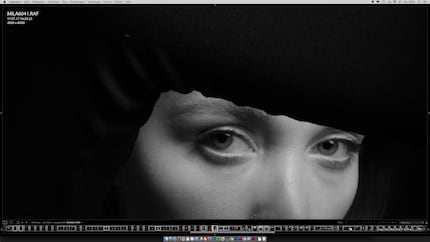
I guess I save most of my time on colour manipulation. Even if my images are black and white, I approach each colour tone individually and change its tone/luminance. The Loupedeck makes this easy for me and prepares all colour tones as sliders. In addition to the eight sliders, I have the option of specifying whether I want to change the toning, saturation or luminance. Once selected, I can move the slider for each colour up or down to increase or decrease the value.
Thanks to the Loupedeck, I can view my images in full screen and get fully involved in the details without having to see the Lightroom bars. This really can't be emphasised enough and is a big plus! I wish I didn't have to get out of full screen mode at all. However, I do have to from time to time.
The manufacturer wants to make improvements
Since I also adjust the gradation curve in my own workflow, I have to use the mouse. The Loupdeck has no buttons/wheels for this. I came up with a little trick later and it has to do with another nice function of the deck: The Loupedeck offers the option of assigning your own presets to the P1-P8 buttons. This is great and simplifies my work enormously. Among other things, I used this option to save three different gradation curves. It works great in most cases, but it's not a completely clean solution. So I contacted the manufacturers and wanted to know whether this function (which is important to me) would be coming with an update. The answer, briefly summarised: Due to the high demand, they are working on the implementation, but it's not easy. But I can hope and until then I can manage with my presets and, if necessary, with the mouse.
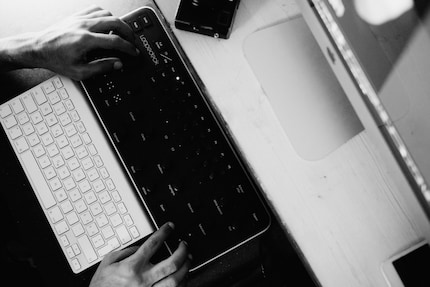
If I have several images of the same scenery, I can copy/paste the complete setting of one image to the others. This also saves me a lot of time: once everything has been copied to the next image, I only have to turn one or two sliders and can move straight on to the next shot.
In Lightroom, I rarely or never use graduated filters for my images. In this respect, the lack of an option to draw gradient filters directly with the console doesn't bother me. However, if you often use the brush, you will also be able to do this with the Loupedeck: Here, the control unit has a corresponding button at the ready. You can then use the mouse to directly define your image areas and edit them according to your wishes using the controls (contrast, exposure, etc...).
Of course, the deck can do even more. You can sharpen images and reduce noise. It is also possible to zoom directly into the image, but you then have to select the section with the mouse; you can display before/after views of an edited image and convert your colour shot into a black and white image at the touch of a button.
My conclusion:
The Loupedeck is more than just a gadget. It actually helps me to complete my reports more quickly and thus create added value for my customers (faster delivery) and give me more free time with my family. That's very valuable to me. But the deck also has its flaws. For example, the workmanship is not entirely clean, as some of the buttons can only be operated with a little pressure. I'm also missing one or two crucial functions. But I don't seem to be alone here, so the manufacturers are working on a solution in the form of an update.
I can recommend the deck to anyone who really has to edit a lot. I'm sure that many a wedding/reportage photographer would like the console. If, on the other hand, you only come home with more than 100 pictures from time to time, you'll be fine without the deck. It's just that the workplace won't look quite as fancy.
If you have any questions about the Loupedeck, please write them in the comments. I'll endeavour to answer them as soon as possible.

You might also be interested in this
Father, photographer and in love with Winterthur. In my life I had to get used to many new places and new cultures; most recently to Winterthur and Switzerland. This makes me an interested observer, always trying to decipher how the new environment works. Photography makes it much easier for me and takes me to the most diverse places of this new adopted country. It is my door opener and my reflection surface.
Instagram: <a href="https://www.instagram.com/myfujilife/" target="_blank">@myfujilife</a>
Web: <a href="http://www.milad.ch/" target="_blank">milad.ch</a>
