
Guide
Photo retouching: between vibrancy and saturation
by David Lee

A rich blue colour is not difficult to achieve. But undesirable side effects can quickly occur. Here's how to improve the sky colours.
I recently explained the difference between dynamic range and saturation and showed landscape images with lots of blue. You can see the difference best there. What's more, blue is probably the colour you correct most often anyway. If it was postcard weather, the sky and water should look like that too.
The dynamic slider is more useful for re-colouring the sky than the saturation slider. "Remove haze" can also be beneficial for a deep blue sky. However, these sliders alone do not always produce the desired result. I haven't explained how best to correct the sky blue in this article. I'll do that now. I'm also referring here to the functions of Lightroom and the Camera Raw filter in Photoshop.
You can use Dynamic Range and Remove Haze to correct the image, but only subtly and usually not exclusively. The problem is that both sliders do more than just enhance the blue of the sky. Remove haze increases the contrasts and darkens already dark areas too much. Dynamics also makes the green parts of a landscape gaudy. This can quickly become too much.
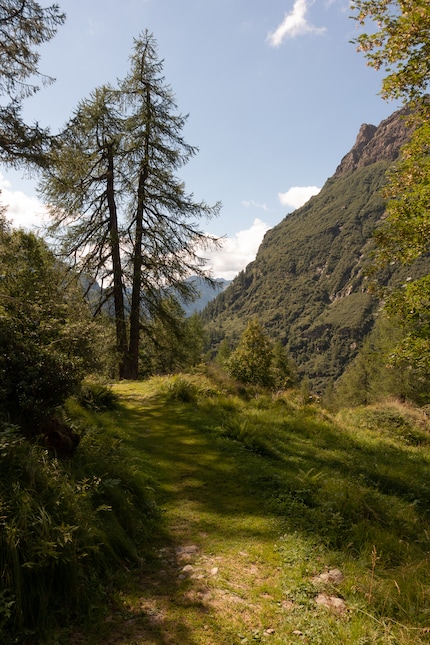
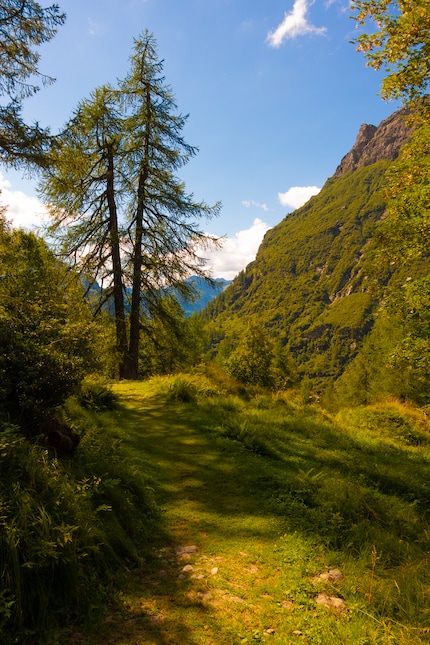
Under "HSL / Colour", you can adjust the hue, saturation and brightness of individual colours. This allows you to make more targeted corrections. This works particularly well with RAW photos; in my experience, the correction with dynamic range and haze removal is better with JPEGs.
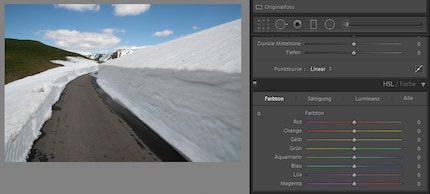
Naturally, I now turn on the "Blue" slider. I usually increase the saturation a little, but lowering the brightness is even more important if I want a deep blue sky. The colour tone usually doesn't need to be corrected, or only slightly in the direction of blue-violet.
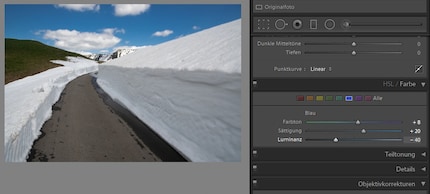
The sky is often very bright and the temptation is great to darken it extremely. However, this results in "colour banding": the colour gradations are so coarse that they are visible to the naked eye. This mainly happens with JPEGs. The blue slider is not particularly suitable for darkening bright clouds anyway. It's better to use "Highlights" from the tone correction.
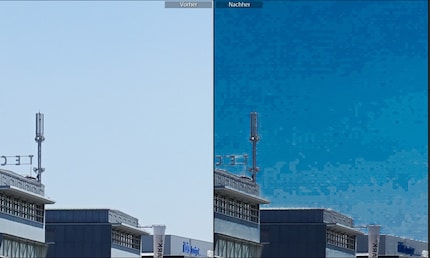
You can tame the colour banding to a certain extent by also reducing the purple and especially the aquamarine slider.
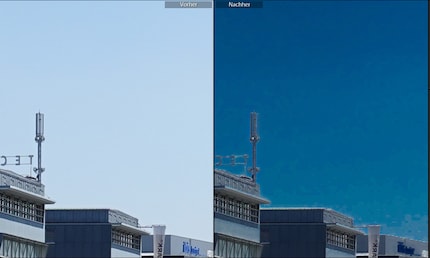
Here is a direct comparison of the two optimisations.

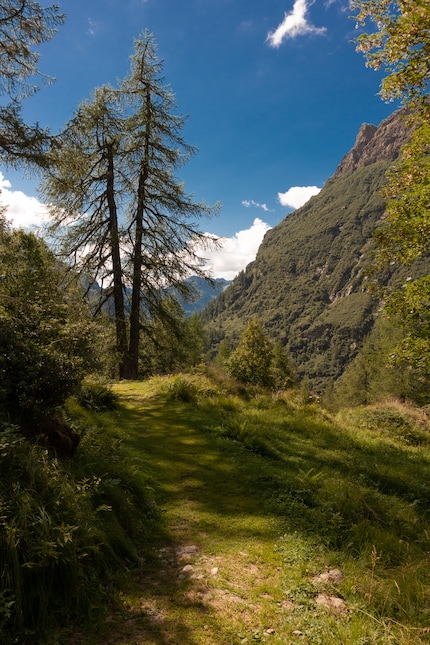
Of course, the photo is best when the sky already has the desired colour when the photo is taken. A polarising filter is very helpful here. It darkens the sky and brings out the clouds better.
I took this photo with such a filter. It is a JPEG directly from the camera, the colours are unprocessed.
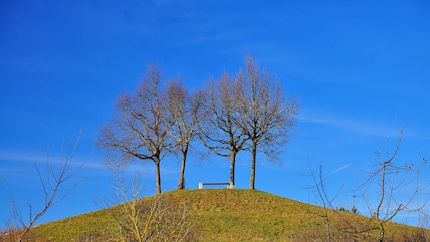
Pole filters must fit the diameter of your lens. This means you may need several of them. Fortunately, there are also very inexpensive polarising filters.
My interest in IT and writing landed me in tech journalism early on (2000). I want to know how we can use technology without being used. Outside of the office, I’m a keen musician who makes up for lacking talent with excessive enthusiasm.
Practical solutions for everyday problems with technology, household hacks and much more.
Show all