
Guide
Staging decorations like a pro - are you ready to give it a try?
by Pia Seidel

When it comes to food, our senses are sensitive - and that includes our eyes. Why so many food photos look terrible and how you can do better.
Many people are obsessed with taking photos of their food. Why is that? I think it's a mixture of showing off (whether homemade or expensively paid for), capturing a memorable moment, such as a birthday party, and the fact that you eat with your eyes.
However, most food photos on smartphones neither whet the appetite nor bring back fond memories. Although the dim light creates a cosy atmosphere for dinner, it turns the appetiser into an indefinable gruel. An incorrect white balance turns the actually white plate into a colour that triggers nausea rather than appetite.
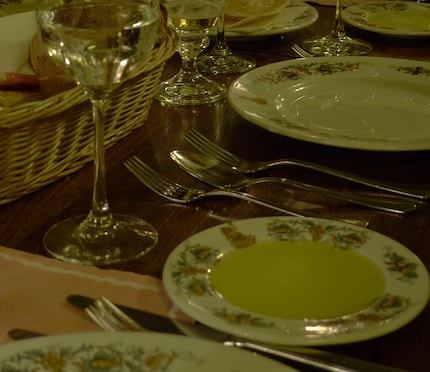
In the best case scenario, you never look at pictures like this again.
There are always the same three reasons why your food photos don't convey what you see: the light, the background and the lack of time.
You can't improve much in a restaurant. At lunch, the chances of getting usable pictures are higher because daylight works better. In the evening, you can leave your smartphone in your bag. It's more stylish anyway. Hopefully you won't get the idea of taking photos with flash or lighting in a restaurant.
Try to use daylight at home whenever possible. Salad and vegetables look much fresher if you place the plate by the window.
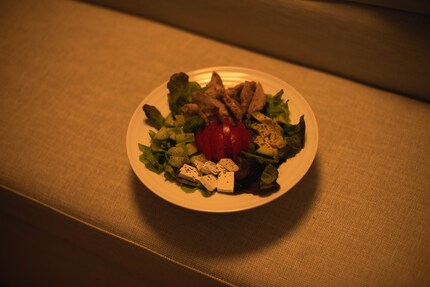
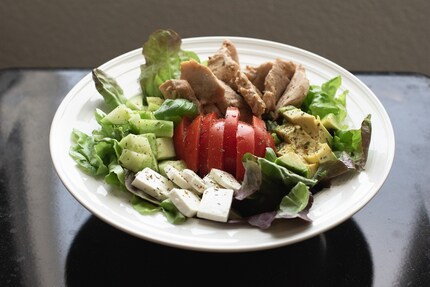
The background around the main subject often looks cluttered and untidy. Smartphones in particular, with their wide angle, capture all kinds of things that don't belong in the picture.
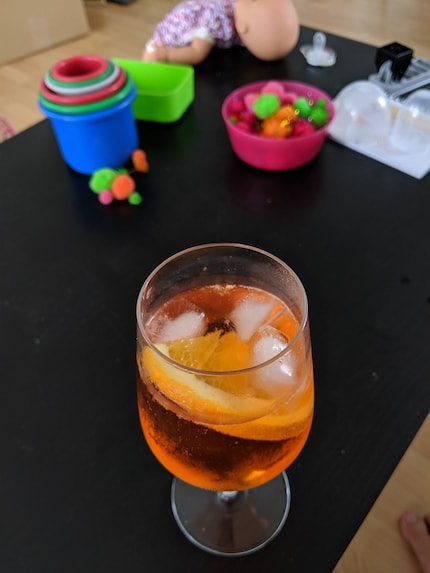
The simplest antidote: take a bird's eye view. If you want to sound as professional as Tom, call the bird's eye view "flat lay". Or "top down". In any case, there are far fewer surroundings in the picture, which is a big advantage when space is tight or the kitchen is cluttered.
To make the 2D view a little more exciting, you can organise the light with a curtain, shutters or blinds.
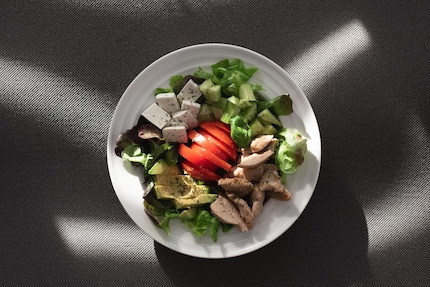
If you are looking for a three-dimensional effect or want to shoot the photo from an "eating perspective", the 45-degree angle is the way to go. Of course, you can simply get very close to have less of a distracting background. However, with the typical wide-angle lens of a smartphone, the geometry will be distorted. You therefore need a lens with which you can still get a plate to fill the frame about half a metre away. Technically speaking, this would be a 35 mm focal length of 50 millimetres. This is now also available on some smartphones and is standard for cameras.
As is so often the case with photography: Good photos come with a lot of time and effort. This is a problem with food: when the feast is on the table, we want to eat, not take photos until it's cold.
If you want to take really good photos of a hot meal, you need to realise that the meal is primarily cooked for the photo and not for eating. In extreme cases, it will be inedible.
This is unsatisfactory for normal household use and is also a waste of food. One solution: take photos of food that can be kept at room temperature for at least a few hours. For example, filled storage jars, bread, spices, berries or fruit.
Once you've freed yourself from the usual pressure to get everything done quickly, you can work with a self-made background. The effort involved is not that great.
A simple studio background usually consists of a base and a side. So that no edge is visible in between, the bottom and side should be joined together in a rounded shape. This can easily be achieved by using a piece of paper or a piece of fabric piled up with a box on the side.
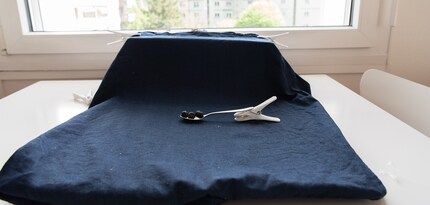
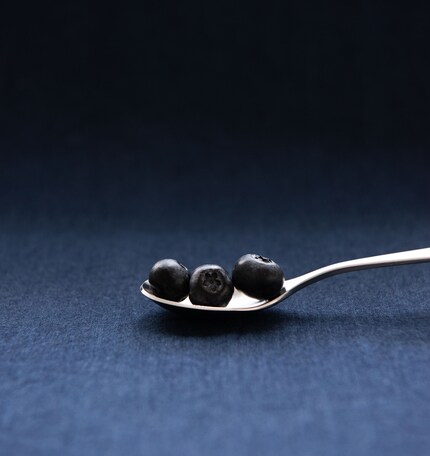
Only the wall side is visible in this setup. Then even something as simple as an opened pizza box works. The base could serve as a colourful alternative if the box is turned upside down. Tom has only painted over the grease stains and leftover food in a makeshift manner, but it's enough. Because the background is blurred and details are not recognisable.
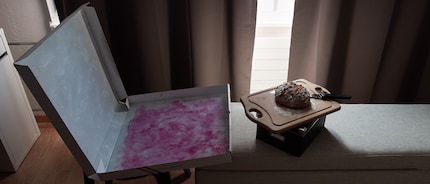
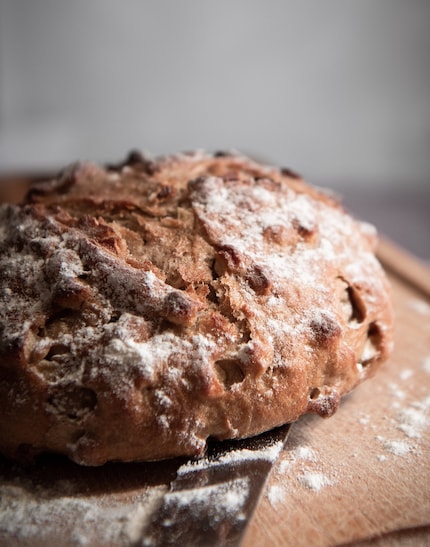
Tom likes to try out how far he can get without studio equipment. Here he has created both the background and the light using things lying around at home. The cardboard box limits the incidence of light to bring in a gradient of brightness. The blue fabric serves as the background again - this time at a flat rate.
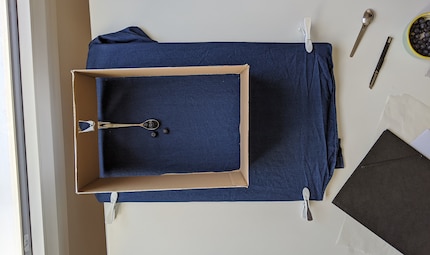
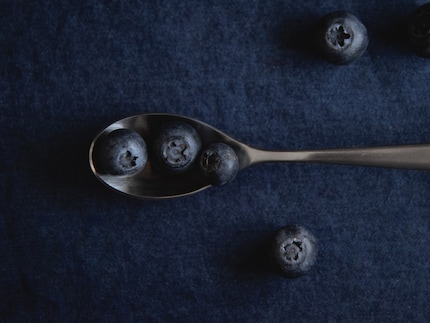
This image is obviously also flat rate, and now I realise why it's a better term than "bird's eye view". Because we're not looking at the floor here, but at a wall. The only problem with such an arrangement is gravity. Tom has skewered the praline with a toothpick from the back. To make it stick better, the paper is stuck to a used milk tetra pack.
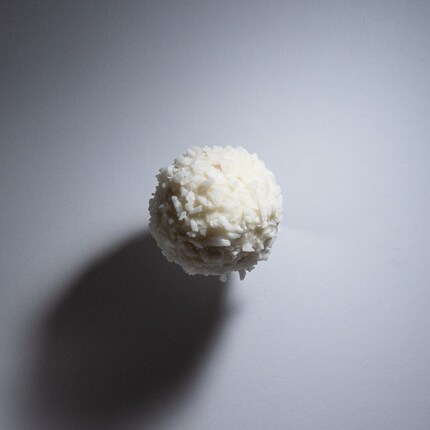
But why go to all this trouble when he could have just put the chocolate on paper? In this particular case, the side view was more convenient. The lighting comes from a torch, which is easier to position when the praline is pinned to the wall. This also made it easier to position the camera.
Whether you use a torch or an office lamp: Baking paper is perfect for softening the light and avoiding overly harsh shadows. Baking paper also works for lamps that get hot.
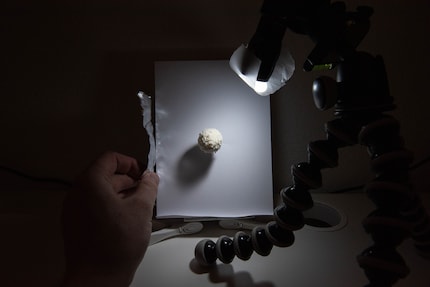
A reflector made of aluminium foil is even used here. But that's not necessary. Tom does things like this simply because he's a photographer.
Of course, you can take it further and further. To the point where you have to specially prepare the food so that it is no longer edible - or replace it with something else entirely. There are artificial ice cubes, for example, as the real ones melt too quickly. Shaving cream is also recommended instead of whipped cream. But what do we actually want? Do we want to photograph our food or an artificial object that we claim is food? For me, it's clear: I only want the former. You probably do too. So let's leave it alone.
My interest in IT and writing landed me in tech journalism early on (2000). I want to know how we can use technology without being used. Outside of the office, I’m a keen musician who makes up for lacking talent with excessive enthusiasm.
Practical solutions for everyday problems with technology, household hacks and much more.
Show all