Quick photo tip: Hold the camera correctly!
Hold the camera correctly to avoid camera shake. And also hold it straight, because correcting it afterwards is often tedious. This is how it works.
Maybe it's because I'm left-handed, but cameras are designed for right-handers. In any case, I have to remind myself from time to time to hold the camera correctly. Despite all the image stabilisers in the camera and lens, the following still applies: the images blur much less if you act as an image stabiliser yourself.
You as an image stabiliser
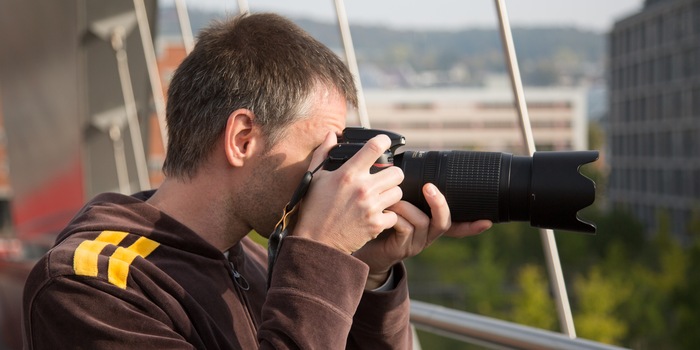
And this is how it works: Hold the camera with both hands. Place your left hand under the lens, or under the camera for short lenses. It provides support in the literal sense.
If possible, support your elbows. If there is no surface to lean on, rest at least one elbow against your body. This provides additional stabilisation. It is also very good if you can lean against a wall. Whether you are standing, sitting or lying down: adopt a stable position. For example, it is much more stable to kneel down than to remain in a crouching position.
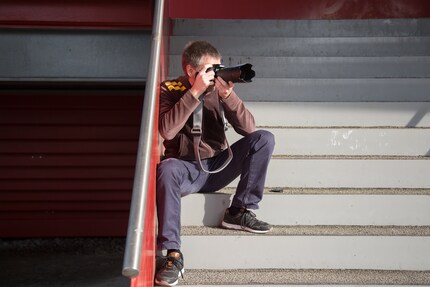
If the camera has a viewfinder, use it instead of looking at the large display. This way you press the camera against your head and it is fixed in three places instead of just two.
Hold the thing straight!
Alignment is just as important as stability. You can use two tools for this: The grid lines and the virtual horizon.
You can use the grid lines to correctly align horizontal and vertical lines. The virtual horizon shows you whether you are holding the camera exactly level. It is useful in the great outdoors, where there are hardly any exactly vertical and horizontal lines.
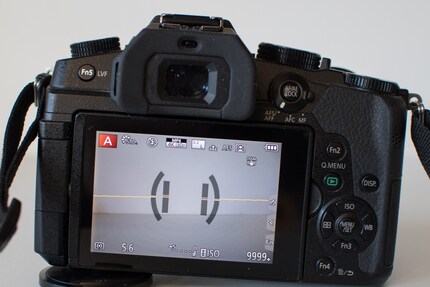
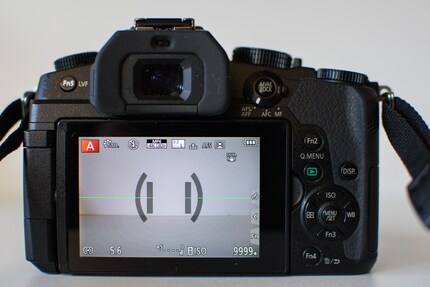
The virtual horizon also shows you whether you are tilting the camera forwards or backwards. This is important because horizontal lines will be at an angle if you point the camera upwards instead of straight ahead (e.g. to photograph a tall building).
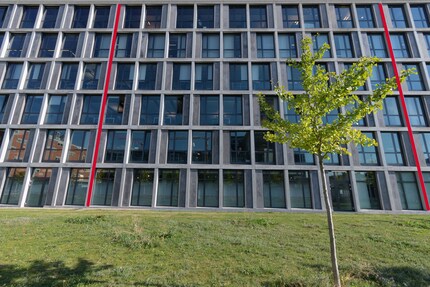
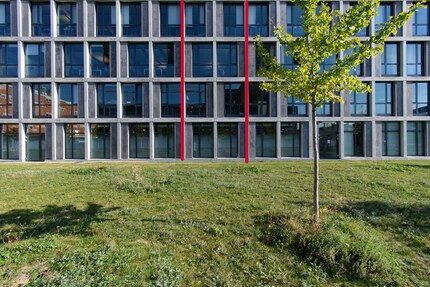
Horizontal lines also appear slanted if you are not at an exact 90-degree angle to them. The virtual horizon doesn't help here, you have to move your position.
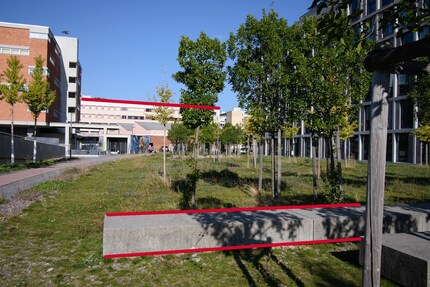
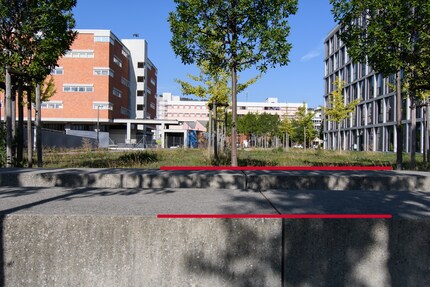
Because the alignment also has to do with perspective, it cannot be completely corrected on the computer. By rotating and distorting it afterwards, you also lose parts of the image.
So: keep your posture and don't do anything crooked!
My interest in IT and writing landed me in tech journalism early on (2000). I want to know how we can use technology without being used. Outside of the office, I’m a keen musician who makes up for lacking talent with excessive enthusiasm.
Practical solutions for everyday problems with technology, household hacks and much more.
Show all