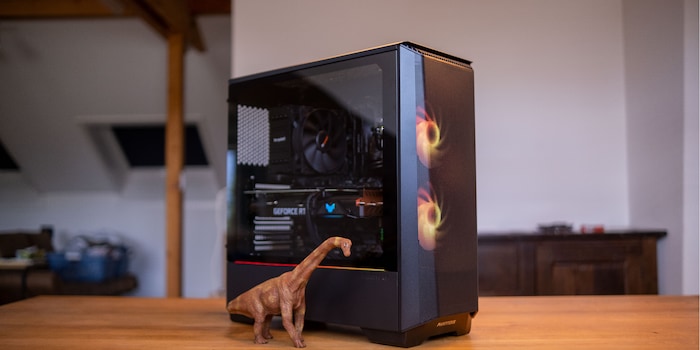
Your entry-level gaming PC could look like this
Want to build an entry-level gaming PC, but have no idea what components to use? Worry not, follow my example.
I’m assembling an entry-level PC, in the price range between 1000 and 1500 francs. That way you can see what a DIY PC that lets you play AAA titles smoothly in 1080p might look like. In addition, I’ll give you some tips on selecting components.
Components
Why assemble a PC yourself anyway? First off, it’s just fun to create something with your own hands. Secondly, you’ll learn something about the structure and function of a PC. And thirdly, you decide what goes into your PC. However, it’s not really cheaper than buying a ready-made PC anymore.
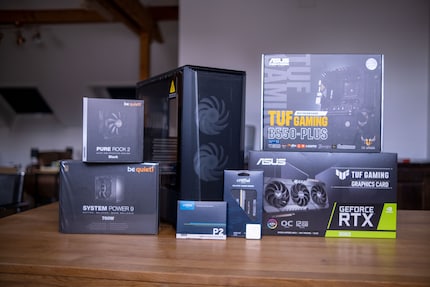
For the entry-level model, I paid attention to price. It shouldn’t be too expensive, yet I still went for quality and didn’t just go for the cheapest components. The system should satisfy gamers who want to play primarily in 1080p.
I built my system in the ATX format. It’s cooled by air.
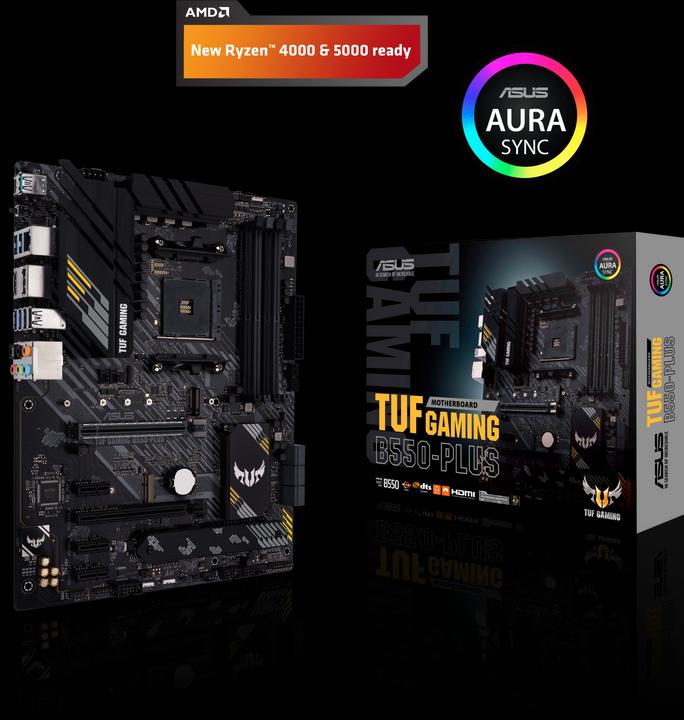
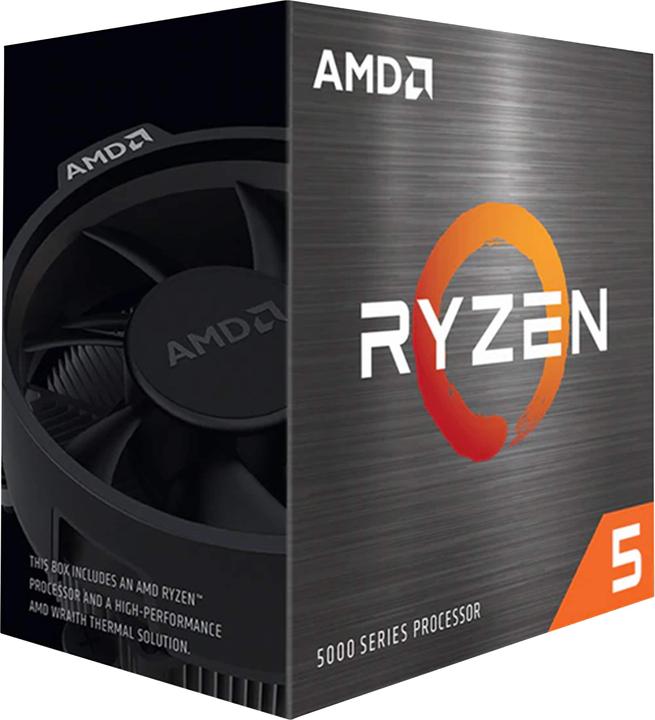
The components for this build were provided to me by the manufacturers:
Since I didn’t use too many components, my PC was easy to screw together. Therefore, and also because every case and motherboard is slightly different, I won’t go into every detail of the assembly process.
The build
I always prepare a motherboard outside the case. Starting off by placing the M.2 SSD in the second, lower slot of the Asus main board. That way it’s under the heat shield and should stay nice and cool. Since I’m installing a PCIe 3.0 SSD, this should be fine. However, if you install a PCIe 4.0 SSD on your motherboard, you should place it in the first, upper slot. Only this one supports PCIe 4.0. It’s the only slot that lets you benefit from the full speed of the SSD. However, which slot supports which standard and where corresponding slots are located varies from motherboard to motherboard. The best way to do this is to refer to the instructions.
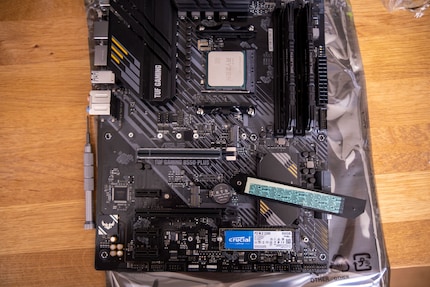
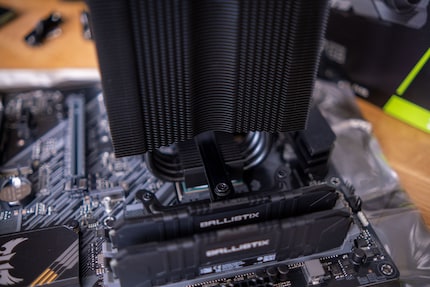
To mount the Bequiet CPU cooler, I have to remove the original AMD bracket and mount one for the cooler. Assembly isn’t a big deal if you follow the instructions.
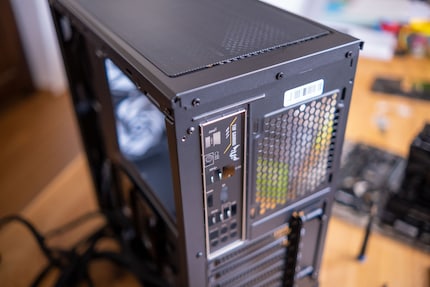
Before screwing my main board into the case, I placed the connector panel in the back into its recess.
After attaching my main board, it’s time for the power supply. I point the fan downwards, since the case has ventilation slots there for its fresh air supply.

Then it’s on to the wiring. To find out the correct connections, I check out the main board manual. They’re always worth taking a look at, as connections for power, speakers and co. are never all in the same place.
Finally, I add the graphics card and the PC is ready. Thanks to the manufacturer’s well-placed slots between the back and front of the case, I can easily direct all cables. Velcro fasteners at the back left keep most cables locked down. The right side offers places to fasten your cable ties. I stick any excess cables under the power supply panel in the back.
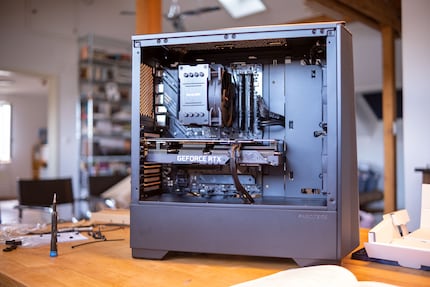
For its price, the Phanteks case is very well made and offers plenty of comfort when building. I’d build a PC with it again anytime.
How does it handle gaming?
The AMD Ryzen 7 5600 combined with the ASUS GeForce TUF RTX 3060 allows you to play current AAA games in 1080p smoothly with details at max. By smooth, I mean around 60 frames per second. This works for the following four games I tried.
| Games | FPS at 1080p and maximum details | FPS at 1440p and maximum details |
|---|---|---|
| «Assassin’s Creed Valhalla» | 68 | 53 |
| «Cyberpunk 2077» | 58 | 37 |
| «Horizon: Zero Dawn» | 74 | 54 |
| «Fortnite» | 101 | 73 |
Thanks to the Crucial P2 SSD with 500 GB of storage, there’s enough capacity for Windows 11 and a few games. If that isn’t enough, the Asus motherboard can be expanded with a second M.2 SSD. Or you can use one of the two free 2.5-inch or two 3.5-inch drive bays in the case.
Alternatives
Naturally, this is only one possible entry-level gaming PC between 1000 and 1500 francs.
You could save on all components. The Phanteks case isn’t the cheapest. However, its price-performance ratio is excellent. To save further, you could choose a weaker CPU. However, this will directly affect your gaming experience. At lower resolutions like 1080p, the CPU’s performance plays a bigger role than at higher ones. Here the graphics card takes over more computing power.
If that’s still too expensive for you, go for a slower card like the RTX 3050 or RX 6500 XT. But again: your gaming experience will suffer from fewer frames per second. Of course, you can also go in the other direction and choose a faster card such as the RTX 3060 Ti or RX 6650 XT.
Another possibility would be cheaper or slower RAM. The Crucial brand that I used for this build is expiring anyway. Its manufacturer is discontinuing Ballistix gaming RAM. However, you shouldn’t go for less than 16 GB; otherwise you’ll suffer performance losses.
You could also go for an Intel system with an i5-12400. However, I’d recommend using a motherboard with DDR4 instead of DDR5 compatibility. Otherwise, things will quickly become expensive.
From big data to big brother, Cyborgs to Sci-Fi. All aspects of technology and society fascinate me.
