Guide
Your personal garden watering system: installation
by Carolin Teufelberger

Our graphic designer Sven wants to water all of the plants in his communal garden and put together his own system step by step. Today's topic: the planning
Preassembled watering systems are practical. You have all the parts and you can be sure that everything will fit together. However, as soon as your garden reaches a certain size, you're better off setting up your own hoses and sprinklers. That way, you can tailor the irrigation to your and your plants' needs. And it'll also please the crafts-obsessed child in you. But is the whole endeavour really as straightforward as I'd like to believe?
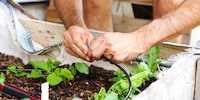
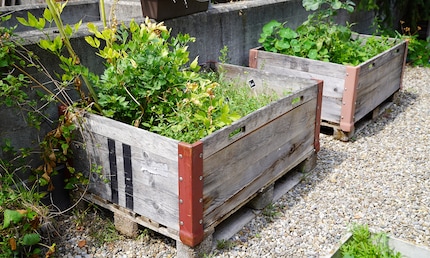
Graphic designer Sven has taken up the task of creating his own system from individual parts. He is part of a team which maintains a shared garden in Neubad (in German) in Lucerne. A part of the garden project is the large patio outside the former swimming pool, where pots, raised beds and palettes are filled with plants. Large-scale urban gardening. The distances between the beds differ and lead around corners. There are also different species of plants, which don't all need the same amount of water. The watering is currently done by hand, which is a bit like an elite sport. So it's high time for a watering system. It's important to the volunteer gardeners that rainwater is used. The system doesn't have to be complicated, though.
So we searched through the product range. Everything was scrutinised and it soon became clear that Sven and I needed help. We weren't sure whether the parts would actually fit together. Our colleague Karina Kohlöffel put Sven in touch with a Gardena employee who could help him choose the right products. They discussed the idea over multiple telephone calls and meetings and worked together on a concept. Sven drew up a plan to illustrate how the products should fit together. After several revisions, the final combination was confirmed. We were ready to buy.
The shopping list was longer than we thought and added up to over 1,000 francs. It sounds expensive, but Sven's communal garden is sizeable. The pump is especially important, drawing rainwater from the container and distributing it to the hoses. The hoses are designed so that you can cut them to the desired length and either join them together again with L or T connectors or add other parts. This allows any number of elements to be added to the «main artery».
Sven's chosen system consists of the following concept:
Water supply → base unit → pump → 13 mm hose/pipe → 4.6 mm hose/pipe → drippers.
The hose size is up to you, just make sure that you buy fittings and connections in the same size. The number of drippers you can attach to your system depends on the flow rate of your base unit and how much water the drippers release. For example, if 1000 litres flow through your base unit per hour and all of your drippers deliver 2 litres per hour, you can use up to 500 of them. Finally, here's a tip from the Gardena expert: if you have drippers that display water delivery intervals, always go with the higher number to avoid overloading your system.
In theory, it all sounds doable. But it has to actually work in practice. That's why Sven spent so much time on the preparations. The installation stage should be quick and fool-proof. Find out whether it worked in the next part of this watering project. Next up is installation. One thing we will say: things get hot.

Don't want to miss the next instalment? Click the black «Follow author» button on my profile to receive updates.
My life in a nutshell? On a quest to broaden my horizon. I love discovering and learning new skills and I see a chance to experience something new in everything – be it travelling, reading, cooking, movies or DIY.
Practical solutions for everyday problems with technology, household hacks and much more.
Show all