5 tips for budding landscape photographers
It's that time again! Many of your friends have been on their autumn holidays and romantic pictures of the sea, including romantic sunsets and picturesque towns, are being shared on social media. Two thoughts immediately come to mind. Envy and "Let's go on holiday, I want to take photos like that too!".
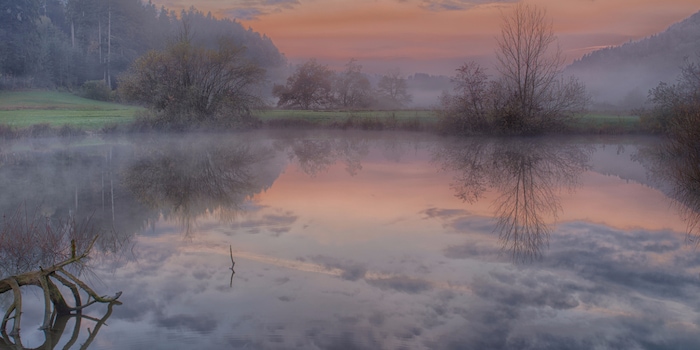
But please keep calm first. Great landscape pictures don't necessarily have to be taken abroad. Great pictures can also be taken here in Switzerland with patience and good planning. I'll explain the procedure, what equipment you need and what you need to look out for.
1. planning
Planning is one of the most important aspects when it comes to taking beautiful, atmospheric and successful landscape photos. Some of the best photos are the result of careful planning and plenty of time. The motto "At the right time, in the right place" can be taken literally! Rarely are sunsets on the beach in Lucerne taken at 13:00. But I am happy to be proven wrong.
So how do you plan the perfect picture? First of all, you have to think about exactly what you want to photograph and at what time. An example: I want to take a picture of Lake Sempach at sunset. So I first check the weather forecast for the coming days. If possible, I take a look at the various possible photo spots on site. Then I decide which one suits me and which one I think will give me the most beautiful motif. It's also important to know where and at what time the sun sets. This is where the free software "The Photographer's Ephemeris" works wonders.
2. equipment
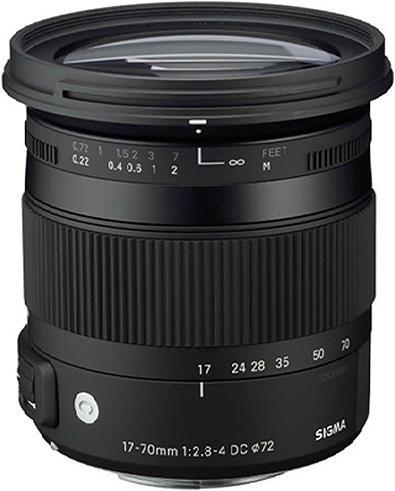
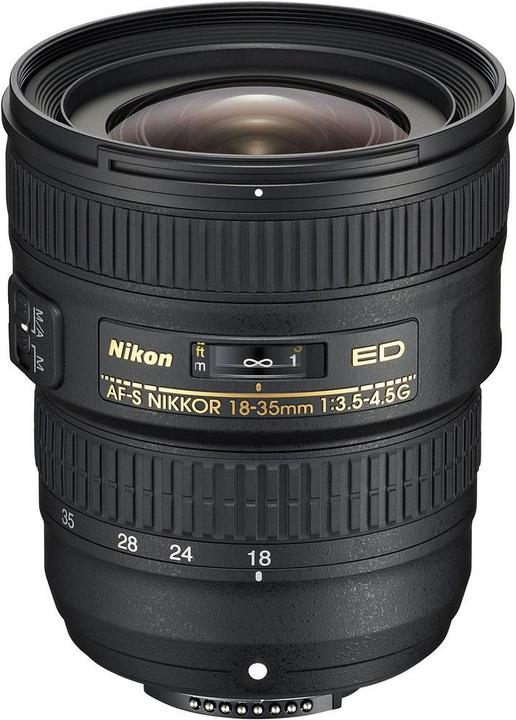
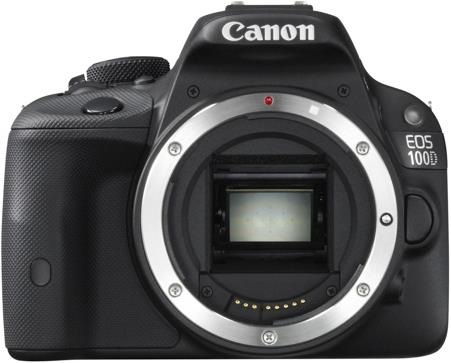
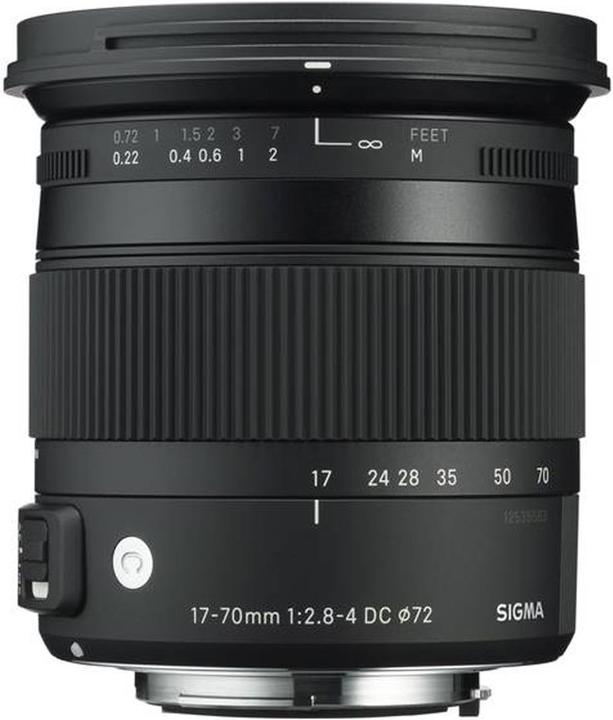
A camera with a lens, preferably wide-angle. As you usually work with longer exposure times, you don't necessarily need fast lenses. 18-55mm kit lenses are completely sufficient here. A tripod is actually a must, as you can't or shouldn't always shoot handheld in landscape photography. The tripod keeps the camera steady, which is particularly important for longer exposure times, as otherwise photos will be blurred or blurred.
Optional, but very advantageous, would also be a radio remote release and a polarising filter (possibly also a grey gradient filter). The radio remote release helps to eliminate vibrations caused by pressing the shutter release. If you don't have one, you can also use the camera's shutter release delay. The polarising filter helps to increase the contrast and saturation of the image and also reduces unwanted reflections on the water surface or on glass. However, caution is advised here. The results obtained with the polarising filter depend on the angle of the camera to the sun (ideally 90°)
3. image composition
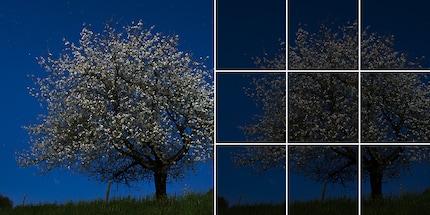
The "golden ratio" or the "rule of thirds" help when composing the image. With the rule of thirds, the image is mentally cut into nine equal parts. Two horizontal and two vertical lines are drawn so that all nine parts are the same size. The subject to be photographed is placed at one of the four intersections or along a line.
The focus adjustment aids of many cameras are arranged in the centre of the viewfinder, which means that the main subject is often in the centre of the picture. Such images often look less harmonious, boring and static. Here, the rule of thirds serves as a simple tool to counteract this.
4. settings
For the settings on the filters:
The polarising filter can be rotated until the desired effect is achieved. Mostly to reduce unwanted reflections or to increase contrast and saturation.
For setting on the camera:
In order to achieve the best possible image quality, it is advisable to keep the ISO (in analogue times ASA) as low as possible (ISO 64, 100) to minimise image noise. When selecting the aperture, f/5.6 or f/8.0 is a good choice. Depending on the desired depth of field, you can also use more, e.g. f/16. The shutter speed then depends on the selected ISO and the selected aperture and is therefore usually lower (e.g. 1/8 sec or lower, depending on the available light). As the camera should ideally be on a tripod, this is less important. However, if you want to have water in the photo, which brings a lot of movement into the picture, you need a higher shutter speed. To do this, either reduce the aperture or increase the ISO. If you are working without a remote shutter release, we recommend activating the shutter release delay (and the "mirror lock-up" if available) on the camera to minimise minor vibrations. A little tip: don't set the tripod too high, but choose a lower position for the camera, this often looks more interesting. It's best to try it out for yourself and compare.
5. image editing
Since most photos are saved in ".jpg" format, post-processing on your home PC is almost unnecessary. Firstly because JPGs are only suitable for post-processing to a limited extent, and secondly because current cameras already have very good image processing capabilities. For example, highlights are reduced and dark areas are already slightly overexposed, which delivers quite good results. However, if you take photos in ".raw" format, you can still get a lot out of your file in Photoshop. Depending on the image, contrast and saturation can be increased and sharpened if necessary. If you are a fan of HDR, you can also find good freeware online that does this quite well.
And now out with you!
So those were my 5 tips for photographing landscapes. I hope they were understandable and help you to take (even) better photos! I'm also happy to receive any feedback in the comments.
Attached you will find my recommendations for Nikon and Canon fans, each in three different price categories. I wish you lots of fun and great hours behind the camera. And don't forget, practice makes perfect.
Nikon - The equipment
The favourable price category
The medium price category
The "I'm not interested in money" price category
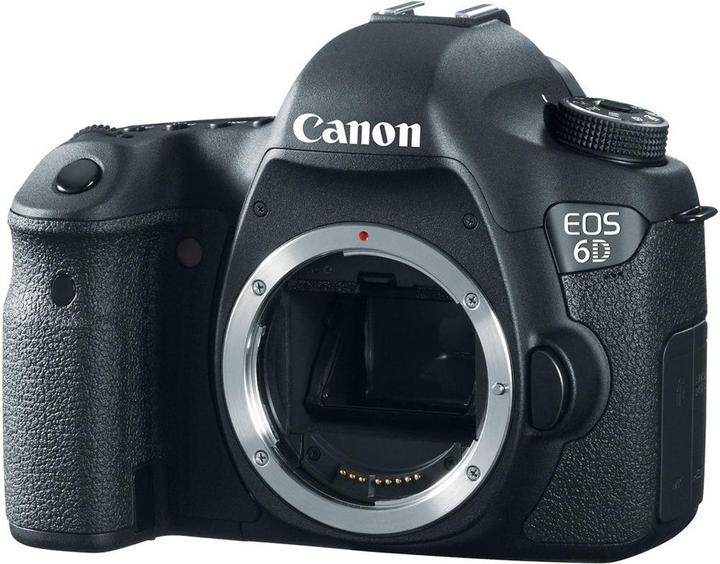
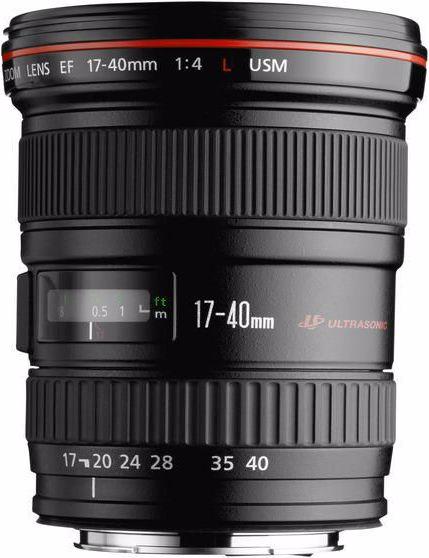
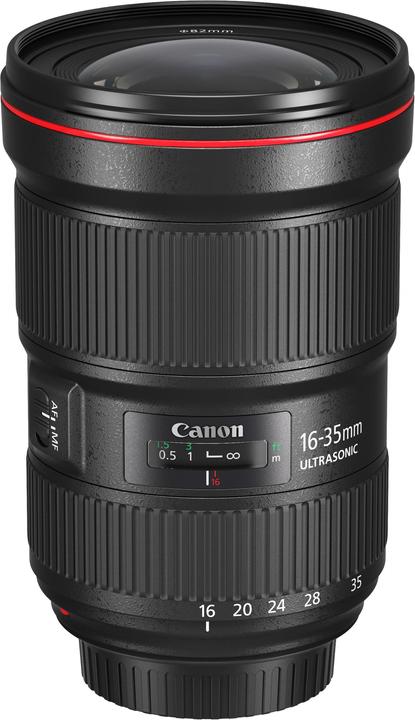
Canon - The equipment
The favourable price category
The medium price category
The "I'm not interested in money" price category
You might also be interested in:
From the latest iPhone to the return of 80s fashion. The editorial team will help you make sense of it all.
Show all