
Background information
Fractal Era modding: my lack of skill has failed me. For now...
by Kevin Hofer
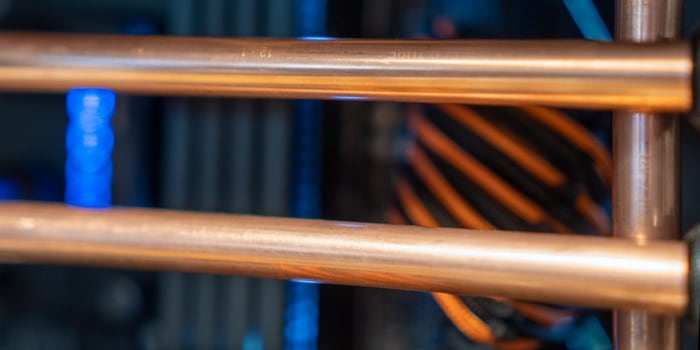
Acrylic glass tubes and PETG in custom water cooling systems are for beginners: I'm trying to bend copper tubes. Will that work well?
Copper pipes look cool. I've been wanting to build a custom water cooling system with them for some time. Fortunately, my colleague Simon Balissat needs a new PC and is too lazy to screw it together himself. I'm happy to step into the breach - on the condition that I'm allowed to build the CPU water cooling system with copper pipes. Simon is all fired up. He wants his PC to have a special look - without RGB flashing. Copper pipes are just the eye-catcher I can slip him.
I watch YouTube tutorials to prepare. According to these instructions, all I need is a pipe bender and - of course - a copper pipe. For the copper pipe, I search for quite a long time until I find one with the correct outside diameter. It has to be compatible with the Corsair fittings that I still have from my last build.
I get the pipe bender online. As the search for the pipes drags on, the bender is there beforehand. I am impatient and immediately try it out on an aluminium tube that I still have lying around from the Sleeper PC project. It has an outer diameter of eight millimetres and is therefore compatible with my tube bender. Perfect. I insert the pipe and try to bend it. It's not as easy as I had imagined. With a little effort, I still manage to get a nice 90-degree bend. It's certainly more difficult with copper, as the material is harder to bend.
In a DIY store, I finally find a copper pipe with a diameter of 12 millimetres. Cool, I can finally get started. I insert the copper pipe into the bender and start bending. Okay, nothing happens. I add a prong and try with full force. After a few seconds, there's a clunk, the copper pipe falls to the floor and I'm holding the pipe bender in two pieces in my hands.

What happened?
One of the two pins holding the pipe bender together has slipped out of the holder. The copper pipe is still bolt-straight. When I try to reassemble the bender, I realise that the connecting piece of the pipe bender is bent. At least I managed to bend it. The bender is broken. Every time I try to bend something, the pin comes loose again.
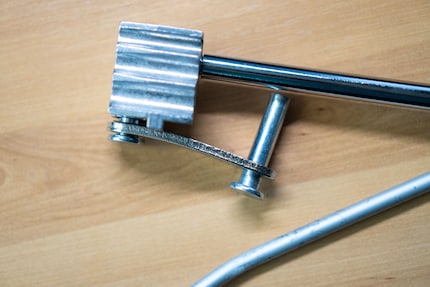
Should I order a new pipe bender? It's just before Christmas and I want to give Simon the PC before Christmas Eve. I decide to stick with the copper pipes. Instead of bending them, I use 90-degree fittings. To make the whole thing look clean, I do some case modding and build an inner wall made of acrylic glass for the case.
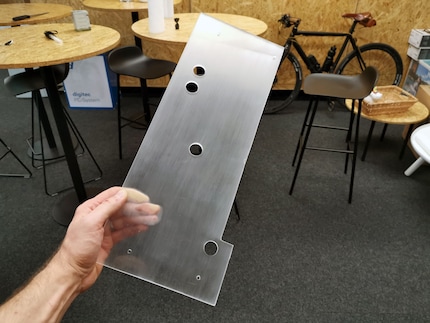
In addition to some water cooling components, Simon is also taking over my Define R6 case from Fractal Design. I know the case very well and know that the inner wall to the right of the mainboard can be completely removed with four screws. I take advantage of this and fit a piece of acrylic glass, which I move slightly into the inside of the case so that I can hide some of the water cooling runs behind it.
First, I install all the components - mainboard with processor, water block, RAM and SSD as well as radiator, pump, reservoir and fan - in the case. This way I know where I have how much space and, above all, how far I can move the new rear panel into the case. I get a five millimetre thick acrylic glass plate from the DIY store and cut it to size with a Dremel. I have to make a small recess for the power supply cover and leave a little more material underneath the fan so that I can drill holes in the rear panel. So-called bulkhead fittings (also known as pass-through fittings) go into these holes. This allows me to route the water cooling system from the front to the rear of the inner wall.
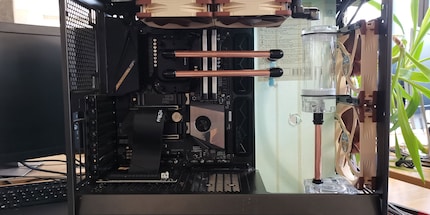
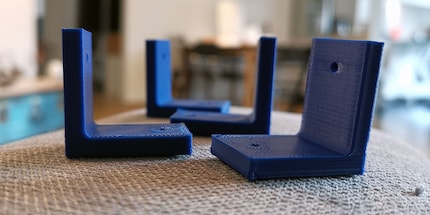
To ensure that the inner wall is installed exactly, I use my 3D printer to print precisely dimensioned angles, which I attach to the holes in the original inner wall.
I do the loop of the water cooling as follows: From the pump, it goes directly to the back of the inner wall. From there, a soft tube leads to another bulkhead fitting at the height of the inlet port of the CPU water block. At the front, it goes to the CPU block. From there it goes back to the inner wall and on its rear side with a soft tube a little to the bottom right into a bulkhead screw connection. At the front, it goes into the radiator and from there finally into the reservoir and the pump.
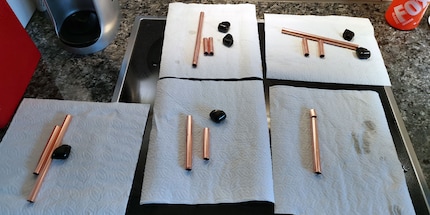
Thanks to a pipe cutter and deburrer, which I normally use for PETG pipes, the whole thing goes very quickly. I have all the pipes together within an hour. But before I finally install them, I polish them with a vinegar and water solution. I also sprayed the inner wall and the ridges of the RAM black to make the pipes stand out even better. A few accents on the graphics card are given a coat of copper and Simon's copper build is finished.
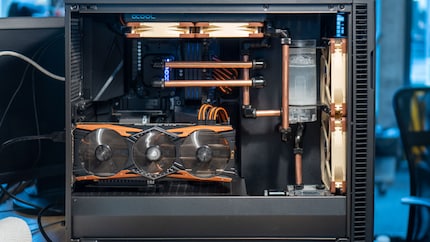
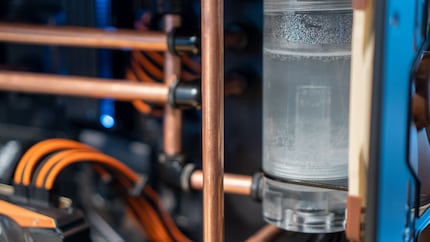
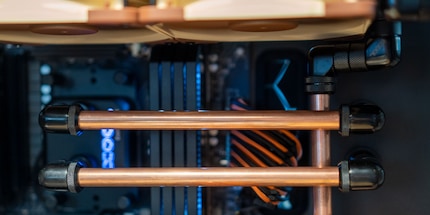
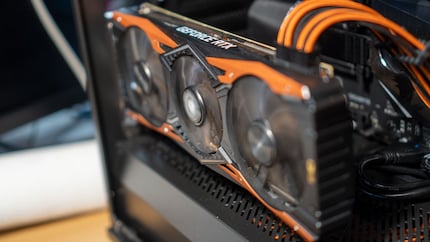
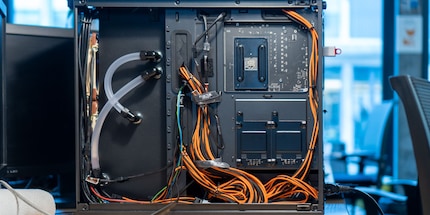
I really enjoyed the copper build. Working with copper pipes is surprisingly easy and they're also cheap: I paid just under ten francs for two and a half metres of pipe - and still have about one metre left. Admittedly: The 90-degree fittings cancel out the price advantage, but the copper pipes have much more style than PMMA or PETG.
And Simon? He's also really impressed. Nothing flashes and yet the copper shines. He even wanted to install a discreet LED strip with neutral light in the interior so that the pipes are easier to see. Sometimes all that glitters is gold.
Even though I'm happy with the build, I can't get over the fact that I didn't manage to bend the pipes. I'll try again. It will probably be enough if I fill the pipes with sand and bend them over a round surface. But then there's probably only one bend per tube. If you have any tips, I'd be happy to take them.
From big data to big brother, Cyborgs to Sci-Fi. All aspects of technology and society fascinate me.
Interesting facts about products, behind-the-scenes looks at manufacturers and deep-dives on interesting people.
Show all