
Background information
More retro is hardly possible: Tube radio PC project
by Kevin Hofer

I am installing a PC in an old tube radio case. The thing is huge, but not designed for PC components. To prepare for the construction project, I'm playing CAD Tetris with the mainboard, GPU and other components.
I don't have much space. The old Luxor radio looks bulky from the outside. Inside, however, space is tight, the case only holds around 29 litres. For comparison: My Fractal Meshify S2 holds around 47 litres and the H210i mini-ITX case from NZXT holds around 27 litres. Ambitious as I am, I even want to install an ATX mainboard in the tube radio. Will there be room for that?
In order to get a better idea of the space available, I create a model of the tube radio using the CAD programme Fusion 360. The basic structure is quickly created.
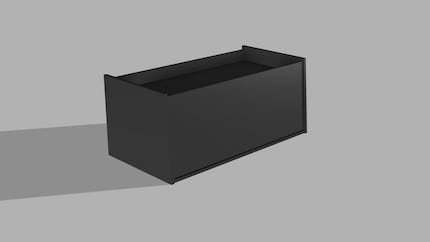
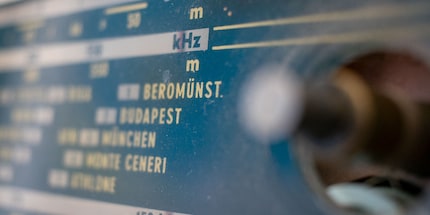
Since I need every centimetre of space in the housing, I completely omit the tube radio's electronics. I also do away with the front display, including buttons and controls. Instead of the display, I fit a glass viewing window. To make it look a bit like the tube radio, I etched the radio frequencies on the window in the style of the original.
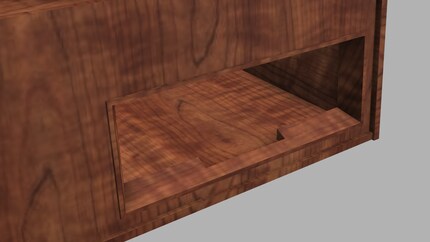
I want to modify the outside of the housing as little as possible. That's why I'm leaving the window recess as it is. In the recess where the buttons used to be, I am planning front connections for USB and audio as well as the power button. When creating the window cut-out, I realise that I have even less space inside than I thought: the frame of the cut-out protrudes a few centimetres into the housing. I take this into account in the design.
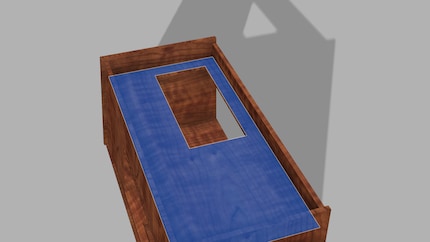
The record player in the Luxor radio was mounted in the upper part of the cabinet. It rested in a recess. I use this recess for a radiator. I want to water cool the CPU. However, the recess is too centred, so I have no room for the other components. I therefore have to move it to the edge. This leaves me with a hole in the top of the case that is far too big. I have to plug this. To do this, I use the 3D printer to print a bracket for the radiator, which also plugs the superfluous hole.
I've made sure that hot air is dissipated. Now I need to find a way to transport fresh air into the housing. The old positioning of the speaker is ideal for this. In future, air should flow in where sound used to flow out. A 180 millimetre fan fits perfectly there.
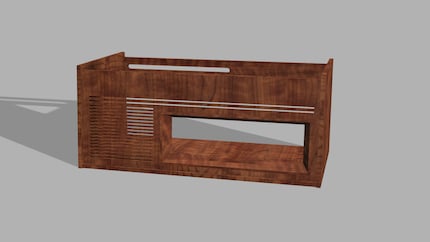
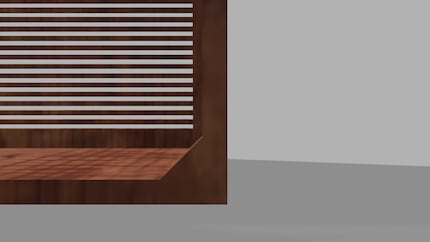
The last thing I notice, although it is obvious: It has wooden brackets in the corners that hold the case together. They take up extra space inside. I take this into account in the design.
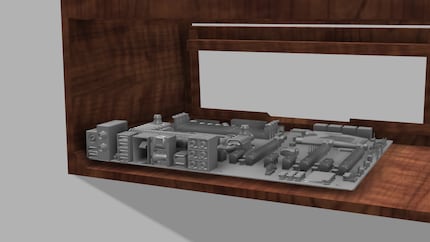
After the case has been reconstructed, I place the components virtually. These are 3D models that I find online. Not all parts are the ones I actually install. The graphics card in the rendering is a Radeon VII and the pump with reservoir is from Alphacool. I don't yet know which graphics card will actually be installed. The Radeon VII seems to me to be a good placeholder in terms of size. The pump will be a Magicool DCP 450, which I will modify a little with 3D printing to make it look like an electron tube. This way, the inside will also be reminiscent of the history of the housing.
First, I place the mainboard. Due to the space available, I can only place it lengthways. The connections are also at the back. I have to build the rear panel myself. I can no longer use the original panel as it protrudes so far into the case that I can't install an ATX mainboard. It's very likely that 3D printing will also be used for this.
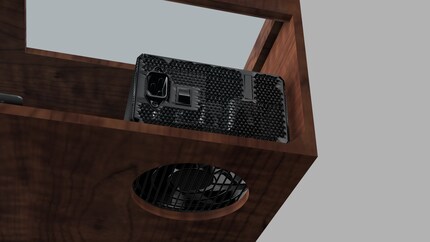
I place the power supply unit at the bottom right when viewed from behind. This requires one of the few external modifications to the case: I have to saw a hole in the base for the air supply.
I came up with something special for the graphics card: I salvaged a bracket from my colleague Philipp Rüegg's old streaming PC. This allows the graphics card to be mounted in any conceivable place. In this case, I opted for the ceiling. No matter which graphics card goes in, it has to be one with proper RGB at the front by the fans. This way, I illuminate the entire installation from above.
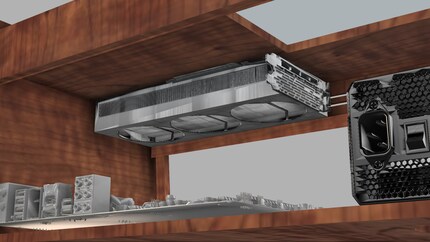
The intake fan is really tight: the power supply unit with the cables is directly behind it. Let's see how I can get them past each other. I'm also planning to fire up the 3D printer for the cables. Cable combs, which I attach to the housing, provide a nice cable guide.
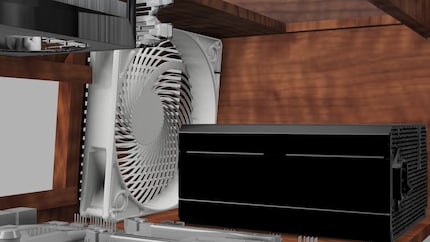
I use a 3D printed bracket to place the radiator outside the case, where the turntable used to be. This way, the radiator and fan don't protrude too far into the housing and I have a little more space.
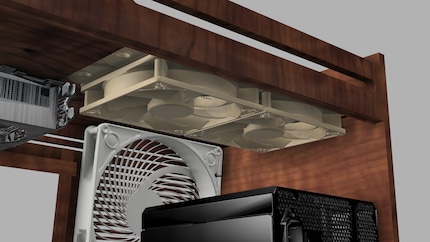
As if it wasn't tight enough already, the pump and reservoir also have to have their place. Fortunately, the DCP 450 that I am installing is slightly smaller than the model from Alphacool.
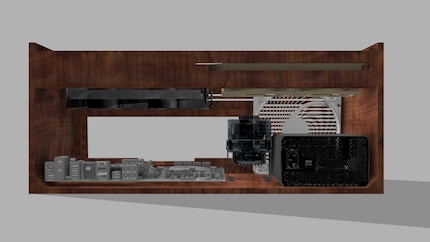
All my craft projects so far have one thing in common: Firstly, things turn out differently than you think. Although the saying is as hackneyed as a watermelon on a hot summer's day, it will certainly also apply to the tube radio project. Nevertheless, the model is a good starting point. You'll find out what surprises await me when I dismantle the housing next time.
From big data to big brother, Cyborgs to Sci-Fi. All aspects of technology and society fascinate me.
Interesting facts about products, behind-the-scenes looks at manufacturers and deep-dives on interesting people.
Show all