Background information
A floating PC cube: «I’d do it all again, but not in the same shape»
by Philipp Rüegg
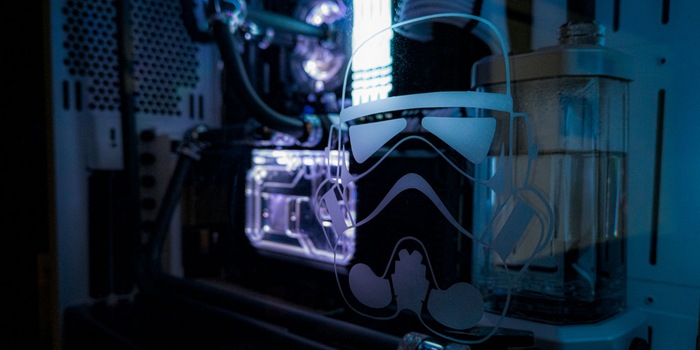
With tempered glass panels, you have a clear view of your PC components. Unlike the inside of your PC, however, the panes are not customised. You can give your side window a personalised look with a simple mod: etching paste makes it possible.
My favourite modder has done it again: Alex Banks from Bit-Tech etches glass and I really want to try it too. Alex uses an etching paste and a vinyl stencil. The result: it looks as if the logo that Alex etches has been engraved into the glass. It looks great and, according to Alex, is done quickly.
The first thing I do is get some etching paste for glass. I find it on the internet. I opt for Etchall from Creative Glass. Thanks to a Swiss distributor, I have the paste within a few days. If you want to buy it too: Google is your friend.
The vinyl film is more difficult to obtain as I don't have a cutting plotter. Fortunately, my colleague Anne Chapuis has one and has agreed to plot my design. Now I just have to decide on one.
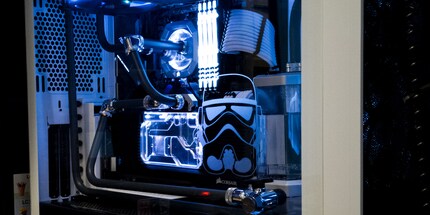
Instead of just a bit of kitsch, like lettering or something similar, I went all out and chose a Stormtrooper helmet. If it's going to be kitsch, it's going to be real kitsch. This fits in thematically with my PC case: seen from the side, the Meshify S2 from Fractal Design looks a bit like a Stormtrooper helmet. I choose the following template:

The template has the advantage of having larger areas as well as those with more detail. I'm curious to see how well the etching works with the narrow lines.
As the name suggests, the paste etches. Therefore, care must be taken when handling it. I get impermeable gloves and cover my workstation with vinyl. I move the workstation directly in front of the window as I shouldn't inhale the vapours.
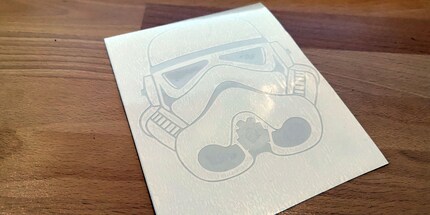
Next, I clean the tempered glass panel so that I can attach the stencil. Unfortunately, I forgot to ask Anne to leave a generous amount of vinyl film on all four sides and she cut out my template a little too tightly. The stencil should have generous margins so that no paste is accidentally spilt. My mistake, I can't complain: Anne even removed the cut-out parts and prepared the template for me. As if that wasn't enough, she applied transfer foil to the front so that I could transfer the stencil to the tempered glass panel without anything slipping.
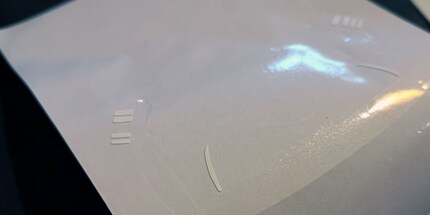
I have to remove the back of the vinyl film so that I can stick it on. I have to make sure that the stencil sticks to the transfer film. This is not easy because I have to remove each element individually from the backing, as this adheres better than the transfer film. Details of the ejection filter on the side slip when the film is removed. I therefore do without them. It also looks kitschy good like this.
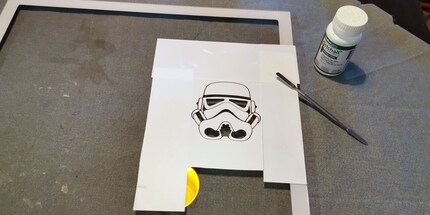
I stick the stencil onto the glass and cut additional vinyl film, which I attach to the edges of the stencil to prevent etching paste from getting onto the glass. Now all I have to do is apply a thick layer of paste and leave it to work for a quarter of an hour.
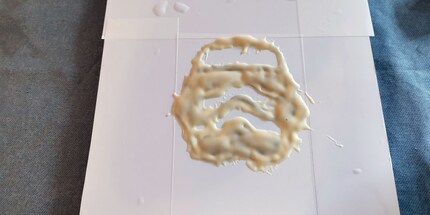
I scrape off the paste and pour it back into the container. Etching paste is reusable. I wash away any remaining paste with a damp cloth before removing the stencil. Once this is gone, I clean the etched areas thoroughly to make sure there is no paste left. Now I can admire my work in peace.
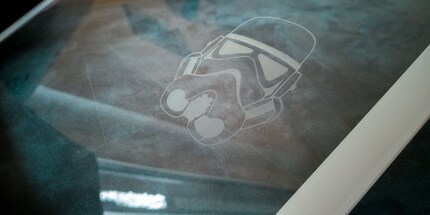
Wow, the result is just awesome. The glass is evenly etched and the fine lines are also beautifully accentuated. The whole thing is quick and easy to do. If you want to give your side panel that little bit extra: etching paste makes it possible.
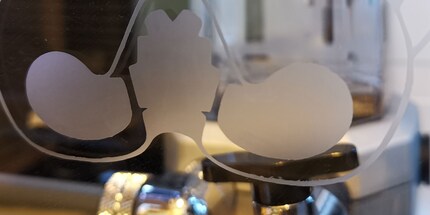
If you want to try it yourself, here's a little tip: cover your entire side window with vinyl. I didn't realise while I was applying it, but I got some paste on the edge of the panel. Now I have an etched spot there. Doesn't bother me much as it's on the edge, but in the middle of the disc would be unsightly.
From big data to big brother, Cyborgs to Sci-Fi. All aspects of technology and society fascinate me.
Practical solutions for everyday problems with technology, household hacks and much more.
Show all