
Canon EOS R5: A hot-headed universal genius
Overheating has been a hotly debated topic since the release of the Canon EOS R5. In my test, I realise that the problem does exist - but it is the only weakness of an otherwise extremely powerful and versatile camera.
The name Canon EOS R5 was not chosen at random. Obviously, this camera is the continuation of the Canon EOS 5D SLR series, the latest edition of which is the EOS 5D Mark IV. The five-series stands for a universally applicable camera at a professional level.

Housing: the best of both worlds
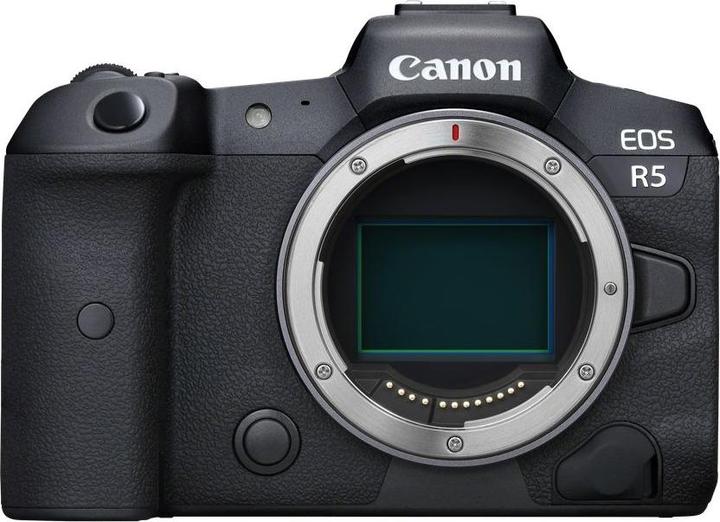
The camera takes over some of the controls from the Canon EOS 5D Mark IV. At the same time, the body is very reminiscent of the Canon EOS R. I think the mix is very successful: The best elements of both cameras have been brought together. From the EOS R, the movable screen (1) and the much more modern, space-saving second screen (2). Fortunately, the fiddly touch bar (3) of the EOS R is not included. The R5 has inherited the practical joystick (4) and separate buttons for Set and Quick Menu (5) from the 5D Mark IV.
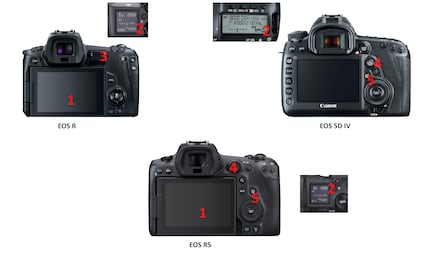
The EOS R5 is slightly thicker than the R. There is a good reason for this: the camera has a built-in image stabiliser. It needs space. The two card slots also need a little more space. One of the two slots is for CFExpress B cards. These cards are larger, around twice as thick, but above all faster than SD cards. This is the only way 8K video in RAW is even possible.
Operation: complex, but well thought out
The recording mode is selected using the mode button and then turning the corresponding dial. With some cameras, this is a little quicker, namely by directly turning the mode dial. Switching from photo to video mode or vice versa also requires pressing the info button. This sounds cumbersome, but it has its advantages: Photo and video are separate worlds. In video mode, you don't have to go through all the photo settings and vice versa. If you want to take photos of a scene as well as record it on video, stay in photo mode and press either the shutter button or the video record button. The video can have a completely different mode to the photo mode. It is recorded in the way you have previously specified.
The operation of the camera is freely configurable. During the two-week test, I was able to customise almost everything that didn't suit me straight away.
With one exception: the viewfinder shows the image with open aperture, even if you have closed the aperture. Although there is a stop-down button like on certain SLR cameras, in certain situations I would like the image to be permanently displayed as it appears in the final result. For example, when I want to photograph sunbeams behind branches with the aperture closed and these change with small movements.
The sensor
I don't measure the performance of the sensor myself, I would need a measurement lab - which I don't have. It's also no longer as important as it used to be. All full-frame cameras are at a similar, very high level. The development is only progressing slowly.
Are you looking at the test chart from dpreview.com, you can see that the Canon EOS R5 is on a par with or even better than its sharpest competitors. Here is a section for 12 800 ISO in comparison with the Sony A7R IV and Nikon Z 7. The Nikon Z 7 also has a resolution of 45 megapixels, the Sony 61 megapixels. The older Canon EOS R has only 30 megapixels.
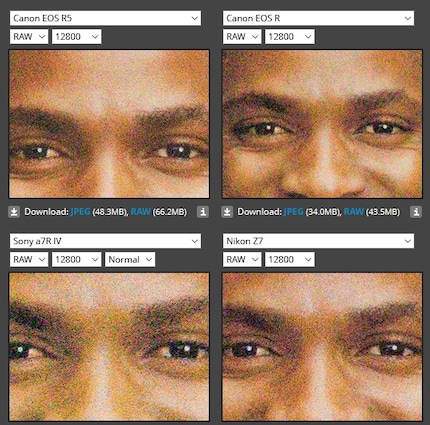
The Sony A7R IV does not make a particularly good impression in direct comparison. However, the difference is not great: the higher resolution of the Sony camera means that the image can be reduced more in order to bring it to the same target size. This point is important when it comes to image noise, as the noise is eliminated when the image is reduced in size.
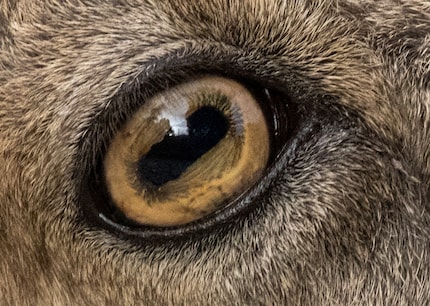
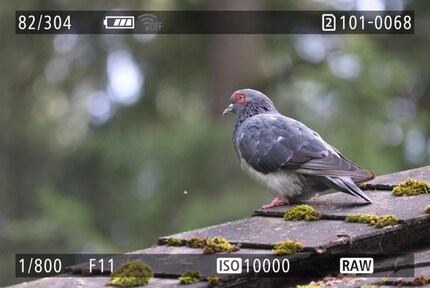
When I tested the super telephoto lenses, I almost always had to shoot at four-digit ISO values. This is no problem with the Canon R5. Here again an example image with 5000 ISO.

The image stabiliser
The built-in image stabiliser works automatically in conjunction with the lens stabiliser. As always with such a combination, the lens stabiliser plays the main role in the telephoto range, while the camera stabiliser is more important in the wide-angle range.
After hearing several times that exposure times of several seconds are possible freehand with the R5 at wide angle, I wanted to try it out. It didn't work for me. Here is an attempt with four seconds.

Nevertheless: The built-in image stabiliser is very good. Together with the lens stabiliser, it extends the possible exposure time by six to eight stops.
Speed
Until a few years ago, either the camera had a very high resolution or it was very fast. Neither was technically possible. The fact that this is different today can already be seen from the specs. At 45 megapixels, the Canon EOS R5 delivers a speed of up to 20 frames per second (fps) with an electronic shutter and 12 frames per second with a mechanical shutter. This is an excellent value. The best Sony cameras currently manage 10 fps.
In the article above, I explain why the rate for the mechanical shutter is more important than that for the electronic shutter. And that there are numerous other factors that can slow down the continuous shooting speed. The user manual for the R5 lists this in great detail. What I really like is that the camera always tells you whether or not the speed can be achieved with the current settings and situation. The colour of the continuous shooting display indicates whether everything is in the green (12 fps) or only in the white (9.2 fps) range.
The most important thing here is that the high continuous shooting speeds are also possible with autofocus tracking. There is no blackout, the motion sequence is easy to recognise in the viewfinder and you don't lose sight of the subject so easily.
Autofocus
In recent years, Sony has impressed me the most when it comes to autofocus and subject tracking in particular. Now I'm no longer so sure who's the boss here. One thing is clear: Canon has really caught up. Maybe even overtaken. The autofocus of the EOS R5 works precisely and quickly, even in low light. The face and eye recognition works amazingly well even with animals other than dogs and cats.
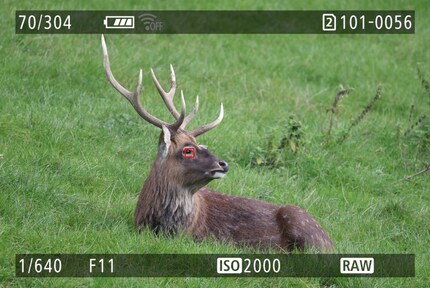
I also find the operation very successful: You can configure the autofocus in great detail, but you don't have to. For example, you have four scenarios to choose from for subject tracking, which are most suitable depending on the type of sport or other scenery. These scenarios can be further fine-tuned. However, you can also simply let the camera choose itself or select the general scenario. In most cases, this works quite well.
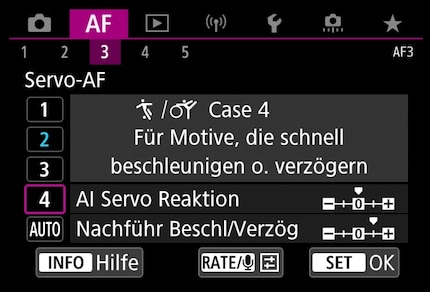
In the camera menu, the Info button provides detailed explanations of the settings. Some of them go further than the explanations in the user manual. I find this very useful, especially at the beginning, as there are a large number of possible incomprehensible abbreviations in the menu items. Abbreviations have been included.
Video
The 8K video is one of those things. I have already written about the difficulty of using 8K at all with today's technology in a separate article.
Video
As a final format, 8K is not particularly useful at the moment, but as a recording format it has its justification. On the one hand, you can freely select image sections afterwards and are more flexible. Secondly, 8K can be converted into exceptionally good 4K. If an image is downscaled from a higher resolution, it will be significantly sharper than if it was recorded in the lower resolution from the outset.
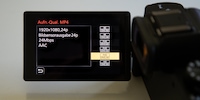
The camera itself can also do this. With the HQ mode - HQ stands for High Quality - the 4K image is significantly sharper than with "normal" 4K. The difference is so big that I can even see it on my Full HD screen in my home office. Open the videos in full screen and notice the birch leaves against the bright sky.
The camera must downscale the image to 4K in real time. However, there is no time pressure for subsequent downsampling on the PC. The conversion software can use algorithms that are slower and more computationally intensive, but result in better quality. In other words, a 4K downscaled on the PC should be even better than the already good 4K HQ of the camera.
To check whether this is really the case, I downsample an 8K recording to 4K using the Adobe Media Encoder. Codec H.264, target rate 200 Mbit/s, maximum rate 240 Mbit/s. More is not possible, but as it is a fairly static image, that should be enough. "Maximum render quality" also sounds good somehow, I'll take that.
As far as the time is concerned, the theory is correct: the PC needs seven minutes for the ten-second video. It's an old PC, but still: the camera must do it 40 times faster.
The result is visibly better. Here, it's more the dark areas that show more detail and sharpness.
The camera can record any resolution as All-I or as IPB. With IPB, only every third image is a keyframe, the two in between are calculated from the difference to the keyframe. In a static scene like this one, IPB actually only needs about a third of the storage space - without any visible difference in quality. The files that I created on the PC with the Media Encoder only take up half as much space as All-I-Files from the camera.
An HQ recording can be a maximum of 30 minutes long. In my test, the overheating warning appeared shortly before this, after 29 minutes. After that, the camera can be operated for a few more minutes before it switches itself off. I was able to record for 36:18 minutes at a time, apart from a very short interruption after 30 minutes. The test was carried out at room temperature and with firmware 1.1.1.
I would say that in most cases this is enough to get the desired result. The high-speed mode with 100 or 120 fps also heats up the camera, but long recording sequences are much rarer there.
Problems can occur if you want to take several long HQ shots in succession. After the camera switched off due to overheating, I repeated the test 30 minutes later. During this half hour, the camera had largely cooled down. It then ran for 26 minutes, the warning appeared after 21 minutes.
In 8K, the camera ran for 24 minutes at a time, the overheating warning lit up after 19 minutes.
The so-called overheating control reduces the performance of the live image when the camera is not recording. As a pleasant side effect, this also saves battery power. I didn't notice any difference, but if you absolutely need the maximum live image, you can deactivate this option.
Battery
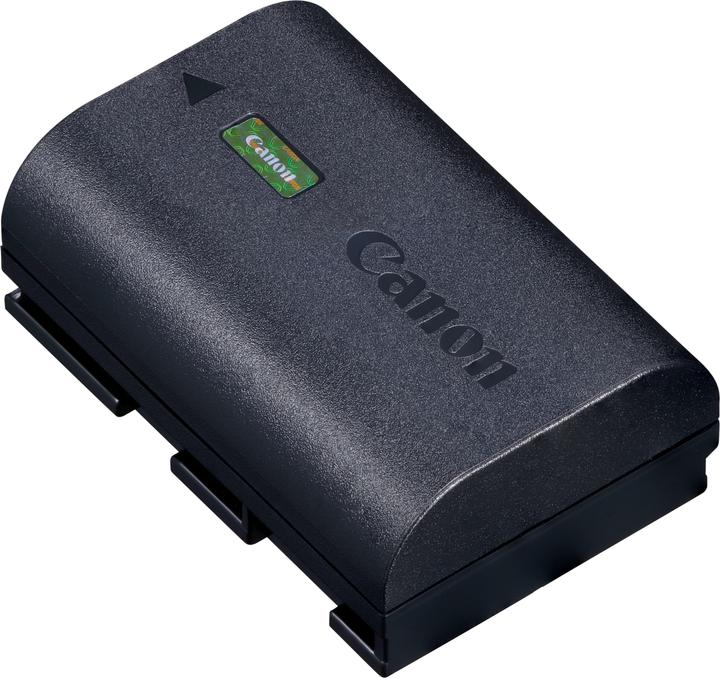
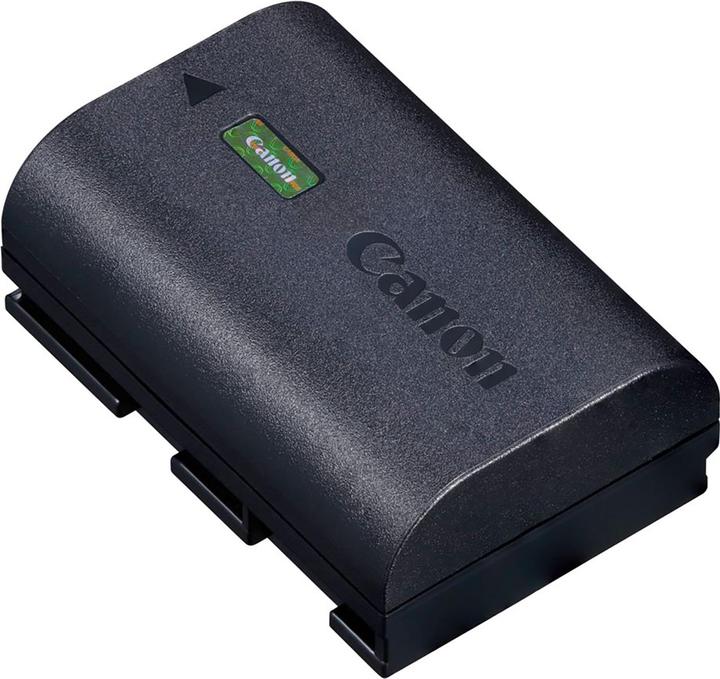
Canon has introduced a new battery with the R5. The LP-E6NH offers 2130 mAh, an increase of 14 per cent compared to the previous LP-E6N with 1865 mAh. However, batteries of the older type can also be used with the R5. Conversely, the new battery can also be used in all older Canon cameras that run with the LP-E6N. That's exactly how it should be.
It's difficult to say exactly how long the battery lasts compared to other cameras. My impression is positive. I didn't have a spare battery available when I tested it, but the one battery was always enough for my half-day trips. With power-saving settings, the R5 achieves a CIPA value of 700 shots.
HEIF file format: Nope
Because I've never had a camera that can handle the HEIF image format, I wanted to check that out too. However, this is even more difficult than with 8K.
In the camera menu, HEIF is not selected where you select RAW or JPEG, but in a separate menu item called "HDR PQ settings". If this option is activated, the camera automatically produces HEIFs instead of JPEGs. This means that it is not possible to record JPEG and HEIF at the same time, but RAW and HEIF.
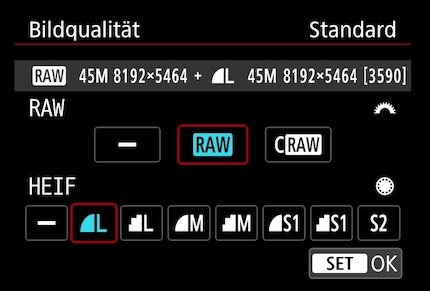
RAWs can be converted to JPEGs or HEIFs by the camera itself and HEIFs can be converted to JPEGs.
Photoshop, Lightroom, Affinity Photo, Paint, IrfanView, etc.: None of these can do anything with HEIF, HEIC or as Canon calls it, "HIF" under Windows. This may be different with a Mac. The website HEIC to JPEG also fails with the R5 files.
The free image extension for the HEIF format in the Microsoft App Store is of no use as long as the corresponding HEVC video codec is not installed. This in turn is subject to a charge. It only costs one franc, but I don't do it on principle. Firstly, I think it's quite wrong to ask people to pay again after they've already paid for the operating system, camera and image editing software. Secondly, I never need the Microsoft App Store otherwise and would have to enter my credit card details just for that reason.
Well, not then. It's not like I need it. As a consolation, here is the link to a longer test report on Canon's HEIF images.
Conclusion: Expensive, but good
The EOS R5 can do almost everything - and unlike the EOS R, it can do it really well. High-resolution landscape shots? Check. Sports and wildlife? Check. Studio? Check. Dimly lit interiors? Check. Crisp videos? Check. The operation is logical, sophisticated and well thought out. There are a few little things that I would have liked to be different, but despite the extreme complexity of the camera, I found my way around much more quickly than with the slightly experimental EOS R. In addition, there is a lens range that meets the highest demands.
The only thing the EOS R5 can't do is shoot long videos in 8K or high-quality 4K. Canon perhaps shouldn't have made such a fuss about the 8K function, because as a result everything centred around the device overheating in video mode. This is indeed a problem, there's nothing to gloss over. Even if the latest firmware has probably alleviated the problem somewhat. But focussing on this problem does not do the device justice at all. It is primarily a great camera and secondarily a camera that produces short video clips in unprecedented sharpness.
My interest in IT and writing landed me in tech journalism early on (2000). I want to know how we can use technology without being used. Outside of the office, I’m a keen musician who makes up for lacking talent with excessive enthusiasm.


