Cut and grade video for free: DaVinci Resolve
Do you have loads of video footage from your camera, GoPro or drone lying around on your PC at home and don't know how to process it? With the freeware DaVinci Resolve, you can cut and grade your raw clips into a finished video like a pro.
A professional video camera with flat video profiles such as V-Log from Panasonic or S-Log from Sony and 10-bit videos require in-depth colour corrections. With these colour corrections, also known as grading, you give your film a certain look. It is similar to the filter principle of photos. I would like to introduce you to the freeware DaVinci Resolve. Not only can you use it to grade your clips, but you can also edit your videos straight away.
DaVinci is an American company that was bought by the Australian hardware manufacturer Blackmagic in 2009. However, Da Vinci's history goes back to 1984. In 2004, DaVinci launched the colour editing program Resolve, which is now also used in Hollywood, among others. Version 15 of the software is now available. The screenshots and recordings are still based on the 14th version of the programme. Among other things, DaVinci Fusion, the counterpart to Adobe After Effects, has been integrated into the latest version to apply effects to the image.
If you haven't used an editing programme before, you can start directly with DaVinci Resolve. If you prefer to edit with Adobe Premiere Pro or Final Cut, it's best to import your projects into DaVinci Resolve and have a versatile colour suite at your disposal with which you can adjust everything imaginable.

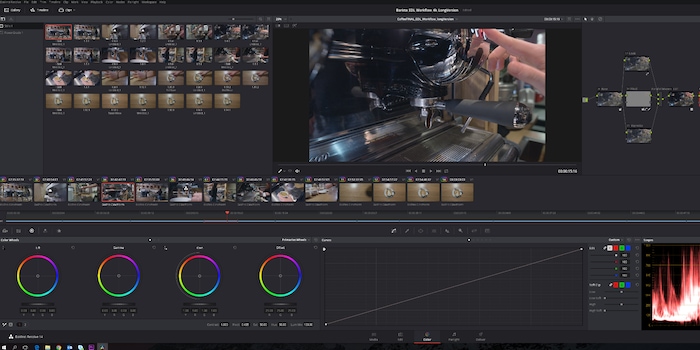
With DaVinci Resolve, you can import your individual raw clips and never have to leave the programme until you export them. You start by importing raw files in the "Media" area, cut them in the "Edit Page", adjust the colours in the "Color" area, edit the sound tracks under "Fairlight" if necessary and export the finished clip in the "Deliver" tab. There you select the appropriate format to upload the clip to YouTube, for example. New in version 15, you can add effects, text etc. to the image.
Professionals grade with it
The software is not only used by amateurs and ambitious filmmakers. It has also been used in advertising, Hollywood, Tatort and various documentaries. For example, the film X-Men Future is Past, various films in the Tatort series or advertisements for the US retail chain Kmart were colour-corrected using the tool. This list is by no means exhaustive and is intended to show that the programme is used in a wide variety of sectors. So it can do something.
Here you can see in fast-forward how I have graded. [[video:85767]]
Important terms
Nodes
DaVinci is based on nodes. Each node represents an instance of colour correction or effects. They are comparable to layers in Photoshop. Nodes can be created in parallel or in series. In my project, I worked with a total of 6 nodes, whereby the look, skin processing and vignetting were created in parallel. It is important to actually carry out the editing on the corresponding node in order to always have the option of switching the individual edits on and off.

LUTs
The material is usually recorded in LOG formats in order to achieve a higher dynamic range and to have more freedom in colour editing later on. The log format makes the image look flat and desaturated. In post-production, however, it is possible to edit the image more intensively and adapt it more precisely to requirements. To normalise the image, a LUT is applied to the image. LUT stands for Look Up Table and is a type of colour profile that can be used to give a flat log format a neutral appearance again. These can simply be placed over the image. Further colour corrections can then be made.
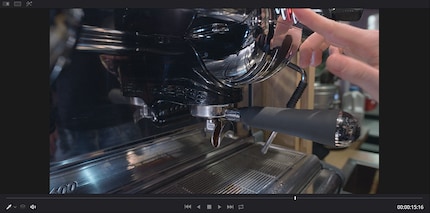
Primary Colour Correction
The LUT has already been applied and we are working on the first node ("base"). I adjust the contrast, bring the colours to a common denominator and make sure that the image is well balanced in terms of colour.
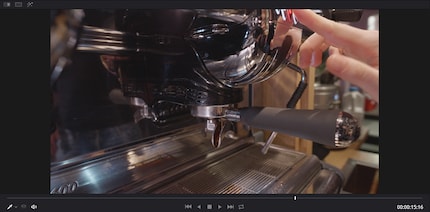
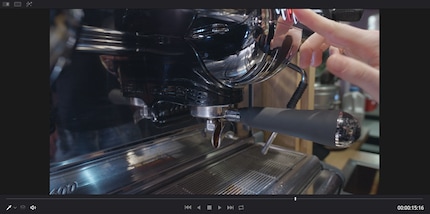
Secondary colour correction
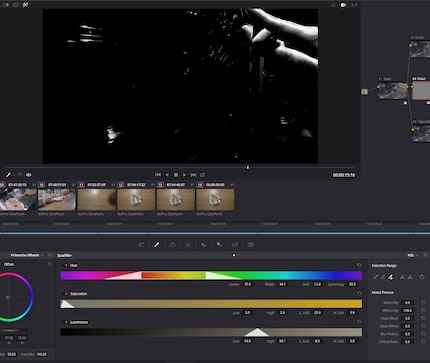
The secondary colour correction adjusts subtleties and details. If the sky still looks a little too pale, you can make it a little bluer. Or if the skin is too red, simply reduce the red tones on the skin by selecting and changing the colour range of the skin. Resolve also includes one of the best 3D trackers on the market. The tracker automatically scales and moves according to the image. You can track areas that stand out only slightly from the rest of the image very precisely and change their colour.
Limitations of the freeware
DaVinci Resolve is a powerful free tool. Most users will be well served for the time being. Nevertheless, the studio version, which costs 330 francs, offers some advantages - especially for professional colourists and editors. These include:
- Multiple users can work on the same project at the same time
- A denoiser to remove grain from the image
- HDR (High Dynamic Range) grading - this allows colours to be made even more vivid, contrasts are higher, depths are blacker and bright areas are even brighter
The studio version is included with the Blackmagic cameras. [[productlist:457108,4677338]]
I'm still a beginner
I haven't utilised all the possibilities of the tool yet. I gained my first experience at a two-day workshop with lecturer Christine Hiam. She has been working as a colourist for years and has graded various feature films and documentaries with it. Then she tested the Panasonic GH5s intensively. Because only with video files with (high colour depths) high data rates and colour depths beyond 8bit is it really worth working with the tool and getting everything out of the clips. I will definitely keep at it when time permits.
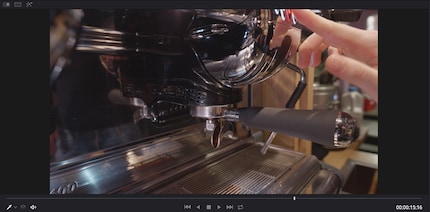
This video of a barista was corrected with DaVinci Resolve and shows the image before and after grading.
Here is the same video without the before and after comparison.
If you are new to the business and have not yet decided on an editing programme or the Adobe Cloud is too expensive for you, I can highly recommend DaVinci Resolve.
If you also want to work with it, you can download the freeware here. There are also thousands of tutorials on YouTube that explain the programme in more detail than would be possible here. <p
As a Multimedia Producer, preparing multimedia content and knowing about cutting-edge technology is my business. My main focus at digitec is producing videos. I can’t wait to try out new products such as cameras, drones or smartphones as soon as they’re launched. This is where being at the source comes in rather handy. When I’m not working, I’m probably skiing, biking or hiking – the mountains are my place to be.
