
Enlightenment just before Easter: I've never dyed eggs this quickly before
I dyed eggs with my children in an impromptu egg colouring exercise. Without egg dye, but with felt-tip pens and kitchen paper. The Easter egg hack surprised us all, the result even more.
It's already five before Easter and our eggs are still pale as chalk in the fridge. And then it comes, the revealing question from my younger daughter that I've been expecting all week: "Mummy, when are we actually going to paint Easter eggs?"
All right then. All in. "Now!" I reply and have no idea whether I've just laid an egg for myself. We have just 25 minutes until we have to leave for swimming lessons. Luckily, I recently saw a previously unknown egg colouring technique in a mum's WhatsApp story, which is not only supposed to be simple, but also one thing above all: ultra-fast.
Less than half an hour later, we're standing in the swimming pool while the freshly coloured eggs are drying in our kitchen. A few hours later, when we look at the colourful things with surprise, it's clear: this egg dyeing hack is so great that I really want to share it.
1. ingredients
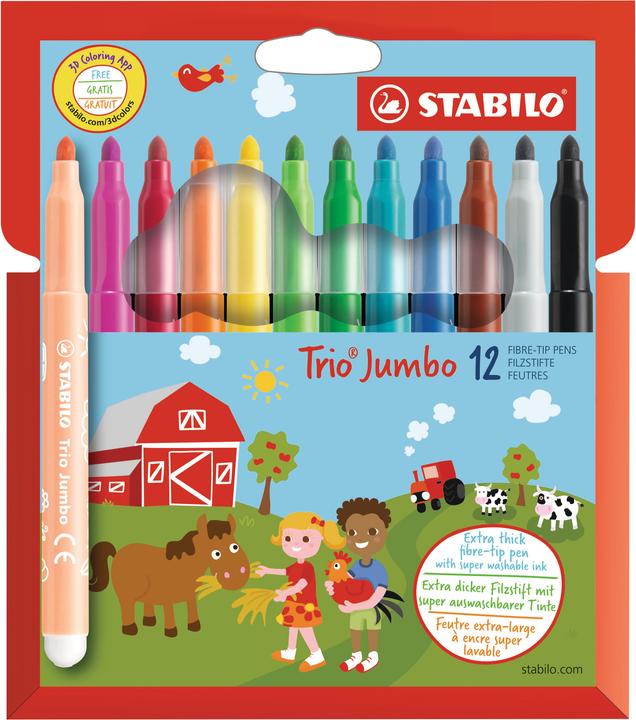
All you need are things you probably have around the house anyway: eggs (hard-boiled), kitchen roll, vinegar and children's felt-tip pens.
2. colour the kitchen paper
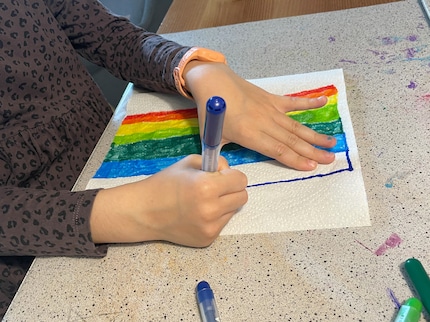
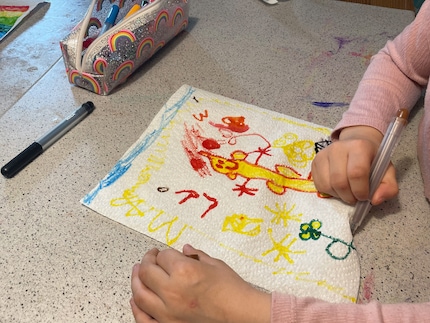
Decorate the kitchen paper with the felt-tip pens. Whether it's a detailed work of art or a loveless mess - the main thing is to make it as colourful as possible.
Source: Katja Fischer
3. bind and dip
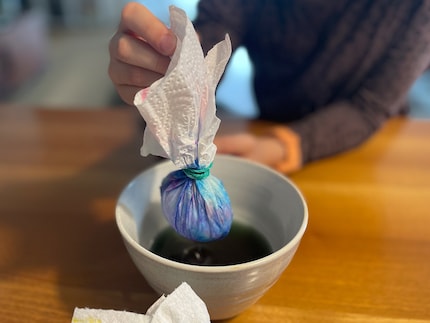
Wrap the eggs as tightly as possible in kitchen paper. Then close the paper with a rubber band or hair tie. Dip briefly in vinegar, drain and lay aside
Source: Katja Fischer
3. let dry and unpack
That's it already. Leave the eggs on a plate or oven rack for 16 to 20 hours. Once the kitchen paper is dry, you can carefully unwrap them - and marvel at the batik pattern.
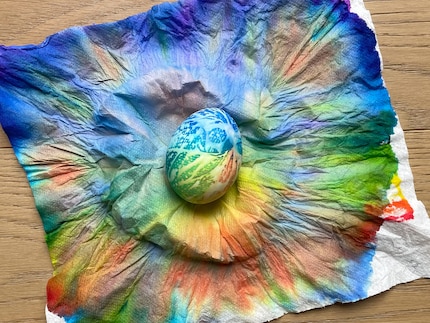
Source: Katja Fischer
My children's verdict: "We've never painted such beautiful Easter eggs before." Yup, for once I was actually expecting the worst and the best turned out to be true. It's usually the other way round.
The girls want to refine their colouring technique over the Easter holidays. So in the pre-Easter hustle and bustle, I'm going to head into the crowds at the supermarket to get some egg supplies. I think that will take more time than the colouring itself.
Mom of Anna and Elsa, aperitif expert, group fitness fanatic, aspiring dancer and gossip lover. Often a multitasker and a person who wants it all, sometimes a chocolate chef and queen of the couch.
Practical solutions for everyday problems with technology, household hacks and much more.
Show all