
Background information
My first gaming PC: the planning stage
by Jan Johannsen

15-year-old Max wants to assemble his first gaming PC all by himself. All components selected in part one have arrived – he even got hold of a graphics card. Now it’s time to get to work. With a screwdriver and YouTube videos to guide us.
Max is fulfilling his dream of owning a computer. But he certainly isn’t taking the easy road: Max, my son, doesn’t want to buy a ready-made model, instead choosing to assemble the gaming PC himself. It’s my first home-built game station as well. Good I’m just an onlooker/reporter, then.
One by one, our orders arrived. We even found one of the desired graphics cards at an acceptable price. Here’s what we had:
I did help in clearing the table and illuminating it for my photos. Otherwise, I retreated back to being a silent observer, intervening only when asked for help.
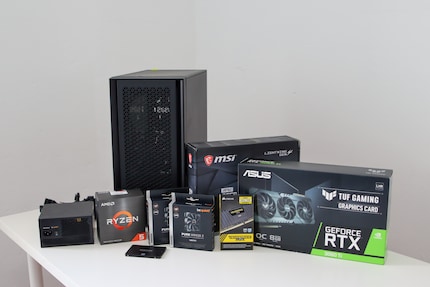
This way Max’s roadmap, roughly: unpack the motherboard, attach the processor and its fan, and plug in the RAM. Then we’d continue with the housing: install the SSD, tighten the fan, install the motherboard and graphics card, and finally connect the power supply.
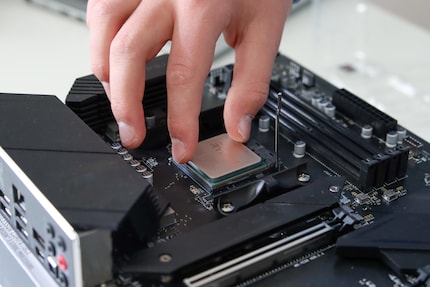
But before unpacking the motherboard, Max grounded himself against the heater. To avoid any errant discharge destroying the electronics when touched. Removed from its packaging, the motherboard sat on its box, not directly on the table. The CPU was quickly unpacked and fixed in place without any problems. A unique corner on the processor indicated how it should be slotted into the motherboard. The hinged latch would keep it in place once Max closed it.
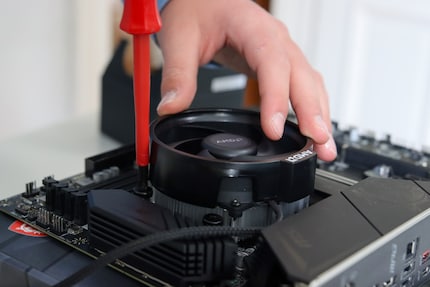
Screwing on the fan, on the other hand, was a greater challenge. Max tightened the first screw too much. As a result, the rest were left hanging too high in the air. Here, a nimble hand is required when screwing. He has to tighten the screws one after the other in several rounds. The fan is included with the CPU and has an ace up its sleeve: it comes with thermal paste, automatically applying it to the processor. Both RAM bars also snapped into place on the first try.
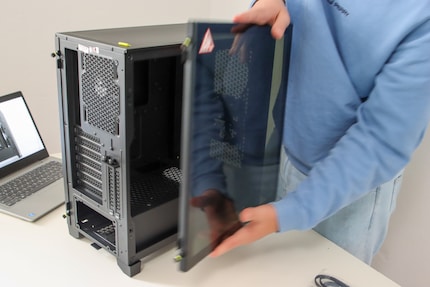
Next, Max opened up the case. The screws for both side panels are firmly installed, but can still be easily loosened by hand. Two cages used to house SSDs can be found on the side. Alternatively, he could place them inside. However, it took him a while to understand how the cages, or more accurately holders, worked.
True, Max is quite cautious when working. He’d rather check YouTube once too often, just to make sure how others install the corresponding components. But not every video is wholly accurate for the layman. For the SSD mounts, a look at the instructions included with the case would’ve helped. Max, however, only discovered the manual later on.
After reading the instructions, he was finally able to screw the SSD into the brackets as intended before reattaching them to the case. Fortunately, all necessary screws were included in the case in large numbers. There were two different sizes. This caused some irritation while Max was trying to tighten the motherboard. Which size was the right one?
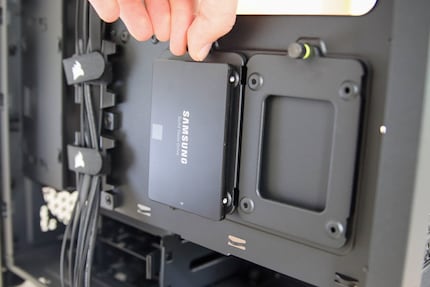
But trying any of that, he needed to back out. The motherboard was inserted too early and had to be taken out again. Otherwise, Max wouldn’t have been able to remove the fans. He’d ordered two of them. Installing them was child’s play, as other covers on the housing could be detached. Fastening the fans using screws didn’t present any problems. However, it is important to install the fans the right way around. Air should flow through the case from the front – you can’t just be blowing air in or out. Together with the two fans already built into the case, Max’s PC now has four. Two at the front that suck in air, and one each on the upper and lower back panel that blow it out again. He can still always retrofit two more fans. One on the front and one at the top of the case.
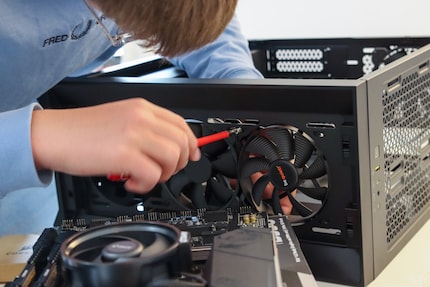
Now the motherboard can finally take its rightful place. Max has had some practice, but the fan cables were an added difficulty. They were in the way, so I was finally allowed to help by pushing the cables aside. The motherboard was in the right place and fixed with the appropriate screws.
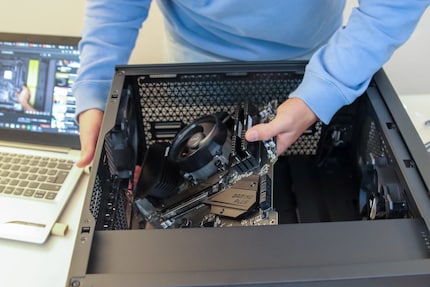
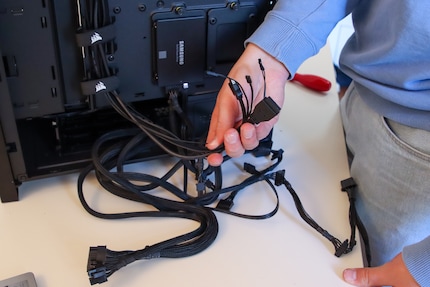
Next, Max slid the power supply into the case from the side. He had to push all tangled cables aside before screwing the power supply unit in place. Then it was time to work on those intricate, annoying details. The power cables had to be routed through the housing and plugged into the correct locations. Fortunately, most plugs indicate where they go. As soon as the cables are in the right position, connecting them works smoothly.
Then Max unpacked the graphics card. Its protective foil was difficult to remove, but he got it off after a few minutes of fiddling with it. After that, he removed two bezels from the back of the housing. That’s where the graphics card connectors come out. His card was now in its place and fixed with screws. But once again Max had to go back a step: the graphics card needed to come out. He hadn’t connected all the power cables properly after all. His LED lighting cables had gone missing in the casing.
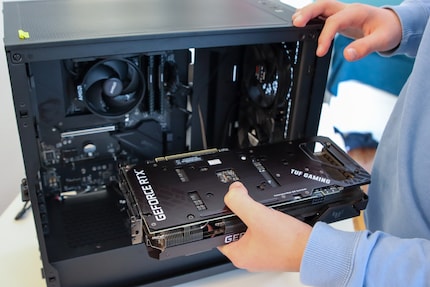
The graphics card finally got to stay in place after a second attempt. For this, Max loosened the power supply once again to remove the HDD cage. Since there’s no hard drive, he even gained additional space to store cables. He then screwed the power supply unit back into place. Finally, he reattached the two side plates.
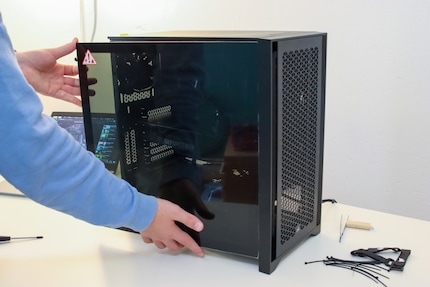
An afternoon had passed – including a late lunch break. All components were installed, the computer was up and running. Max connected all power cables and the monitor as well as the LAN cable. The hype is real: Max pressed the power button.
Next up, in part three of our series, you’ll find out if Max installed all the components correctly and if the PC booted up on the first try. In addition to installing Windows, a performance review of the gaming PC and a survey among other teens are also on the agenda.
When I was but a young student, I'd sit in my friend's living room with all my classmates and play on his SuperNES. Since then I've had the opportunity to test out all the newest technology for you. I've done reviews at Curved, Computer Bild and Netzwelt, and have now arrived at Galaxus.de.
Interesting facts about products, behind-the-scenes looks at manufacturers and deep-dives on interesting people.
Show all