Guide
eGPU and MacBook: Gaming in unfamiliar territory
by Kevin Hofer

For a few years now, Mac users have been able to enjoy more and more AAA games. However, there is still not much on sale. Fortunately, you can easily install Windows with Boot Camp. I'll do that and tell you how to game with my eGPU.
In addition to the eGPU and MacBook with Thunderbolt 3 port, you will need two other things: a Windows image file and Boot Camp. You can find the ISO directly at Microsoft. Boot Camp is already installed on your Mac.
Search for Boot Camp using Spotlight (CMD + spacebar) and start the application. Select your Windows ISO file and let Boot Camp guide you through the process. After a quarter of an hour you will be sitting in front of your Mac with Windows - a truly weird sight. Remember to provide enough storage space. It should be at least 120 GB for Windows and a game. Don't worry, if you no longer need Windows, you can delete the partition with Boot Camp.
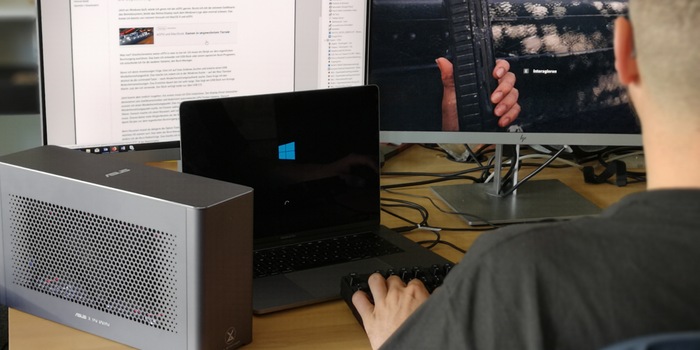
Now that Windows is running, I would like to game with the eGPU. However, when I boot the operating system with the external graphics card, the Retina display remains black after the Windows logo. I already know this from my experiment with MacOS X and eGPU.
Apparently the Retina display is deactivated when booting. A test with an external monitor connected shows that the system runs like this. But I want to game on my Retina display. At 2880 x 1800 pixels, it has a higher resolution than my work monitor.
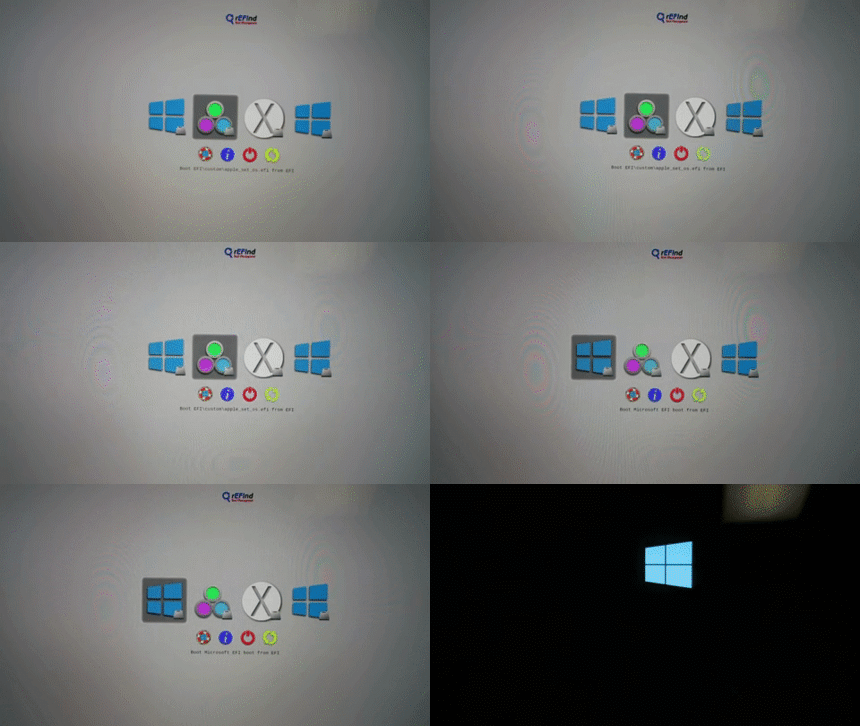
What now? Fortunately, eGPU.io knows what to do. I need to run a script before the actual boot process. I can do this either with a USB stick or a special boot programme. I decide in favour of the clean option, the boot manager. I don't always want to attach a USB stick to the Mac.
Before I follow the instructions on the homepage, I listen to user Andreas_kocher and create a USB recovery stick. I do this by searching for recovery drive in the Windows search - on the Mac keyboard you press the command key. Then I follow the on-screen instructions. It takes a very long time for me to create it. This is due to the USB stick that my colleague Martin Jud uses. Unfortunately, the stick only has USB 2.0.
But now I can finally get started. First I have to install DDU. The Display Driver Uninstaller uninstalls all graphics card drivers and disables automatic GPU driver updates. This allows me to install the drivers manually right from the start, which should prevent any errors. The drivers supplied by Boot Camp are not all up to date. I then create a restore point. I do this by searching for restore point in the Windows search. I select Create in the window and let myself be guided through the process. I then restart the system because I need to install the rEFInd boot programme in MacOS X. This offers more options than Apple's boot manager. Among other things, I can use it to execute scripts before the actual boot process

When restarting, you must hold down the Option key so that you can select which OS should start. That would be Apple's boot manager. Once logged into High Sierra, I change the boot order. I do this in the system settings under boot volume and set MacOS X as the boot volume.
Now I have to reboot. This is a good idea, because I need to use OS X's safe mode to install the boot programme. To do this, I press Cmd + R when booting. Once in safe mode, I open the terminal and deactivate the system integrity protection with the command csrutil disable in the terminal. Only now can I install the rEFInd Boot Manager. Otherwise, the boot manager could not be installed as I would not have the rights to do so.
Now I can boot MacOS X in normal mode and open the terminal. To install, I drag the file refind-install into the terminal. This installs the boot manager rEFInd, which I downloaded from this page. Terminal confirms the installation. I can now see the EFI device in the Finder. In order for my MacBook to start rEFInd first, I have to update the boot order with another Terminal command, the Bless command.
If I were to restart the MacBook now, I should land in the Boot Manager first. But before I can start Windows from there, I have to activate the on-chip graphics card. Apparently, the Mac deactivates it if a dedicated graphics card is present and is not booted in MacOS X. To do this, I create a new folder with the name custom in the Finder for the EFI device and copy the boot loader file apple_set_os.efi into it. This tricks the Mac into thinking that I am booting into OS X and not Windows.
Now I can restart the Mac and should actually end up in the Boot Manager. But that doesn't work. It takes a disproportionately long time to start up and I end up in boot recovery mode.
Somewhat frustrated, I repeat the last steps. It feels like. A hundred. Times. It just won't work. Even lengthy research and sitting down with my colleague Aurel Stevens don't help. But I don't want to give up yet. There is still a workaround without a boot manager, but with a bootable USB stick. I'll try it this way.
I put the file apple_set_os_efi on the stick. If I now restart and hold down the Option key, I should see another partition next to MacOS X or Boot Camp. In fact, I now have a third partition. According to the instructions, I first have to select this partition and then Boot Camp. Unfortunately, after selecting the third partition, I end up in boot recovery mode again. Slow. Annoying. It. Me. INSANE.
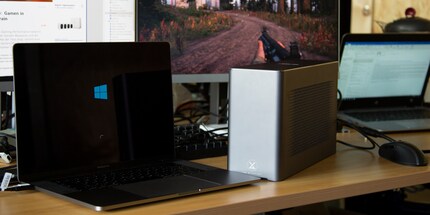
I don't care, it stinks and I'll just connect the eGPU with an external monitor. And try it like this. Windows starts up and I land on the start screen. At least I can see it on the external monitor. The Windows logo remains stuck on the MacBook display, so I can only work via the external monitor. This reminds me a lot of employees working with eGPU under MacOS X.

After the startup process, a jingle tells me that Windows has recognised a new device. New graphics cards are listed in the device manager. Logical, because I removed the drivers with DDU ages ago. I install the graphics card driver for the eGPU and "Far Cry 5".
During the installation, I run Geekbench 4 OpenCL. I achieve 179,893 points. Amazing, that's around 30,000 points more than I achieved on MacOS X.
Now I want to know whether the whole thing is stable and whether I can actually do without the workaround. As this proved to be a dead end for me, after all these hours I can hardly wait to finally hit the keys.
I start "Far Cry 5". In the settings, I select a resolution of 1920 x 1200 at 60 Hz because my monitor at work doesn't allow for more. I set the graphics options to High. The game runs smoothly at an average of 60 FPS. To confirm my impression, I run the integrated benchmark of "Far Cry 5". Here, too, I achieve an average of 62 FPS. So it works.
In order to have a comparison with gaming under MacOS X, I install "Rise of the Tomb Raider". In the integrated benchmark, I achieve an average value of 59.11 FPS with a maximum of 73.93 FPS in contrast to the average 58.4 FPS under MacOS X. The difference to the game on the Mac is therefore only marginal. Things look a little different in the game. Even in hectic situations, the frame rate doesn't drop below 50, whereas the Mac version had 30 FPS in between.
After a lot of trial and error and a few less hairs, but all the more grey ones, it unfortunately didn't work out to only game on the MacBook display. At least Windows with eGPU ran on an external display.
This shows that Windows not only gives you an advantage over Mac in terms of the selection of games. As a Mac user with an eGPU, it also makes sense to game via Boot Camp in terms of game performance. The games run more smoothly. I find it amazing that even brand new games like "Far Cry 5" work perfectly on high settings. The eGPU helps enormously. It would certainly also give Windows notebook users an enormous performance boost.
From big data to big brother, Cyborgs to Sci-Fi. All aspects of technology and society fascinate me.
Practical solutions for everyday problems with technology, household hacks and much more.
Show all