Raspberry Pi or Arduino, which one for which purpose?
One is a minicomputer, the other a microcontroller. Both can be expanded with all kinds of components and used in a number of areas. Which one is used for what?
Arduino:
The small Arduino microcontroller is suitable for simple and quick control tasks. For example, this board can be used to keep a heating plate at the set temperature or stabilise a quadrocopter in the air. A connection to the computer is all that is needed to programme the Arduino using the development and programming software of the same name. This runs on Windows, Linux and Mac.

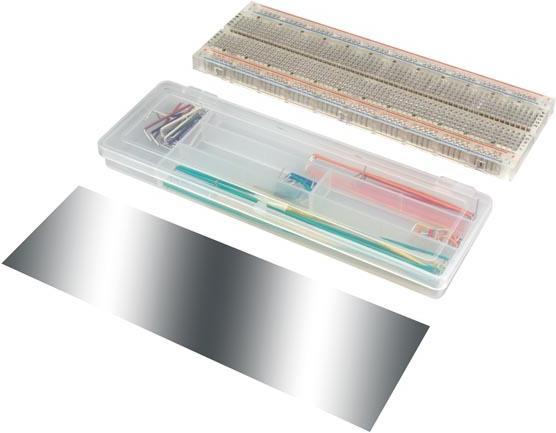
The "Arduino Starter Kit" already contains a breadboard. This is a breadboard on which circuits can be simply and neatly plugged together. These breadboards can be expanded as required as they have interlocking parts.
The Arduino is available in different versions. Each model has specific capabilities and therefore different areas of application.
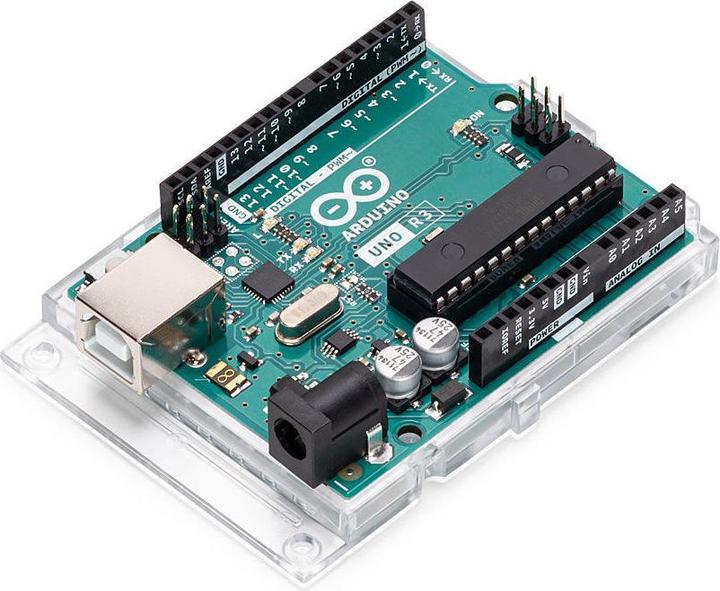
- The standard Arduino is the "Uno". It has a medium number of connections and low computing power. Most commercially available attachments, so-called "shields", fit on this board.
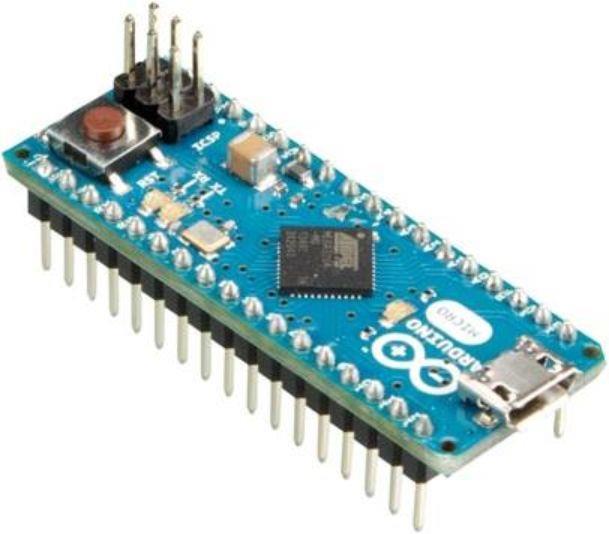
- Its little brother is called "Micro". Thanks to its small size, it can be attached directly to a breadboard.
- A larger version of the Adruino is the "Mega". With 54 digital inputs/outputs, it has 3x more than the "Uno".
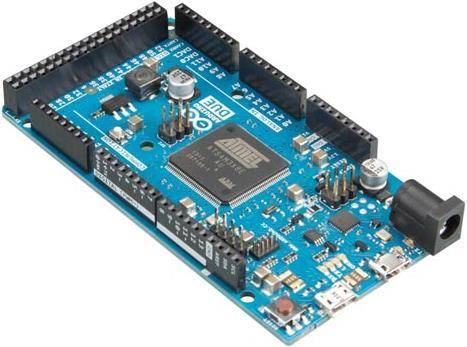
- The "Due" has much more computing power (7 times that of the "Uno") with the same number of connections as the "Mega".
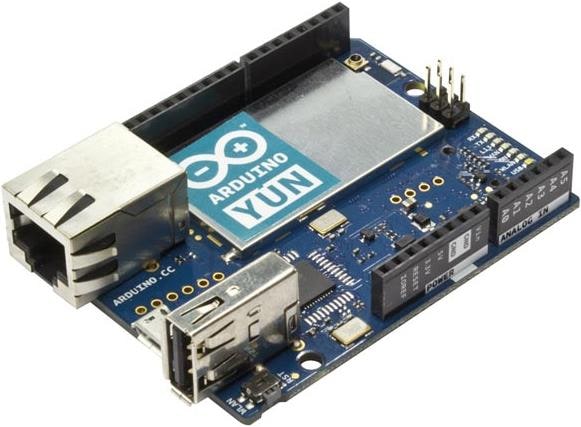
- The developer board "Yùn" has an embedded Linux with Ethernet and WiFi. You can also programme your own shell and Python scripts. However, it has no graphics card and no connection for a monitor.
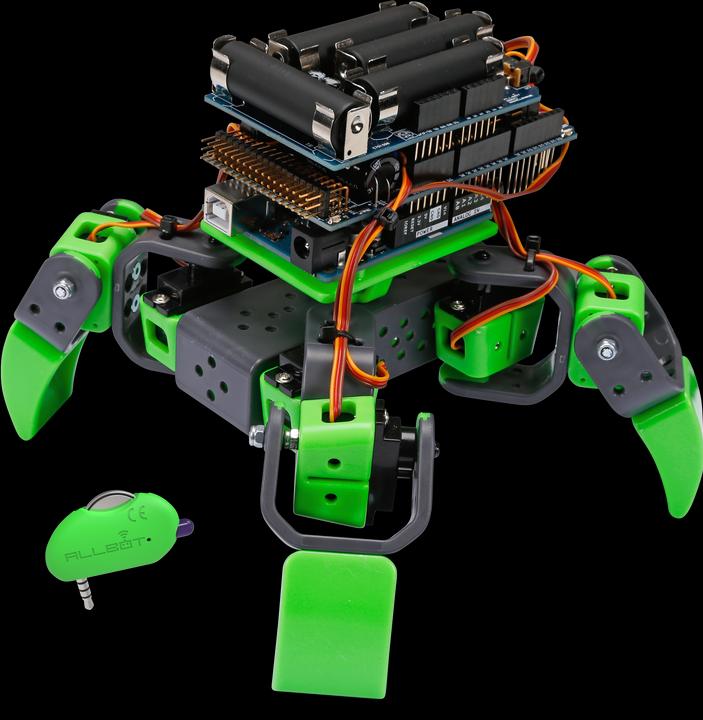
If you are looking for an exciting project, I recommend the Velleman Allbot. It is based on Arduino and can be controlled using a smartphone app.
Raspberry Pi:
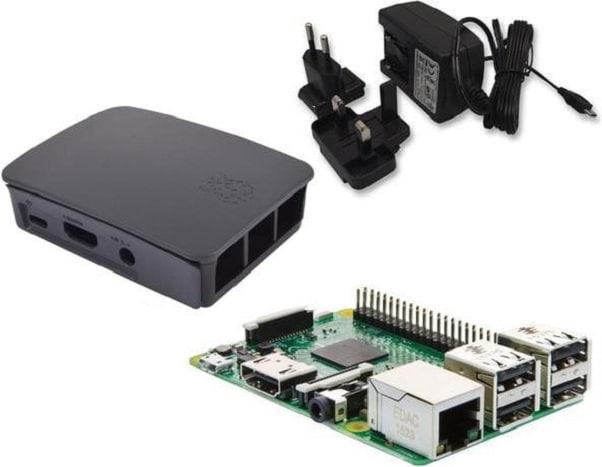
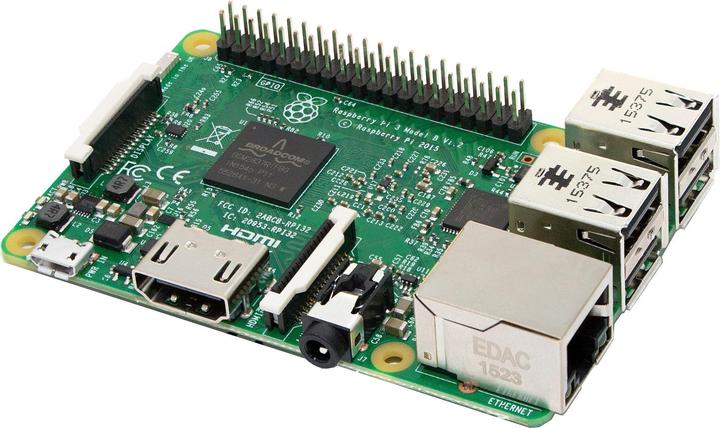
The Raspberry Pi is a stand-alone mini-computer the size of a credit card. It has all the capabilities and functions of a normal PC and runs on the Linux operating system. It can be used to access databases, process text, recognise images and much more.
The original idea behind the Raspberry Pi was to give schoolchildren affordable access to computers and teach them how to programme. However, as hobbyists and makers discovered the versatile possibilities of the Raspberry Pi, all new releases were sold out within a few hours.
From model series 2 onwards, they are powerful enough to replace a home and office computer for simple standard applications. They can be used to write letters, read emails, surf the internet on simple websites or watch videos.
The Raspberry Pi is available in the following models:
- A (1st generation without Ethernet)
- A+ (1st generation without Ethernet, smaller version of A with more connections)
- B (1st generation with Ethernet)
- B+ (1st generation with Ethernet and more connections)
- 2 (Same size, Ethernet and connections as B+, more computing power and more RAM)
- Zero (Very small version for only 5$)
- 3 (Like the 2, but with even more computing power, Bluetooth and WiFi)
The higher the computing power, the higher the energy consumption, so the A+ and Zero are only suitable for battery operation to a limited extent. Although the Zero is small and inexpensive, it loses both properties if you have to enlarge the small mini-HDMI and micro-USB ports with expensive adapters.
In order for the Raspberry Pi to start, an operating system must be copied to a microSD card. The operating system can be downloaded free of charge from the following link link
The "noobs" environment and the "Rasbian" contained therein (a Debian Linux customised for the Raspberry Pi) are recommended. However, the "LibreELEC" media centre can also be installed. If several systems have been installed, the desired operating system can be selected when switching on.
The dynamic duo:
If you can't decide between the two, simply put them together. The easiest way is to connect an Arduino to a Raspberry Pi using a USB cable. A serial connection is established via USB, whereby the Arduino is also supplied with power. The programming and development environment can also run on the Raspberry Pi, but as soon as the Arduino is programmed, it runs completely independently.
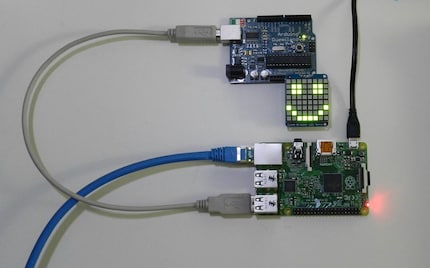
The Raspberry Pi and the Arduino are connected to each other via a USB cable. The lights on the plugged-in circuit board can be controlled via the Arduino.
The decisive factor here is also the intended use. Which and how many sensors are needed? Are there software libraries and drivers available? Do ready-made extensions already exist for plugging in, or do you have to make them yourself?
A small warning at the end: you often want to try something out "only briefly" and the next time you look at the clock, an hour has already passed.
If you have larger projects in the pipeline and would like to know how to solder properly, I recommend my tutorial:
I am a digital aboriginal of the generation Commodore 64, online since dial and acoustic coupler. Besides video games, I like to bring things from cyberspace into makerspace with the 3D printer. Technology is simply fascinating.
Interesting facts about products, behind-the-scenes looks at manufacturers and deep-dives on interesting people.
Show all