Guide
White balance: the thermometer for your photos
by David Lee

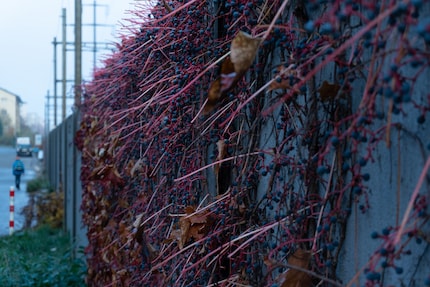
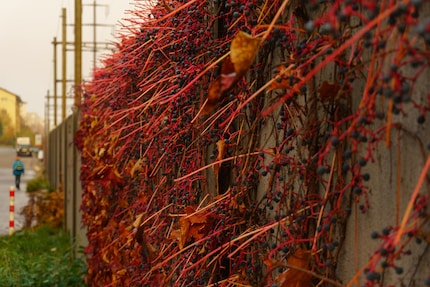
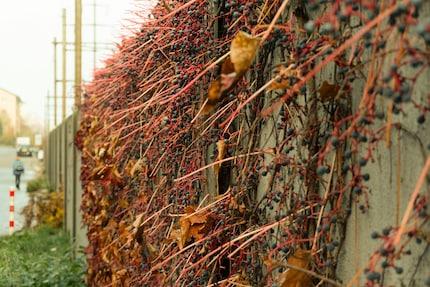
In one and the same RAW converter, the colour temperature is not always specified in the same way. Sometimes you see 5400 Kelvin, but sometimes +2. This is not a stupid coincidence, but an indication of what the software is actually doing.
In a RAW converter (Lightroom, Capture One, Photoshop Camera Raw, etc.) you can correct the white balance - regardless of whether it is a RAW photo or a JPEG. This correction works in a fundamentally different way with JPEG than with RAW. I have already mentioned this briefly in my white balance article.
But I want to go into more detail about this now, because:
First and foremost, we're talking about the colour temperature control, which is somewhere between cold (blue) and warm (yellow). Secondly, the slider that balances the colour between green and magenta. This setting is called toning or tint.

In RAW format, the colour temperature is specified in Kelvin, abbreviated with a capital "K". The values range between 2500 K and 10000 K. In JPEG, on the other hand, there is no Kelvin value, but a plus-minus scale. The second slider, the green-magenta scale, is a plus-minus scale in both cases.

To understand why this is the case, you need to understand what happens when you shoot a RAW or a JPEG.
When shooting in RAW format, what the camera sensor has captured is saved unchanged in the image file. The colour temperature determined by the camera's automatic system is only saved in the metadata, not in the image itself. The information about which pixel has which colour and brightness always remains the same in the RAW file, regardless of how you set the white balance. What is in the metadata is more or less a recommendation from the camera. You can use it as a starting point for fine adjustments or ignore it completely.
In JPEG, the colour of the individual pixels has a direct effect on the measured colour temperature. The colouring is therefore already "hardcoded" during the saving process. Corrections are only possible in relation to this fixation. This is why you have a plus/minus scale on the slider for JPEG and no Kelvin value.
If the JPEG slider is at zero in the centre, this means that the white balance is the same as when the picture was taken. It does not mean that the image has a medium colour temperature. For example, if I take a photo with the extreme value of 10,000 K, then the slider at zero corresponds to 10,000 K. If I move the slider down, the picture looks different than if I had taken it at a low Kelvin value. Kelvin specifications for a JPEG would therefore be dubious.


The second slider, which is responsible for the green-magenta range, also works differently for RAW and JPEG. There is a plus-minus value here in both cases. However, for JPEGs, this value is always set to zero if you have activated the "As shot" setting. This is not the case with RAW: the camera also specifies a recommendation in the metadata. If the metadata contains +10, for example, this value is displayed from the start.
If you tweak the white balance, the RAW converter does not save this information in the image file itself. Photoshop creates a separate accompanying file with the extension .xmp. This is only a few kilobytes in size, as it does not contain any image information. It only saves the settings of the various sliders.
Lightroom can read and write these xmp files. Lightroom also saves the settings in an internal database, the catalogue. Capture One Pro works in principle in the same way, but is not compatible.
As long as you do not export the image, i.e. physically create a new image file, all settings are reversible without loss - even with JPEGs.
However, when you have finished editing a RAW image and come to the conclusion that you have created something useful, you export the image as a new file. Usually as a JPEG. When exporting, the setting values are saved in the file itself. In the case of RAW, again only in the metadata, so that lossless changes are possible at any time. In the case of JPEG, the pixels are recoloured.
So. I hope you now understand your RAW converter a little bit better.
My interest in IT and writing landed me in tech journalism early on (2000). I want to know how we can use technology without being used. Outside of the office, I’m a keen musician who makes up for lacking talent with excessive enthusiasm.
Practical solutions for everyday problems with technology, household hacks and much more.
Show all