Guide
Cheap cameras as gifts: eight devices tested
by David Lee
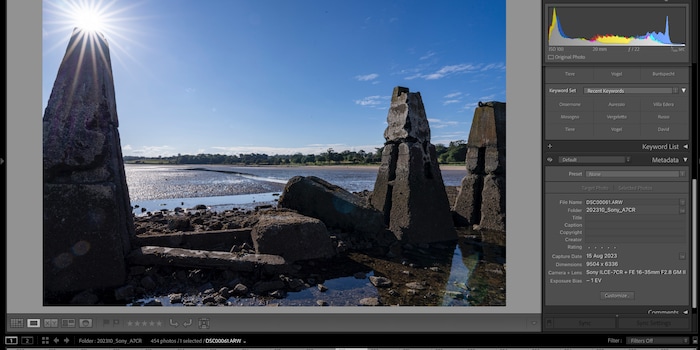
Your RAW converter won’t be able to read files on the newest cameras. But using this trick, it should still work in many cases. It doesn’t work the same with all brands.
I test cameras that are either brand new or even unreleased. In recent times, I’m unable to view and edit the RAW files in Adobe Lightroom or Photoshop initially. The software doesn’t yet recognise the RAW format of the new camera. Sometimes you’ll have to wait over a month for an update.
The technical reason: RAW isn’t a standardised format like JPEG or DNG, but a collective term for countless different formats. The RAW data of a camera differs depending on the manufacturer and model. Whenever a new camera is released, RAW converters have to be upgraded accordingly.
However, if a camera has the same sensor as an existing model, there’s no need for a new RAW format. The same format from the previous model can be used. This happens quite often. Even if the new camera has a different sensor, it can often be read according to an old scheme. There’s only one problem: the old software doesn’t yet know it can use a familiar format.
As a user, you can’t teach the RAW converter this knowledge. But you can fool it into thinking that the new RAW files are those of an already known camera.
In order for a RAW converter to fall for the hoax, you need to change the Exif data. Exif data is metadata in a RAW file that contains information about the shot. Which settings were used to take a photo, at which time, possibly also at which location (GPS) – and relevant for us, with which camera.
Most applications can only display Exif or at most change the timestamp. With ExifTool, you can also change the camera used. ExifTool isn’t the only application that can do this, but it’s one of the most popular and powerful. It works on macOS and Windows.
ExifTool is operated via the command line. For Windows, there’s an additional user interface you can install. I’ll go into the command line method here because it works the same for both systems.
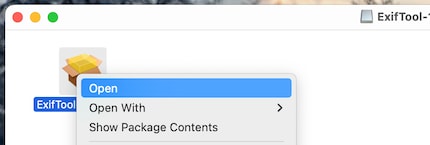
On Mac, you can't just double-click the installer, you have to trigger the open command from the context menu. This is the usual procedure for unverified software.
First test on a single RAW file to see if the trick works. Not every attempt will be successful. I recommend making a copy of the file and giving it a simple name such as «test».
Open the command line tool. On Mac, the app is called Terminal.
Use the cd command to access the directory where the test file is located. To avoid typing the whole path name, you can drag the corresponding folder into the terminal window.
I’m using a RAW file from the Panasonic Lumix G9 II for testing. It doesn’t currently open in Adobe Photoshop or Lightroom. However, the camera has a very similar sensor to the Lumix GH6.
My test file is called «test.rw2». So, here’s what I type:
exiftool "test.rw2"You can omit the quotation marks if you want. The command will then display all the Exif information contained in the file. A long and confusing list. Somewhere in all of that, there’s the entry «Camera Model Name: DC-G9M2».
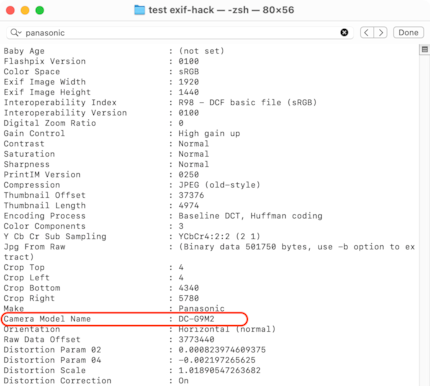
I have to change this entry to «DC-GH6». Here’s the command:
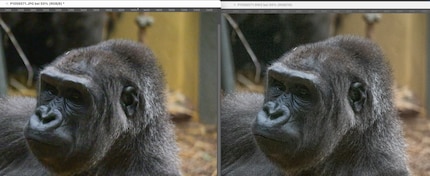
exiftool -model="DC-GH6" "test.rw"Afterwards, I can open the file with Photoshop's Camera Raw module and see that there’s a difference in the JPEG file. I can’t import it into Lightroom, strangely enough, even though Photoshop and Lightroom use the same converter.
Now I want to edit RAW files from the Sony A7C R in the same way, although Lightroom doesn’t know them yet. This should still work, the camera uses the already known sensor from the Sony Alpha 7R V.
But with Sony cameras, simply changing the camera model with the Model command won’t work. At least not for Adobe Photoshop and Lightroom. The «Sony Model ID» entry is important here.
This one is currently labelled «Unknown (396)». I'll have to change that to «ILCE-7RM5», the internal designation for Sony’s Alpha 7R V.
The command for my test file:
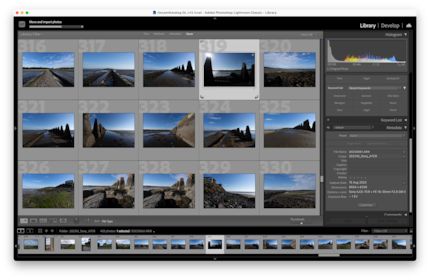
exiftool -SonyModelID="ILCE-7RM5" "test.arw"In this case, Lightroom works too: the file is imported and can be edited.
The situation seems to be similar with Canon cameras. I'm not 100% sure as I don’t currently have any Canon RAWs that can’t be read. But the normal Model command seems to have no effect, instead «CanonModelID» must be changed. You can look up which manufacturer-specific Exif tags exist and what the corresponding commands for ExifTool are here.
I have hundreds of photos from these two cameras. To avoid having to type a new command for every single file, I use wildcards. Again, I recommend making backup copies first.
The two main wildcards:
? is a placeholder for exactly one character.
* is a placeholder for no, one or any number of characters.
I create a folder that contains all the RAW files I want changed – and nothing else. Then I can make things very easy for myself with the placeholders. The star stands for any file in this folder:
exiftool -model="DC-GH6" *If you don’t want all files in the folder to be treated the same, you need to be more specific. For example, say you want to change the files P1060000 to P10600328. All of them have the P10600 part in common. The rest is variable. Here, you’ll need to use this command:
exiftool -model="DC-GH6" P10600*.rw2My interest in IT and writing landed me in tech journalism early on (2000). I want to know how we can use technology without being used. Outside of the office, I’m a keen musician who makes up for lacking talent with excessive enthusiasm.
Practical solutions for everyday problems with technology, household hacks and much more.
Show all