
Quick photo tip: Automatically align multiple images
Photoshop can automatically align images that were taken without a tripod. This enables exciting effects with little effort, for example panoramas or multiple exposures.
If you have taken continuous shots without a tripod, they will show approximately the same image section - but not exactly the same. For example, you can see from the left edge of the image that I didn't hold the camera exactly the same way.
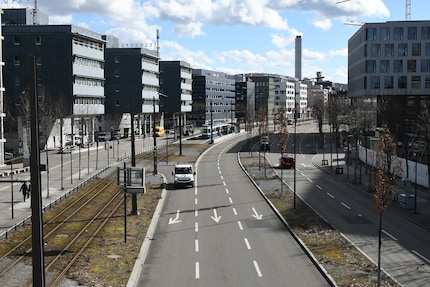
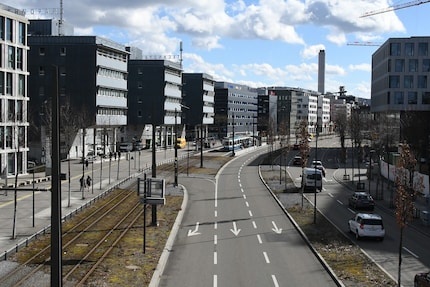
This is very easy to fix in Photoshop. Here's how:
- Select "File -> Scripts -> Load files in batch".
- Click on "Browse", select the images that belong to the same series, press OK. Caution: Photoshop may take a long time to process more than 20 photos, depending on your computing power.
- Photoshop now loads each photo into its own layer. Press F7 to display the layer palette.
- Select all layers and in the menu "Edit -> Automatically align layers".
- I have used the "Auto" method for all examples.
Photoshop now tries to bring all images to the same position. This does not always work equally well. This is because objects that are very close to the camera change more than the background when you move. These differences cannot be automatically equalised. That's why I chose an example where nothing is in the foreground. When I crop this image, it always shows the same section.
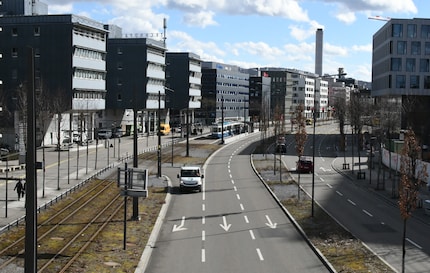
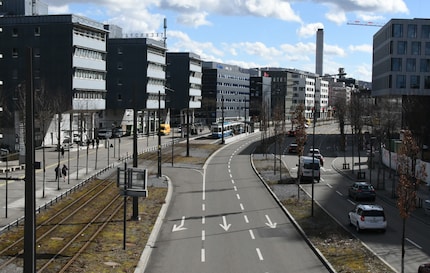
Aligning alone doesn't get you much; but it is the starting point for numerous projects: Image series, stop-motion films, multiple exposures, panoramic images and noise removal. I'll show you a few possibilities in more detail here.
Multiple exposures: Making movements visible
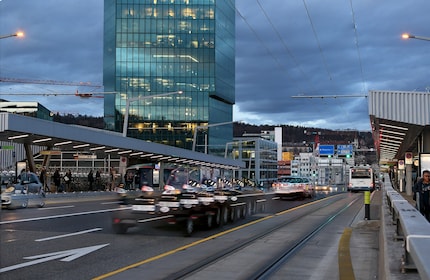
According to the instructions above, the images are already superimposed as layers. However, you won't see this because all layers have an opacity of 100 per cent. Reduce the opacity of all layers except the bottom layer. This will make everything that moves during the series recording visible multiple times.
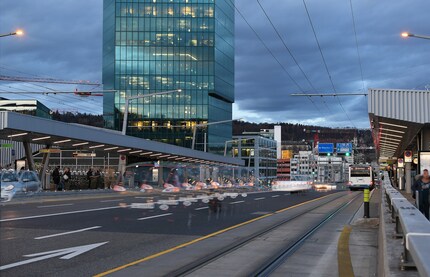
You can also play with the mixed modes. Here, for example, I have used the "Lighten" mode.
Automatically crossfade
If you find it too complicated to manually adjust the opacity and modes, you can use the menu command "Edit -> Blend layers automatically" as an alternative. It will look like this.
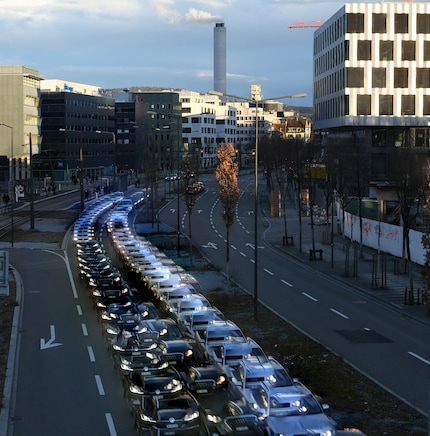
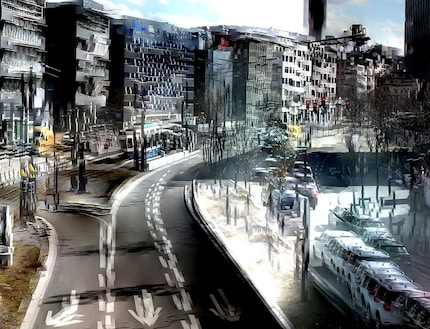
In most cases, you should align the images beforehand. However, blending without alignment can also be quite appealing.
Panoramas
The two commands "Edit -> Auto Align Layers" and "Edit -> Auto Blend Layers" also work for creating panoramas.


The result is exactly the same as with the automatic panorama function via "File -> Automate -> Photomerge". The "Perspective" method also works with Photomerge, but strangely not with automatic alignment. This function corrects the geometry; however, a nice part of the image is sacrificed for this.

Removal of image noise
Automatically aligned multiple shots can also be used to remove image noise. This YouTube video explains how to do this
.
My interest in IT and writing landed me in tech journalism early on (2000). I want to know how we can use technology without being used. Outside of the office, I’m a keen musician who makes up for lacking talent with excessive enthusiasm.
Practical solutions for everyday problems with technology, household hacks and much more.
Show all