
Product test
The cheapest is among the strongest: PLA comparison test part 2
by Kevin Hofer
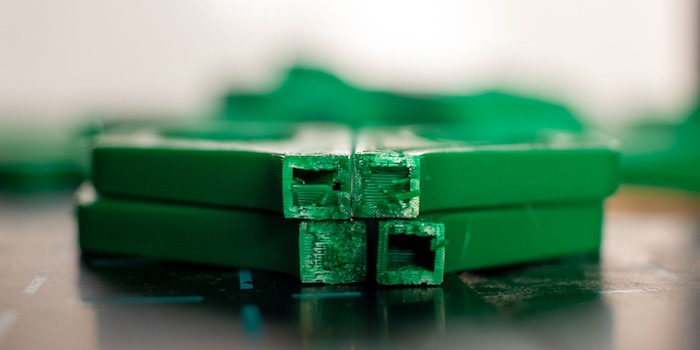
The infill, i.e. the percentage of filling in a 3D print, has an influence on the strength of the 3D print. I have tested how the infill affects the tensile force.
What did you criticise me for in my last test...
Boy, boy! How can you be so reckless... Protect YOUR EYES!!!
If this had been the work of an apprentice from our workshop, it would have received an unsatisfactory grade in any case and then a hefty ZS for work safety.
Thank you for the numerous responses to this article:
But you didn't stop at criticising occupational safety. The same Anonymous as above accuses me of questionable content:

In my defence, 3D printing is a hobby for me, and I've been able to make writing about it part of my job. So I'm more of an ambitious amateur than a negligent professional and I'm constantly learning. So there's no need for a shout-out or "ZS", as Anonymous calls it in military jargon.
Good that user sfluck posted an article on the influence of infill, wall and layer thickness on the tensile force. I want to try this out myself, improve my test method and provide more information on the process. Firstly, the printing process. I create three prints of the test hooks with 0, 10, 20, 30, 40, 50, 60, 70, 80, 90 and 100 per cent infill. I print the hooks horizontally, 15° diagonal to the X-axis. I print slightly diagonally because I have found that the models on my Creality CR-10S Pro adhere better to the build plate this way. The other settings in Cura in English:
There are changes here compared to the last test. There I printed thicker walls with a wall thickness of 1.5 millimetres. The layer height was lower at 0.15, which means that I printed more layers last time. On the other hand, the thickness of the top and bottom (Top/Bottom Thickness) is greater at 1.12 millimetres. These factors also have an influence on how much tensile force the print can withstand. I will carry out further tests on this in the future. My aim now is to test the influence of the infill and find the optimum proportion for further tests.
In the first test, I chose different settings because I used the PLA with carbon fibres from Proto-Pasta as a guide. I had trouble printing with this filament during the first test in the series. As I am only testing with the filament from Purefill this time, I can select the default settings from Cura at 0.28 millimetres layer thickness. This makes printing fast.
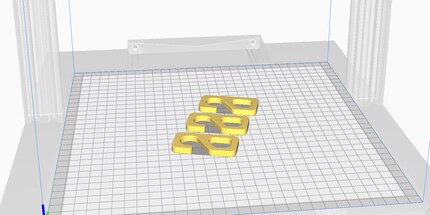
I do the test with the purefill filament, which performed best in the test. I get a new spool to rule out ageing processes, moisture or similar signs of wear and tear. This time I'm at home. It's between 25.7° Celsius and 26.1° Celsius here during the test. In the studio, where I did the last test, it's between 18° and 20° Celsius all year round.
Printing the individual models takes between 1:13 hours and 2:25 hours. For every 10 per cent increase in infill, the printing time increases by an average of 5 minutes up to 90 per cent infill. From 90 per cent infill to 100, the printing time then increases exponentially by 28 minutes from 1:57 to 2:25 hours. The printing material used increases per 10 per cent more infill from 12 grams at 0 per cent infill to 23 grams at 100 per cent infill. After I've printed all the hooks, I leave them to cool for 24 hours and then get straight down to testing them.
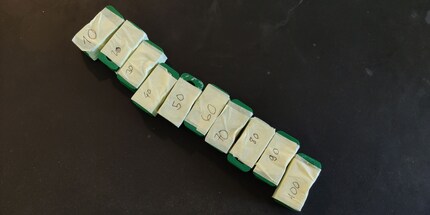
I am aware that my test does not meet scientific criteria. After all, I am not testing in a test laboratory and can only increase the weight in 1.5-kilogram increments due to the test procedure with the weight waistcoat. There are also other factors that influence the test. For example, the quality of the filament. As I discovered during the first test, there are differences. The test is also not aimed at professional 3D printers that produce prints for industry, but at private makers like me who enjoy trying things out and tinkering.
When carrying out the test, I follow the same procedure as last time. I hang my weight vest on the hook, loaded with different weights. I approach the weight limit of the individual hooks in one-and-a-half-kilogram increments - that's how much a sand pack of the weight waistcoat weighs. If I keep taking the weight waistcoat on and off, the material is stressed. It is possible that the hook would have to withstand even more weight. That's why I print three hooks with the same infill setting. This brings me closer to the maximum weight and, ideally, I can load all three hooks with the same maximum weight. I start with 15 kilograms of sand in the waistcoat.
Oh yes: something else is new.

I wear glasses now. To prevent the floor of my rented flat from being damaged by the fall of the waistcoat, I place my balance pad under the climbing pole/fingerboard combo, to which I attach the whole thing.
In my last test, the Purefill filament with 10 per cent infill withstood 22.5 kilograms of tensile force. This time, the filament is a far cry from that at 16.5 kilograms. This is due to the adjusted parameters (see above).
Here are the results:
| Infill in per cent | Weight achieved in kilograms | Printing time in hours and minutes | Filament used in grams |
|---|---|---|---|
| 0 | 15 | 1:13 | 12 |
| 10 | 16,5 | 1:21 | 13 |
| 20 | 18 | 1:25 | 14 |
| 30 | 19,5 | 1:30 | 15 |
| 40 | 21 | 1:34 | 16 |
| 50 | 22,5 | 1:38 | 18 |
| 60 | 22,5 | 1:45 | 19 |
| 70 | 24 | 1:49 | 20 |
| 80 | 25,5 | 1:53 | 21 |
| 90 | 27 | 1:57 | 22 |
| 100 | 27 | 2:25 | 23 |
Based on the results, two infill settings can be ruled out that have no advantage over less infill. At 60 and 100 per cent infill, the test hooks did not withstand more tensile force than at 50 and 90 per cent respectively. At 100 per cent infill, the printing time is also exponentially longer, which is why I would not recommend 100 per cent infill when printing.
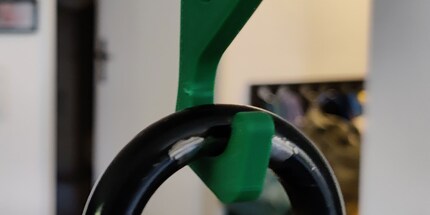
Based on these results, in future I will use 50 per cent infill for most of my prints that need to withstand traction. If it has to be even more, I will probably increase to 80 per cent infill
As I found out last time, the filament determines how much tensile force it can actually withstand. A different PLA filament would possibly mean more or less tensile force. Nevertheless, I recognise a certain tendency in how much infill results in more tensile force. Before you spam my comment column again: I know these results are not universally applicable
Now that I have determined the optimum per cent of infill for me, I am testing the influence of the wall thickness on the tensile force at 50 per cent infill.
Do you have any other suggestions for the test procedure? Then write your tips in the comments column.
From big data to big brother, Cyborgs to Sci-Fi. All aspects of technology and society fascinate me.