7 tips for sports photographers in the making
Many parents and amateur photographers will know this problem: You’re taking pictures of your kids or friends at a sports event and later on, when you look at the pictures on your computer, you realise almost all of them are blurred or in bad quality. This will never happen to you again if you keep these seven tips in mind.
«What’s going on? Is my camera broken?», you might ask yourself. No worries, the good news is: «No, it isn’t». But how to take good sports pictures? Let me give you some advice.
About three years ago, sports photography turned from being my hobby into a professional side project. This required upgrading my equipment, too. Going for the most expensive cameras and lenses is safe, but if you’re looking to take good sports pictures, you don’t necessarily need the most expensive equipment. What’s more important is to keep the following advice in mind:
1. Know your sport
You’ll miss out on the best shots if you don’t know the sport well enough. If, for example, you’re taking pictures at a duathlon and you don’t know where the transition zone is, you won’t have the chance to take great shots of athletes jumping onto their bikes. Positioning and perspective is just as important. Many photographers stand (or kneel) behind the goal. This makes sure they get good pictures of the keeper, but they’ll miss everything that’s going on in the midfield and defence.

2. Kneel down
Most professional sports photographers kneel down to take pictures. If you try taking pictures of the same game standing up and kneeling down, you’ll see that the ones you took kneeling down are twice as interesting as the others. Try observing photographers at the sideline next time you’re at a game.
3. Winner / loser
Often, you’ll only get to see pictures of the winning side or a cheering athlete in magazines, newspapers and other media. Scott Kelby, a famous US sports photographer, has some good advice: Take pictures of the losing side, too. Not to humiliate them, but because they show a lot of emotions, sometimes even more than the winning side.
Hardly anything needs more time than adjusting your camera settings if you don’t know where to find the function or button you need. Therefore…
4. Settings
The most important thing is to capture athletes’ fast movements. You’ll need a high shutter speed, between 1/800 sec und 1/2000 sec, depending on the type of sport (except for panning shots, but this is something for more experienced photographers).
Choose a small aperture to make sure the sensor gets enough light. f/2.8 or even f/2 is ideal. With kit lenses, this often corresponds to f/5.6. Set ISO on automatic. This will make sure your pictures don’t turn out too bright or too dark even if the lighting conditions change. If you’re not quite sure which button adjusts which setting, go ahead and read the manual or look for advice on the internet. Photography is s complex field and it’s not possible to know everything from the start or figure it out by experimenting.
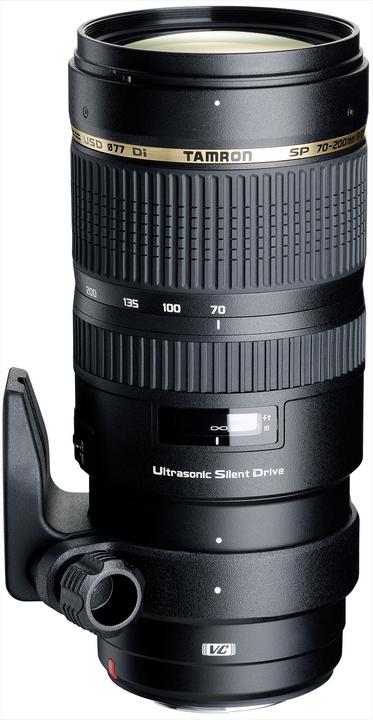
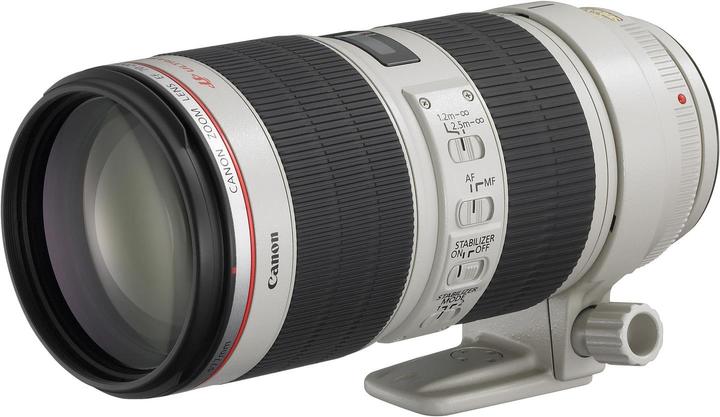
Does it really need expensive, wide-aperture lenses such as the f/2.8?
It depends on when and where you’re taking pictures. It’s not absolutely necessary in bright sunshine, as there’s enough light. But it’s still nice, if possible, to achieve a clear separation between athlete and background. If you’re in a hall and there’s bad lighting (for example at a floorball game), kit lenses won’t do the job, as they’re often limited to f/5.6. You could try compensating by increasing ISO, but this will affect the image quality. Furthermore, some cameras don’t range higher than ISO 6400, which still isn’t enough to take a good picture with f/5.6 aperture in a hall.

5. Autofocus
You can trust the automatic setting here, as autofocus usually does a good job. It’s worth noting though that not all lenses have the same speed; autofocus depends on the camera, the lens and the aperture: The more light-intense your optics are (for example f/2.8), the more autofocus can see and the faster it will focus.
6. Practice makes perfect
Don’t give up if it doesn’t all work perfectly from the start. Stay at it and practice. If you don’t like a picture, analyse it and think about what exactly it is that you don’t like. This will help you know what to look out for and improve in your next attempt. You’ll become a better sports photographer with every shot and the quality of your pictures will improve.
7. Protecting your equipment
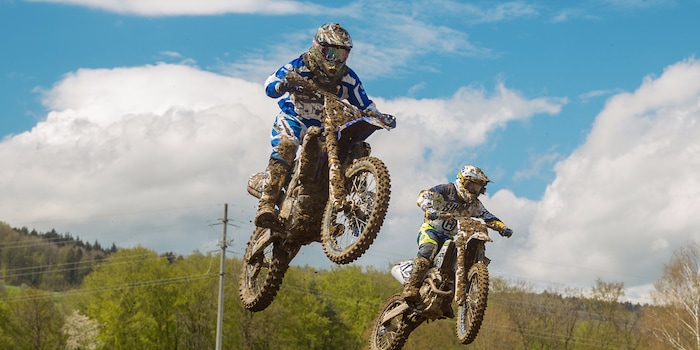
«Do I need a protective filter for my lens?». This is a good question. Imagine you’re at a motocross race and a stone hits your expensive lens. To be honest, I’ve been at many events and it’s only happened to me once that a stone hit my lens – and it didn’t even get damaged. With other sports such as floorball, duathlon and triathlon, nothing has ever happened and with sports such as football, where the ball is larger than the lens, you don’t need to worry anyway.
One thing I’d recommend though is protecting your camera from getting wet. You can either get a camera-specific cover (for example the Waliemx pro EasyCover) or simply use a transparent plastic bag. This less expensive version is a tip by Scott Kelby. It might not look very fancy, but it works and is better than no protection. To keep your LCD display safe, MAS LCD screen protectors are ideal. They scratch easily, but if you take care of your equipment, they’ll do a great job.

If you have any good tips and tricks yourself, let me know any time. I – all other readers – are always happy to learn about others’ opinions.
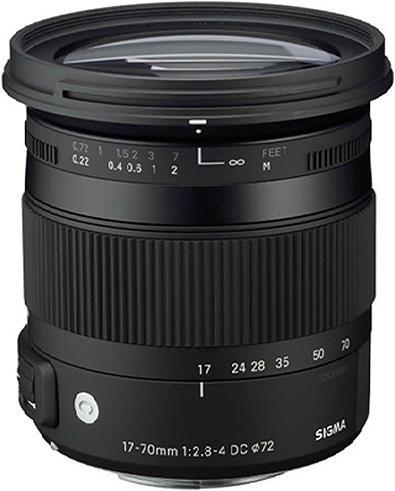
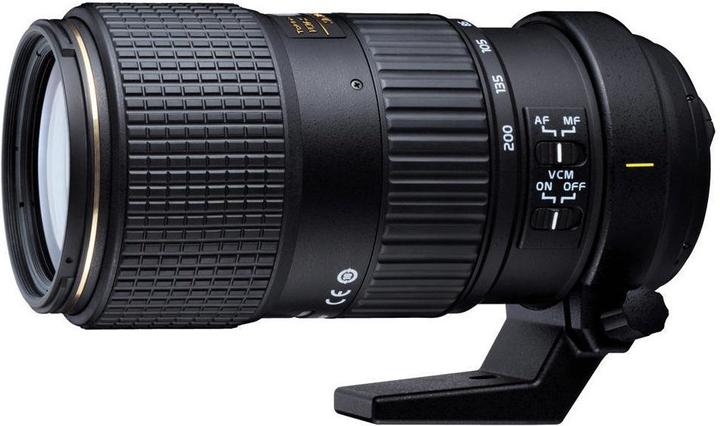
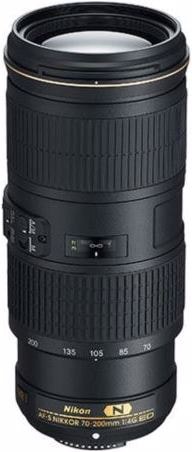
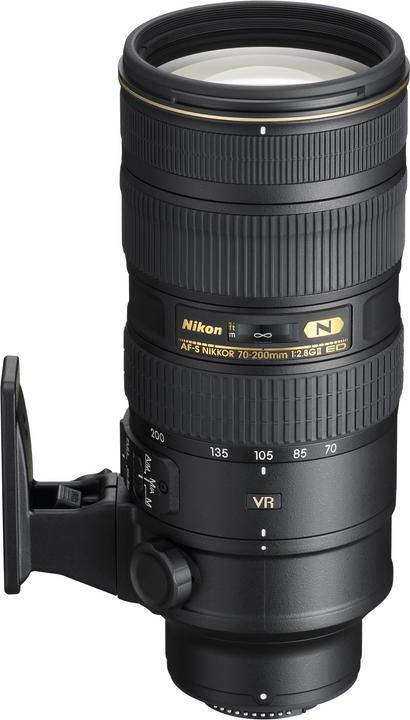
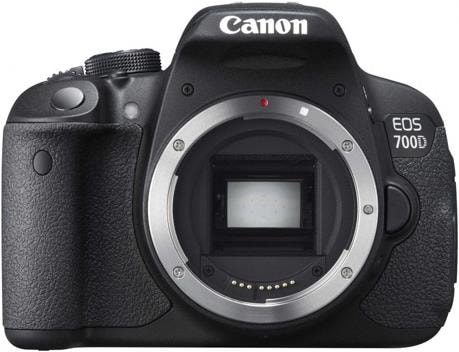
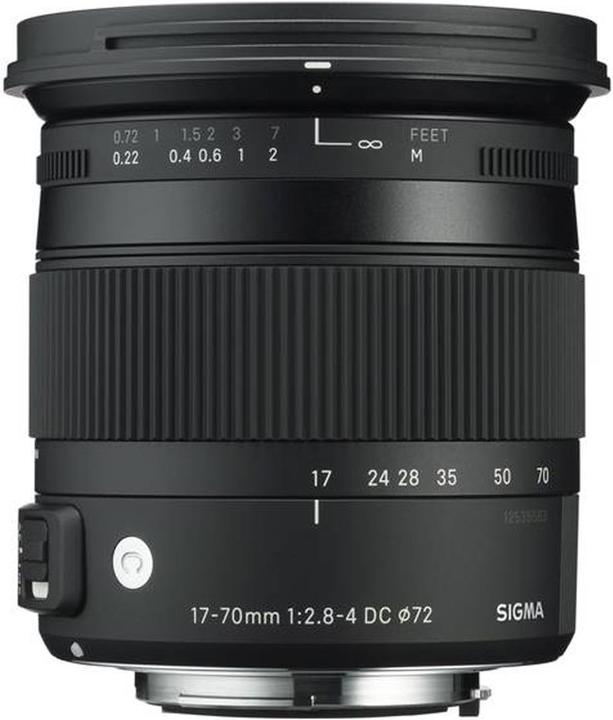
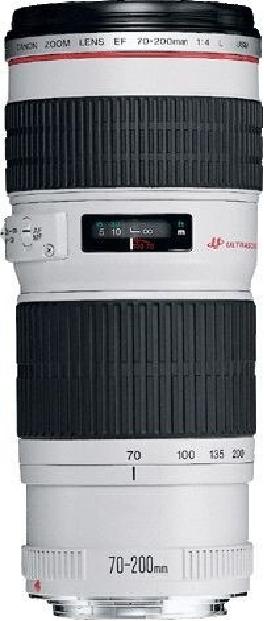
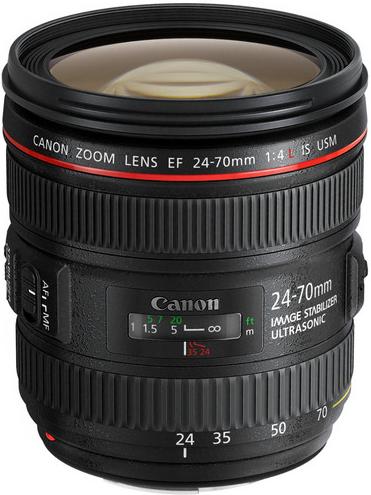
For all Nikon and Canon fans, I’ve added my recommendations in three price ranges below. All that’s left for you to do know is get out here and start taking pictures. And don’t forget to kneel down when you’re taking action shots!
Nikon equipment
The least expensive price class
The middle price class
The «I don’t care about money» price class
Canon equipment
The least expensive price class
The middle price class
The «I don’t care about money» price class
This might also interest you (in German):
From the latest iPhone to the return of 80s fashion. The editorial team will help you make sense of it all.
Show all